Update

I just wanted to make a little update post to acknowledge the 100th post on Beanie the Hamster, which was released this morning (August 10th, 2021).

Thank you to my followers who have been keeping up with all that content! I’m looking forward to reaching 200 and having you along for the ride 🙂

See you next week, and have a ham-tastic day!

DIY Corrugated Cardboard Foraging Toy Tutorial

This week I’ll be showing you how to turn thick, corrugated cardboard into an enriching foraging toy for small pets!

You’ll Need:

  • Thick, corrugated cardboard
  • Craft knife (optional)
  • Paper towel
  • Water

Instructions:

  • Soak a paper towel in water and rub the top layer of paper on the cardboard
  • Let it soak for 5-10 minutes
  • Carefully pull the layer of paper off
  • Pull off any little bits of stuck paper
  • Sprinkle food into the holes and serve to your small pet

Enjoy!

If you’re interested in more hamster-related content be sure to like this post and follow the blog, and I’ll be back on Tuesday with more small pet care, DIYs, recipes, cage setups, stories and more, have a ham-tastic day!

Stew’s New Wheel: Reveal and Review

Stew (4-Months-Old)

Stuart, A.K.A. Stew, is my sprightly young Roborovski dwarf hamster. For a little context, when I brought Stew home, I had a 6.5 inch silent spinner in his cage, which is too tight and heavy for him to push. I switched him to the 7 inch flying saucer I had lying around, which he could push without too much trouble (the saucer being looser).

And this flying saucer was completely silent. I was impressed. Until about a week later, when I was awakened in the night by a dreadful clattering noise. I tried a few things, but nothing silenced this wheel.

Since Stew would probably need an upgrade eventually, and I was losing sleep, I decided to search for a new wheel.

The Nite Angel Wheel

I’ve heard very good things about Nite Angel wheels over the last year or so. They are regarded as the unbeaten, best hamster wheel of all time. After reading the reviews, I went ahead and ordered an 8 inch (small), Nite Angel Wheel off Amazon in my favorite colour, orange.

Unboxing

The magical day arrived, when I received the parcel. The box, so smooth and crisp. I sliced the tape confining the precious wheel. I cracked open the box, and slid out the perfectly fitted, lidded styrofoam box. I anxiously opened the protective prison to reveal the wheel. The most trendy, modern wheel to ever exist.

I was incredibly nervous that the wheel would be damaged, despite their glorious packaging. But it arrived in perfect condition, and was very satisfying to unbox. Seriously, you’ve never had total customer satisfaction unless you’ve ordered from Nite Angel.

The wheel itself is wrapped in a foamish bag to prevent scratching (as if), and when you remove the bag you reveal the wheel.

First Impressions

THE WHEEL!

It’s perfect in every way.

It’s beautiful. It’s great quality. And most of all, it’s completely silent.

The wheel spins easily, which is great for smaller hammies.

I love the adjustment feature, where I can move the wheel higher/lower from the stand. As for the stand itself, I’m a huge fan. I like how it’s a solid stand, so it keeps accessories from being too close and bumping into the wheel.

It comes with an adhesive, anti-skid, cork mat to stick to the bottom. I chose not to use this, but I keep it handy.

After my initial examination, Nite Angel has impressed me, but what about:

Long-Term Use

Stuart took to this wheel right away, and after some practice, can get going and stop with ease.

The middle logo piece covering the bearings is unscrewable, and should be removed if you have a long-tailed pet (gerbil, mouse, rat, etc…). There have been reports of long tails getting pinched in the gap the piece creates. This is not a concern for hamsters, like Stew, so I left it on.

The wheel is very easy to clean! Stew tracks his soil substrate into the wheel and sometimes will pee in it, and it needs daily cleaning. I spray a little vinegar/water on a paper towel, wipe it, dry it, and keep on trucking. Occasionally I’ll raise the wheel and wipe the stand as well.

Stew has been growing, and as I observed him last night, his back remains straight (which is good!).

The wheel has been running silently for over a month now.

Conclusion

Stew Peeking Out Of His House

My review in a pinch: the Nite Angel wheel is spectacular (#notsponsored).

I love it in every aspect. The price is great for what you get, it’s packaged beautifully, the wheel itself is of incredible quality, it’s easy for my ham to use, and for me to clean afterward!

I will definitely be buying wheels from Nite Angel for pets to come, but in the meantime I believe this wheel will last my Stew for many years (maybe many hamsters) to come. Thank you Nite Angel for your stunning product!

If you’re interested in more hamster-related content be sure to like this post and follow the blog, and I’ll be back on Tuesday with more small pet care, DIYs, recipes, cage setups, stories and more, have a ham-tastic day!

Update

I’ve been wanting to have an actual domain name since the beginning of time. I’ve been pestering my awesome, techy uncle about it for a while, and on July 24th, beaniethehamster.com became a reality!

Thank you so much, anonymous uncle!

Now you can visit beaniethehamster.com if you’d like, although it’s basically a less-refined version of this blog, with the URL rattysdiy.design.blog. I have a ton of work to do on .com, but I hope to have it going in the next couple weeks.

Thank you for your patience, have a ham-tastic day!

DIY Boredom Breaker Tutorial

Welcome to the DIY tutorial for this boredom breaker for small pets! Usually you see these spherical toys made from wood with fruit designs on them, but today I’m going to show you how to easily create it with cardboard.

For this DIY you’ll need:

  • A hot glue gun
  • Cardboard
  • Scissors
  • A drawing compass or circular template
  • A craft knife
  • A writing utensil
  • Draw and cut out four circles of cardboard about 3 inches in diameter.
  • Cut 3 of the 4 circles in half.
  • Glue the halves to the whole circle across from each other, making an X formation.
  • Glue in the remaining halves in the same way.

Let the glue cool, and then the DIY is complete 🥳

These toys are great for chewing and flinging, and are super fun to make! I hope you enjoyed this DIY! If you recreated it feel free to comment down below and let me know how it went 🙂

If you’re interested in more hamster-related content be sure to like this post and follow the blog, and I’ll be back on Tuesday with more small pet care, DIYs, recipes, cage setups, stories and more, have a ham-tastic day!

Krinkle-It Foraging Tube Toy DIY Tutorial

Welcome to the Krinkle-It Foraging Tube Toy DIY Tutorial! I received a parcel the other day and to my delight it was packed with Krinkle-It paper shreds! As soon as I saw them I knew I wanted to make this DIY.

With this toy your hamster is provided with food, stimulation, and nesting material.

These toys are ridiculously expensive to buy, and I see no reason to spend money on one when you can do it yourself! Today I’m going to be showing you how to make a few versions of the common, confetti-ish, foraging toy we all know and love.

For this project you’ll need:

  • Toilet paper or paper towel tubes
  • Krinkle-It paper shreds, hay, or shredded tissue
  • Hamster-safe dry food or treats

If you want to make it more like the original you can glue natural twine around the tube.

  • First get a clump of the Krinkles, then feed it through the tube so you have some sticking out either side.
  • Next get your food or treats and stick the pieces into edges and gaps in the Krinkles. The crinkles in the Krinkles will keep the food inside the tube for the most part.
  • To make smaller versions simply cut the tube shorter.
  • If you want to make it more like the original you can glue natural twine around the tube.

And voila! A DIY well done. These are super simple to make, and they provide so much enrichment! Please comment down below to let me know if you’ve tried this DIY, and how it went!

If you’re interested in more hamster-related content be sure to like this post and follow the blog, and I’ll be back on Tuesday with more small pet care, DIYs, recipes, cage setups, stories and more, have a ham-tastic day!

Soil Substrate

There are many, many different substrates to choose from. Some safe, some unsafe. Some are more enriching than others, but the most natural of them all is soil. Sometimes natural is not always better, but today I would like to argue that soil is just as good or perhaps better than other substrates, from my personal experience.

We’ll discuss the pros and cons of soil, whether or not it’s a good option for you, how to find a safe soil for your hamster, and how to clean soil substrate. Let’s begin!

The Pros of Soil

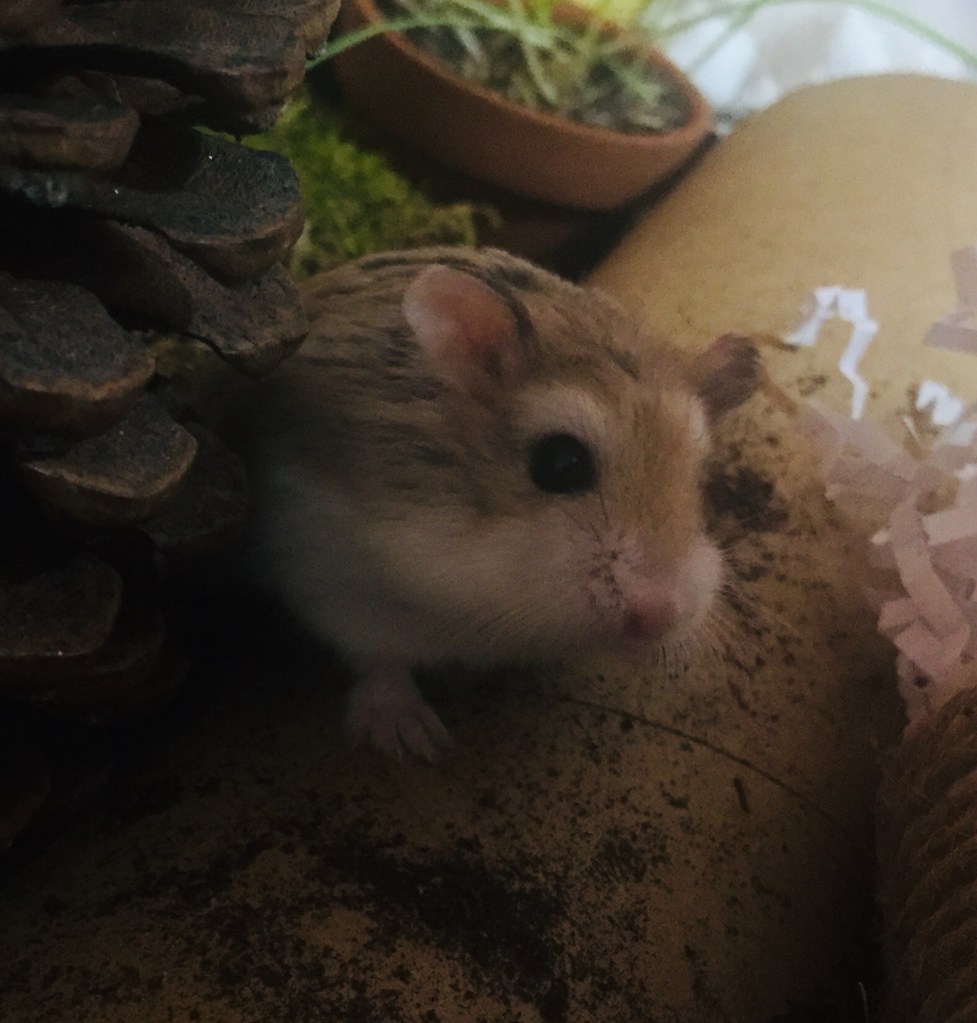
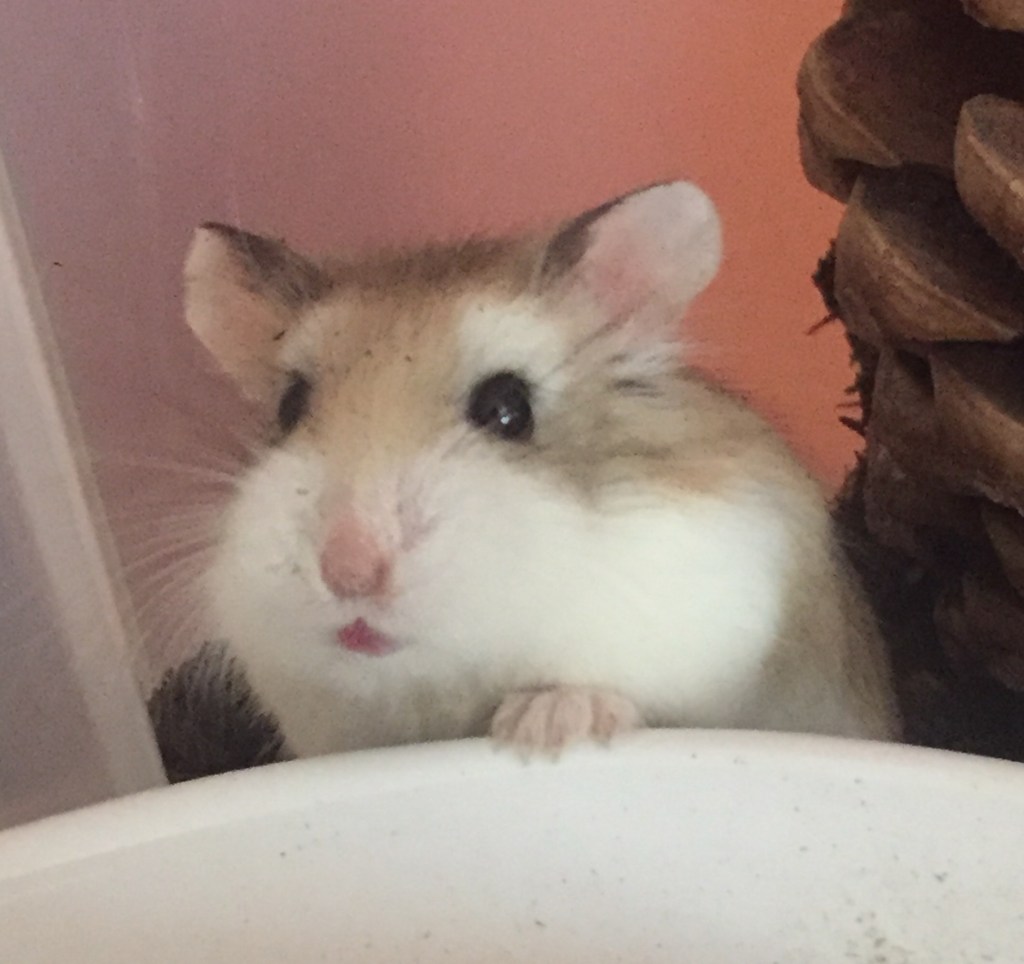
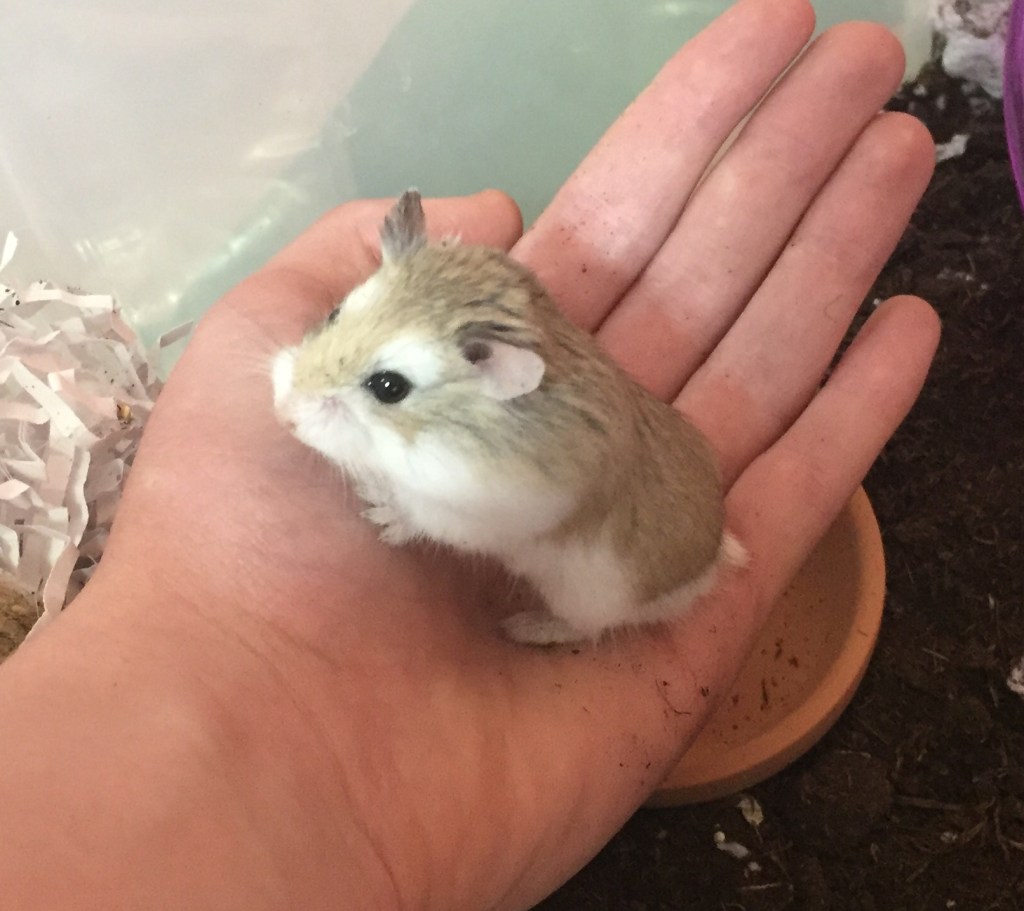
I’ve been using soil substrate for over a month now, and my hamster has been loving it.

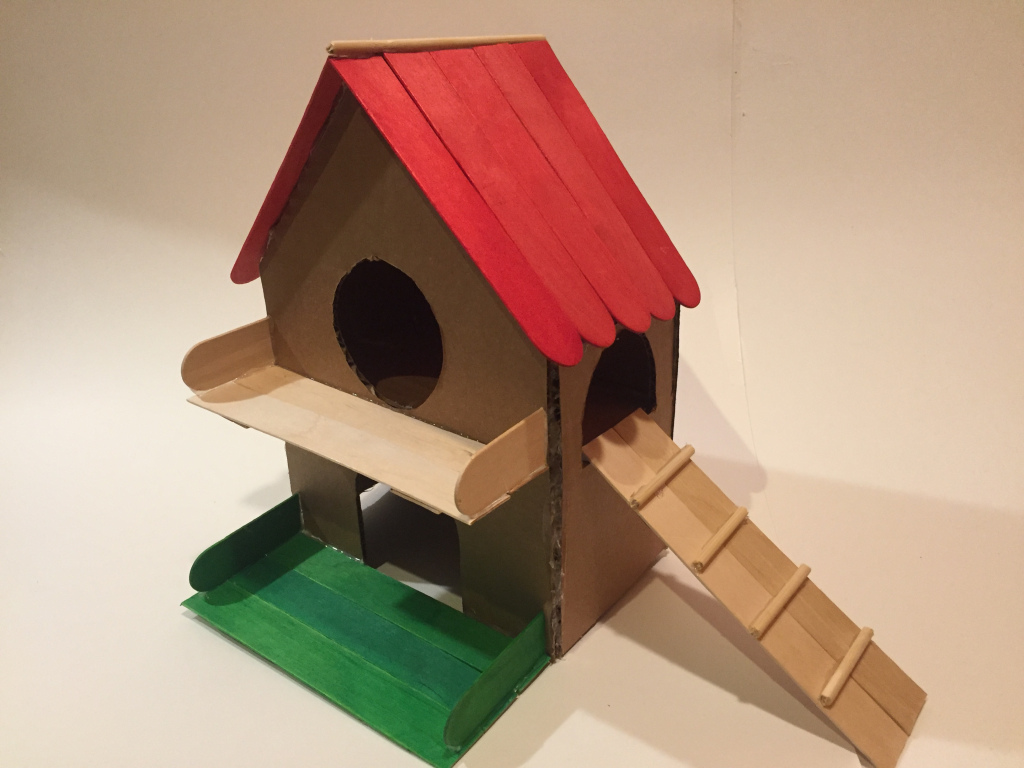
When packed down, soil holds burrows amazingly. My little Roborovski has made many intricate little tunnels and chambers, which makes me so happy 🙂

If left out long enough in the soil, my hammy’s seed mix will sprout! Sprouts are very healthy and much more enriching, which makes my hamster happier and healthier.

Another pro to soil is that it is cooler than paper or wood substrates. The summers where I live are between 20-40C, and I can go about my activities without worrying about my hamster overheating, knowing he’s content in his cool, underground bed. In the winter I will probably switch to paper or wood based substrate for warmth.

I’m also big on saving some dough, and soil is pretty inexpensive. I purchase my soil for $4/15L bag, and filling my cage cost me $24, no more than paper based bedding.

Then you may be thinking, “If paper bedding is the same price why not get that?”

I personally love how soil looks in the cage. Some people can use paper bedding in a really aesthetically pleasing way, and I am not one of those people.

I love soil because it holds burrows, sprouts hamster food, keeps my hammy cool, is pretty inexpensive, and I like the look.

A Couple Cons

Soil lacks odor control. This can be fixed by mixing it with pellets or aspen shavings if you are sensitive to smell. I personally am not, hence why I use plain soil.

Soil is heavy, and most cages, namely bin cages, will not be able to hold a lot of weight without bowing outward or possibly breaking.

Soil may require a spray of water occasionally to keep it moist and stable for burrowing.

Say your water source leaks/spills a lot of water… you’ll have mud.

When soil has old food or pee sitting in it, it can develop mold within a couple days.

It may be too cold for your hamster if you live in a cold climate.

Overall, there are definitely some downsides to using soil, but I feel it doesn’t have any more problems than any other substrate. But the real question is:

Would It Work For You?

Soil is beneficial in the sense it can cool your pet in the hotter months, provide enrichment, hold stable burrows, and of course absorb urine. It meets all the requirements of a suitable substrate. Soil also looks nice and is relatively inexpensive.

If you are not very sensitive to smell and don’t mind the upkeep, soil can be a wonderful substrate for you.

If you live in a very cold climate or cannot find a safe soil it may not be for you. While we’re on the subject, what is a safe soil?

How To Find A Safe Soil

Soil is meant for growing plants, which means they will usually have some kind of fertilizer in them, whether that be a ‘time-release fertilizer’ or instant fertilizer, they are all the same: toxic.

Thankfully, several lines of safe soils exist! These safe soils are usually referred to as ‘organic,’ and lack any toxic fertilizers. Try to find one with an ingredients list to confirm that it’s safe.

Every soil will have little white specks in it. If the soil is organic, those are vermiculite, a naturally occurring mineral which is hamster-safe.

I use Pots and Plants Premium Organic All Purpose soil which I get at my local hardware store, and I love the texture of this soil. It’s made of moss, earthworm castings, and minerals. It’s also sanitized with steam before packing, so I don’t have to bake it before use or anything.

If you want to sanitize your soil before use, I would recommend freezing it for a day or two. That way any contaminants will die and the soil stays moist (so it can hold burrows).

So after you find a safe organic soil for your hamster and start using it, you’ll have to clean it. We’ll now discuss:

How I Clean Soil Substrate

I’ve seen a lot of criticism surrounding this subject; how do you clean a cage with soil substrate? Are deep cleans necessary?

Firstly, I just scoop out the soiled nesting material and substrate from my hamster’s nests twice a week, or whenever a distinct pee smell develops. This keeps the smell down and prevents molding, which can happen more easily with soil. I only do deep cleans once every month or two.

When I do deep cleans I remove all the accessories, pick out any soiled substrate, and will usually add in some new soil to compensate for all the soil removed in the weekly spot cleans. Unless my hamster had some kind of illness I won’t replace all the substrate.

I’ll mix the soil up, pat it down, and set up the cage again. It’s a system that’s been working well for me and my ham. The cage is clean, and we’re both happy. This method saves money and is less stressful for my hamster, since his old substrate smells familiar.

Conclusion

Soil is the second primary substrate I’ve used, wood shavings being the first. My new hamster is burrowing a lot more than my past hamster did in her shavings, and the burrows are holding significantly better.

I definitely prefer the soil to shavings, and look forward to using it for many hamsters to come. I highly recommend trying it out, but if it doesn’t work for you, that’s fine.

If you have used soil substrate, please share your experiences with us in the Reply section below this post!

If you’re interested in more hamster-related content be sure to like this post and follow the blog, and I’ll be back on Tuesday with more small pet care, DIYs, recipes, cage setups, stories and more, have a ham-tastic day!

DIY Hamster Garden House Tutorial

Hello and welcome to the DIY tutorial for this adorable garden house for small pets! This house is two stories tall, with a grassy yard and little balcony. It’s a great toy/hideout for Syrian hamsters and mice, since they particularly enjoy being up high.

The sizing used is appropriate for most hamsters, gerbils, and mice.

For this project you need:

  • Scissors
  • Cardboard
  • Giant red, green, and plain coloured popsicle sticks
  • Craft knife
  • Skewers
  • A few regular sized popsicle sticks
  • A hot glue gun
  • A circle template or drawing compass
  • First trim 10 giant red popsicle sticks to 6 inches long.
  • Line up the trimmed, red, giant popsicle sticks in groups of five.
  • Glue regular popsicle sticks across the lined up red sticks to attach them together into two panels.

These are the roof.

  • Measure and cut two pieces of cardboard 10 x 7 inches.
  • Measure the top center point of the 7 inch side (3 1/2 inches), and mark it.
  • Make two angled 5 inch lines coming from the center point, as shown above.
  • Cut on the lines.

These are the front/back of the house.

  • Put your ruler alongside each piece and mark four inches from the bottom. That’s where the second floor will be.
  • Get your drawing compass/circular template and create two entryways on one of the front/back pieces. One door at the very bottom and one above your four inch mark.

How to Make an Arched Doorway for Your DIYs

This is the front of the house.

To make the balcony:

  • Cut the rounded tips off of two large popsicle sticks. Make sure they’re the same length.
  • Cut two pieces from another stick about 1 1/2 inches long and glue them to the bottom of the two lined up, equally sized pieces to hold them together.
  • Get another large stick and cut the rounded ends off. Glue them on the opposite sides of the mini platform to finish the balcony.

Do the same for the ‘lawn,’ but use green sticks and make it one stick wider.

To make the ramp to the second story:

  • Cut the round ends off two large popsicle sticks. Make sure the two trimmed sticks are the same length.
  • Cut two pieces from another large popsicle stick about 1 1/2 inches long, and glue them onto the two large, trimmed sticks to hold them together.
  • Cut four pieces of skewer about 2 inches long, and glue them to the mini platform to create treads.
  • Measure and cut two 6 x 4 inch pieces of cardboard.
  • Cut out a door at the top of one of the pieces.

How to Make an Arched Doorway for Your DIYs

These are the side walls.

  • Cut out a piece of cardboard measuring 7 x 4 inches.

This is the floor of the second story.

  • Glue a side wall to the back wall. I chose to have the door to the second story on the right side of the house.
  • Glue in the second-story floor at your 4 inch mark.
  • Glue on the other side wall.
  • Glue on the front wall.
  • Glue the balcony at the bottom edge of the top door.
  • Glue the ramp coming from the side-door.
  • Glue the front yard to the house.
  • Glue on the red poof pieces (I added a skewer at the top of the roof).

I did end up adding two skewers vertically under the front corners of the balcony for support and style, as well as a front railing on the balcony.

And the house is complete! It’s so cute, and I love the bird-house vibe. It did take some planning, but once you have the pieces made, assembly is pretty simple. If you made this DIY please comment down below!

Thanks for viewing this post. If you’re interested in more hamster-related content be sure to like this post and follow the blog, and I’ll be back on Tuesday with more small pet care, DIYs, recipes, cage setups, stories and more, have a ham-tastic day!

Stuart’s Personality and Updates

Interrupting Stew’s Grooming (June 21st, 2021)

Stew has been doing really well, and the 27th will be one month since getting him. Today I will be talking about all the things I’ve learned about Stuart in that time.

Stew’s Sleep Schedule

After the first few days of taming Stew began to develop a different sleep schedule.

Sometimes I won’t see Stuart for a day or two, but I’ll see his things moved or messed up and know he’s okay. He seems to like seeing people, just not all the time. When he hears me in his cage he’ll come out and hop on my hands, usually when I offer a snack.

Usually Stew is awake around 10pm or 7:30am if he wants social interaction. Sometimes he’ll wait until I leave and the lights are out before he emerges, which I take as a sign he doesn’t want to see me. It’s a system that both of us are content with: appear and be played with.

Burrowing

Stew has been creating many burrows in his 7 inches of soil substrate. I’ll be posting pictures of those burrows when I clean his nest. I do have to clean his nest to prevent his urine and hoarded food from molding or something gross.

Burrowing is one of his favorite activities, and I’ve been seeing tons of moved substrate and little entryways and filled in holes. Stuart seems to be a happy burrowing boi.

Stew’s Taming

Stuart is still making slow taming progress. I can pet him when he’s distracted with food, but he’ll jerk away if I touch his back without that distraction.

He actually comes onto my hand willingly, especially when there’s food. I’m slowly working him off having food every time, and that’s going really well.

Stuart’s Wheel

Stew is currently using a purple 7 inch flying saucer wheel. For the first two weeks this wheel was completely silent. Completely silent. I can’t say that now.

The flying saucer wheel clatters, and there’s no way to fix it, which sucks.

I’ve tried all my old tricks from my last clattery wheel, but to no avail. And it’s not squeaky, so oiling it would be pointless.

However, Stew is going to grow a little more, and will probably need a slightly larger wheel in the future, so after much research, I painfully spent a nice chunk of money to purchase and ship a new, slightly larger wheel to me. It is due here on July 7th, and I will be doing a reveal and review post about that exciting new mystery wheel as soon as possible.

Conclusion

I’m really excited for his mysterious wheel (mysterious for you, anyway. I obviously know what it is, lol) to arrive, and can’t wait to show it to you.

Despite the fact I’m being aroused in the night by Stew’s current wheel, I don’t mind Stew. He’s extremely quiet, and seems quite content to have minimal social interaction and just explore his cage.

If you’re interested in more hamster-related content be sure to like this post and follow the blog, and I’ll be back on Tuesday with more small pet care, DIYs, recipes, cage setups, stories and more, have a ham-tastic day!

Taming Stuart

I brought home my second hamster on May 27th, 2021. I then gave him 3 nights to settle into his new home before his taming began. This post will be documenting Stuart’s taming process and progress from May 30th to June 15th, 2021.

Taming Preparation

Prior to Stew’s taming I made sure to have plenty of healthy treats and a playpen ready. I used Victoria Raechel’s method of creating a playpen. My playpen is 11 inches tall and about 3 x 4 feet wide, so I can sit in the pen with Stew to practice holding him without risk of him escaping.

Stew will not be free roaming. He is extremely little, and I am not comfortable free roaming him.

I also have been collecting a variety of snacks to entice him with, such as unsweetened coconut, oats (rolled and whole), safe cat kibble, raisins, quinoa, and flax seed. I recommend having a variety of treats just in case your hamster doesn’t like some of them.

I also watched some videos about hamster taming to refresh my memory (and because they’re hamster videos; why not watch them?). With a playpen, treats, and knowledge, I was ready to begin this quest to tame my new hamster.

Taming Stuart

Stew’s taming began on May 30th, 2021, after he’d settled in. At the shop where I purchased Stuart, he seemed quite friendly and curious, so I wasn’t expecting his taming to take more than 2 months max (of course, taming time varies from hamster to hamster).

Stuart awoke around 11 that evening, and I made a mix of goodies (flax, unsweetened coconut, and quinoa) so in theory he’d like at least one thing in the mix. I poured it into my hand, and offered it to Stuart.

He crept forward, sniffing intently.

He snatched some food, and just sat there eating, using my hand as a table. It didn’t take much prompting to get him to hop up and eat in my hand.

My mind was blown; this is a Roborovski, already taming quicker than my past Syrian, Beanie. Robos have a reputation for being skittish and difficult to tame, and there was Stuart, contentedly sitting in my hand grooming himself.

He was also pretty comfortable with me moving my hand around with him on it, so long as I stayed low over his cage.

A couple times he actually laid down for a rest, slightly curled up but with his eyes and ears alert (pancake-mode). He stayed on my hand for 20 minutes, and since it was getting pretty late, I gently tipped him off so I could get to bed. He really didn’t want to leave! Stew went off to his wheel as if nothing had happened.

The next day I did another taming session in his cage, with him nibbling some snacks in my hand. He seemed a bit more wary, so I didn’t push for him to stay.

On the third day of taming Stew was doing extremely well; not just for a Roborovski, but for a hamster in general! He seemed pretty comfortable with being held, so I decided to do some playpen bonding.

After coaxing Stew onto my hand, I carefully transported him to the pen.

I sat down with him, and he seemed to enjoy climbing around my hands and arms. He was definitely making progress!

The next couple days were just steady progress and learning more about Stew. Stew, like most Roborovskis, doesn’t seem to enjoy being out of his cage very much. More progress is made when I let him climb onto my hands in the cage, where he enjoys his favorite snack so far: flax seed.

Stew’s been making steady progress, and on Sunday, June 12th, he let me pet him for the first time! The day before he wouldn’t consider being petted and the next day, boom, perfectly okay with it. Such confidence.

Currently:

Stuart’s Doing Very Well 🙂

Stuart has made amazing progress in his taming, and in only 16 taming days/sessions, I consider him tame. However he is still not super comfortable being petted, and he tends to nibble my fingers, so there is still progress to be made.

The nipping seems to be more of a curious taste than a vicious attempt at biting. I do want to figure out how to discourage this habit, but he hasn’t drawn any blood, so I’m not super concerned.

Stuart has not been held by anyone else yet, as his speed and small size are quite intimidating when it comes to safely handling him. When introducing people to holding Stew for the first time, I will make sure they keep him low over the cage until adjusted to Stew’s small size, light weight, and quick movements.

Updates and Conclusion

Since Stuart is doing so well in his taming, I see no need to create another dedicated taming post. I will provide little updates concerning his taming progress in future Stew-related posts.

Speaking of future posts, I have some cool post ideas coming up! I plan to be posting Stew’s new personalized cage setup, a post dedicated to his personality and traits, and a few posts organizing his supplies and toys (my collection has been growing).

I will begin mixing in new DIYs and educational posts, so we’ll be back to the usual mix of post subjects. If you’re interested in hamster-related content be sure to like this post and follow the blog, and I’ll be back on Tuesday with more small pet care, DIYs, recipes, cage setups, stories and more, have a ham-tastic day!

Design a site like this with WordPress.com
Get started