
Hello and welcome to this week’s post! Today I’ll be showing you how I deep cleaned Stew’s cage for September, 2021. Enjoy!
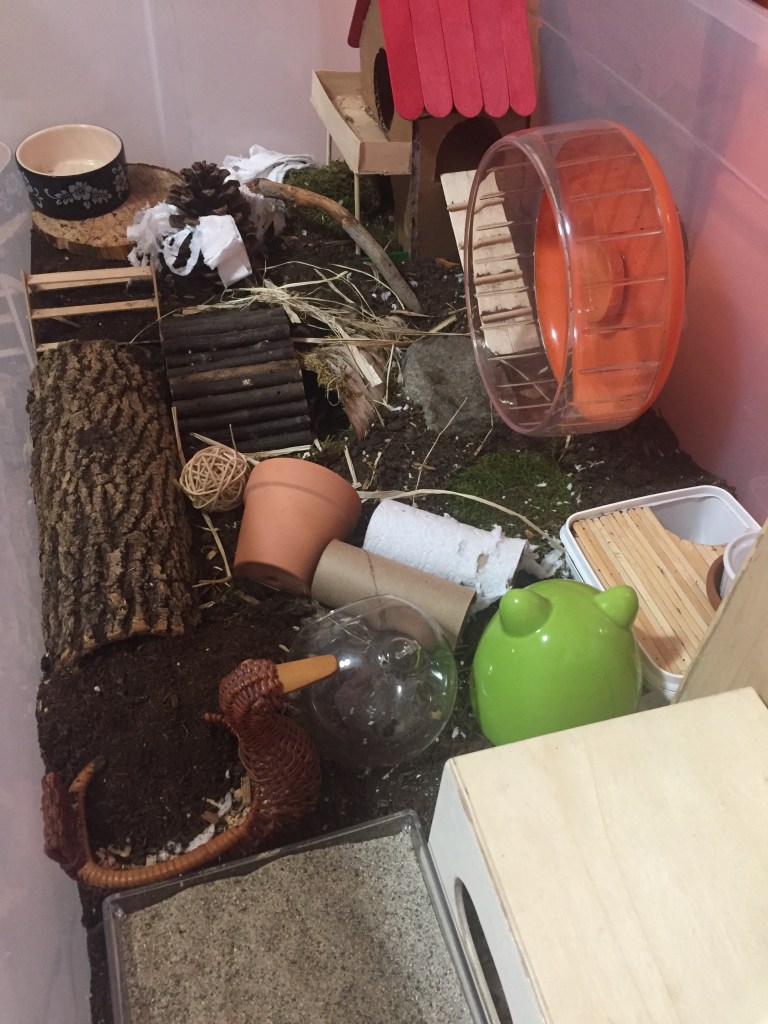
Here you can see the cage before the makeover. It is still quite similar to the last time you saw it, but it could definitely use a good clean.
I’m going to be changing the substrate to some shavings I had laying around, and then I want to start mixing in some paper bedding, which I’ve never tried before.
The substrate change is due to the cooler weather where we are, and I want my little Stew to be nice and cozy. After scraping off the “dirty” top layer of soil, I bagged up the rest to use next spring/summer.

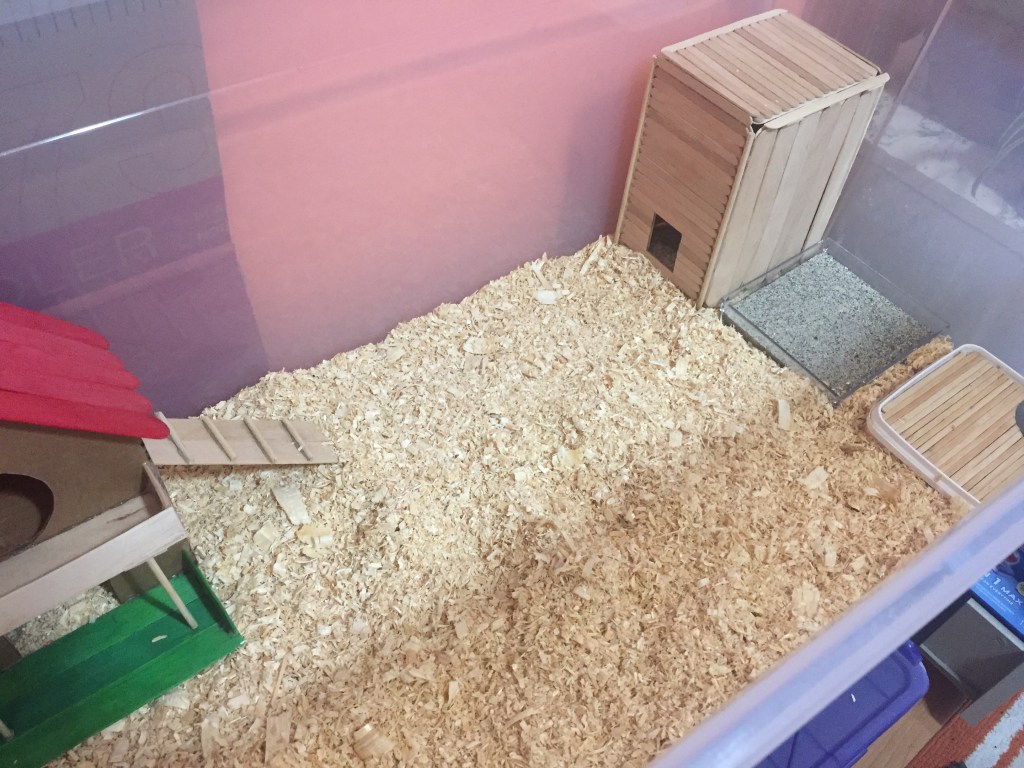
So after removing the toys, soil, and getting Stew to the safety of his carrier, I wiped down the cage and added in the shavings.
When I took out his previously used toys, I kept them out to reuse. I wanted to keep some of his familiar scent, since the shavings are brand new.
So I put in the fairy house, apartment building, dig box, and his little sand bath first, placing them similarly to the last setup.
I filled the dig box with his old soil substrate, so he could have another texture and familiar smell.
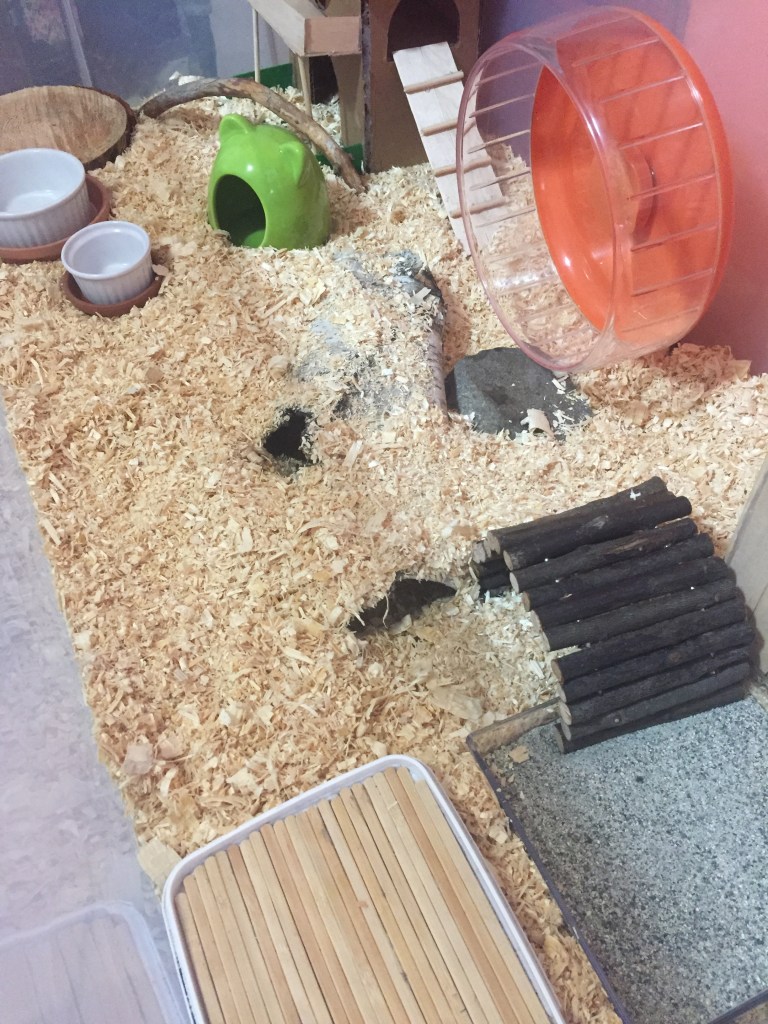
Next I added his wheel (which I washed), a wooden slab, his matching dishes (so cute), a branch, bendy bridge, hollowed birch bark tunnel, green hammy hide, and a rock.
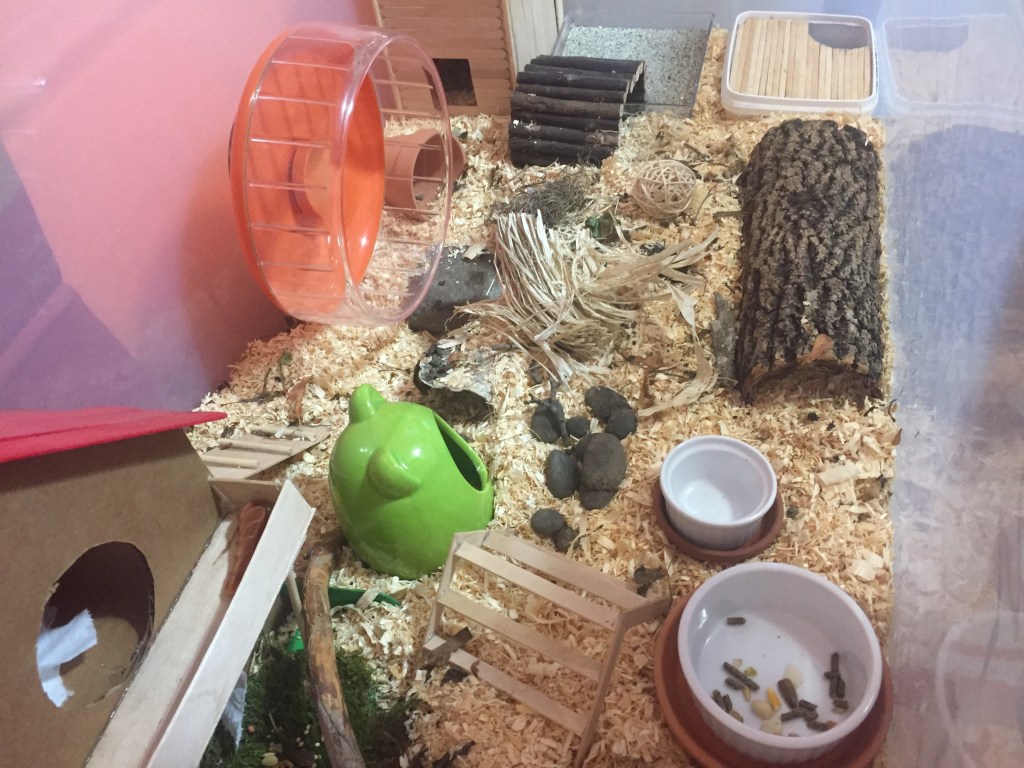
At last, I added in the final touches. Some pebbles, chews, nesting material, another bark tunnel, foraging toys, a little bridge, terra cotta pot, food, moss, and some leaves and grasses I sanitized for forage.
And with that, the setup is complete!
After all these months, it was really interesting to use shavings again for a hamster! I do really want to make his substrate deeper, and try paper bedding, so expect to see some mixing of substrates next month!
Thank you for reading this post. If you’re interested in more hamster-related content be sure to like this post and follow the blog, and I’ll be back on Tuesday with more small pet care, DIYs, recipes, cage setups, stories and more, have a ham-tastic day!
