It’s Me!

Hello hello! Yes I know I took a 3-year break from posting… I apologize. I just wanted to take the time to provide the Beanie the Hamster Blog with some closure. I think about it sometimes, and finally dug up my login info.

Stew passed away last year due to old age, and I have not taken in a new hammy.

I absolutely loved my years as a hamster owner, but I am in a new chapter and hamsters just aren’t a part of that. I actually got a rabbit while I still had Stew, so animals are still a part of my daily routine.

I was working for a lady who needed to rehome her year-old Holland Lop, and next to hamsters and cats, rabbits are a favorite of mine. I had done a lot of research on rabbits years before. I took the opportunity, and have had Frankie for 3 1/2 years now. I don’t know if I ever mentioned him when I was posting, but he lives free roam in my room and is a very charismatic bun.

I don’t know that I’ll ever post here again, but I will be leaving this blog up. I get my stats emailed regularly, and it seems people still enjoy and implement the content that remains here. If you ever comment, I see it and appreciate it!

Thank you to my viewers who enjoyed the content when I was posting back then, and continue to share this blog as a resource. Have a ham-tastic day 🙂

Update

This post is my 110th consistent post, and I think I need a little break. I’ve really enjoyed the last year and a half of posting new hamster content weekly, however, I’m starting to get a little burnt out.

I don’t plan on dropping off the internet, in fact, I still intend to post Stew’s monthly deep cleans and any other content I can manage. My life is just getting really hectic, and I need to reduce some stress/pressure. I’m having trouble keeping up with everything.

I hope you all understand, and know I still love hearing from you. When I do post it’ll be on Tuesdays. If you’re interested in more hamster-related content be sure to like this post and follow the blog, and I’ll be back eventually with more small pet care, DIYs, recipes, cage setups, stories and more, have a ham-tastic day!

Greasy Roborovski Fur?

My Roborovski Hamster, Stew

Ahh yes. Roborovskis. Those little eyebrowed wonders. Many people own Roborovskis, and it’s understandable why: they’re very cute.

What’s not cute, however, is when they look wet or greasy. This is quite common, and today, we’ll dive right in with reasons your Robo might look this way, then move on to how you can help your hamster reach peak fur-glory.

Why Do Roborovskis Get Greasy?

Throughout my Googling, I couldn’t find a scientific cause for the greasiness. I suppose nobody thought putting tax dollars towards learning the cause of greasy hamster fur would be worth it, so we’ll have to stick to the ideas from experienced Roborovski owners from several forums.

I have my sources linked below, and I’d highly recommend reading into those conversations, of even joining the forums, to learn more.

How to Prevent/Cure Greasiness

The simple answer is a sand bath. Hamsters will groom themselves with their tongue, but sometimes having a sand bath will help rid your hamster of any extra oils in their fur.

To learn how to setup a sand bath and what to expect when using one, you can check out my post dedicated to the subject.

Sometimes a hamster will just neglect to groom themselves, and that can also cause your hamster to become greasy.

If you’re interested in more hamster-related content be sure to like this post and follow the blog, and I’ll be back on Tuesday with more small pet care, DIYs, recipes, cage setups, stories and more, have a ham-tastic day!

Sources:

Stew’s September Cage Makeover

Stew Chews On a Whimzee

Hello and welcome to this week’s post! Today I’ll be showing you how I deep cleaned Stew’s cage for September, 2021. Enjoy!

The Remains of the August Makeover

Here you can see the cage before the makeover. It is still quite similar to the last time you saw it, but it could definitely use a good clean.

I’m going to be changing the substrate to some shavings I had laying around, and then I want to start mixing in some paper bedding, which I’ve never tried before.

The substrate change is due to the cooler weather where we are, and I want my little Stew to be nice and cozy. After scraping off the “dirty” top layer of soil, I bagged up the rest to use next spring/summer.

Stew’s First Shavings

So after removing the toys, soil, and getting Stew to the safety of his carrier, I wiped down the cage and added in the shavings.

Step One of the Setup

When I took out his previously used toys, I kept them out to reuse. I wanted to keep some of his familiar scent, since the shavings are brand new.

So I put in the fairy house, apartment building, dig box, and his little sand bath first, placing them similarly to the last setup.

I filled the dig box with his old soil substrate, so he could have another texture and familiar smell.

Step Two of the Setup

Next I added his wheel (which I washed), a wooden slab, his matching dishes (so cute), a branch, bendy bridge, hollowed birch bark tunnel, green hammy hide, and a rock.

Step Three of the Setup

At last, I added in the final touches. Some pebbles, chews, nesting material, another bark tunnel, foraging toys, a little bridge, terra cotta pot, food, moss, and some leaves and grasses I sanitized for forage.

And with that, the setup is complete!

Stew Admires His Kingdom From The Balcony

After all these months, it was really interesting to use shavings again for a hamster! I do really want to make his substrate deeper, and try paper bedding, so expect to see some mixing of substrates next month!

Thank you for reading this post. If you’re interested in more hamster-related content be sure to like this post and follow the blog, and I’ll be back on Tuesday with more small pet care, DIYs, recipes, cage setups, stories and more, have a ham-tastic day!

Sand Baths For Hamsters

Today we’ll be discussing everything there is to know about using sand baths for hamsters. I’ll be sharing my experience and answering some commonly asked questions, and linking some sources at the end. Do hamsters need sand baths? Will any old sand do? How big (or small) does a sand bath need to be? These questions and more will be answered throughout this post. Let’s dive right into it.

What You’ll Need/How To Set Up A Sand Bath

So what do you need to create an exceptional sand bath for your hammy?

  • A dish or tray
  • A sieve
  • Sand

All these components can be found for about $20 or less and will last a very long time. It’s definitely worth it.

The thing which will contain the sand can be any material. Baking trays, casserole dishes, and plastic containers all work nicely. You can also find specifically manufactured sand baths for hamsters available online.

The dish should be at least 6×6 inches for a dwarf hamster and 8×8 or larger for a Chinese/Syrian. For any species it should be at least 2 inches deep.

For cleaning out crumbs or poo from the sand, a small sieve is very handy. These can be found at most dollar stores for a few bucks. You can get any size you like, but I recommend getting a 3 or 4 inch one that will fit in the sand bath.

As for the most important element of a sand bath (sand), there are a few options. Most people (including myself) use Children’s Play Sand. It usually comes in bags of 20-50 pounds from hardware stores, and is relatively cheap.

Most kid’s sand doesn’t require disinfecting, but will need to be dried out. I personally let it air dry in a tray for a few days, but you can also bake it for a few hours to speed things up.

Should you decide to disinfect sand before use, baking it will both dry and disinfect it.

I also recommend sieving all the sand as you put it into the bath. This really makes a huge difference, as Children’s Play Sand tends to be pretty rough.

The other option is reptile sand from the pet store. The most common brand is Zoo Med, and I have heard wonderful things about it (namely its smoothness). You can get the red or tan coloured stuff, but avoid the calcium coated sands (for reptiles as well as hamsters!).

Calcium sand entices your pet to eat it, which then causes impaction (lethal constipation).

Long-Term Use

Sand baths require little maintenance. Basically, sieve it a few times a week. If your hamster pees in it, remove the pee clumps when spot cleaning (a small spoon or your sieve works great). Replace the removed sand as needed.

Does My Hamster NEED A Sand Bath?

In a word, yes.

Sand baths provide an opportunity for your hamster to remove excess oils from their fur. This will make them look nicer and be healthier.

It’s also a very natural behavior, and providing them with a sand bath is an awesome source of enrichment, even if your hamster doesn’t use it often.

The $20 (or less) put into a sand bath is worth every penny if you ask me.

What To Expect

I figured you should be prepared for how your hamster will use the sand bath, as it may be a shocking sight to some.

Most hamsters will simply roll in the sand, while others will dig or flail around, usually making a huge mess of it. Don’t worry, they’re fine 😉

Some hamsters may show no interest. Even so, leave the sand bath in.

My Experience With Sand Baths

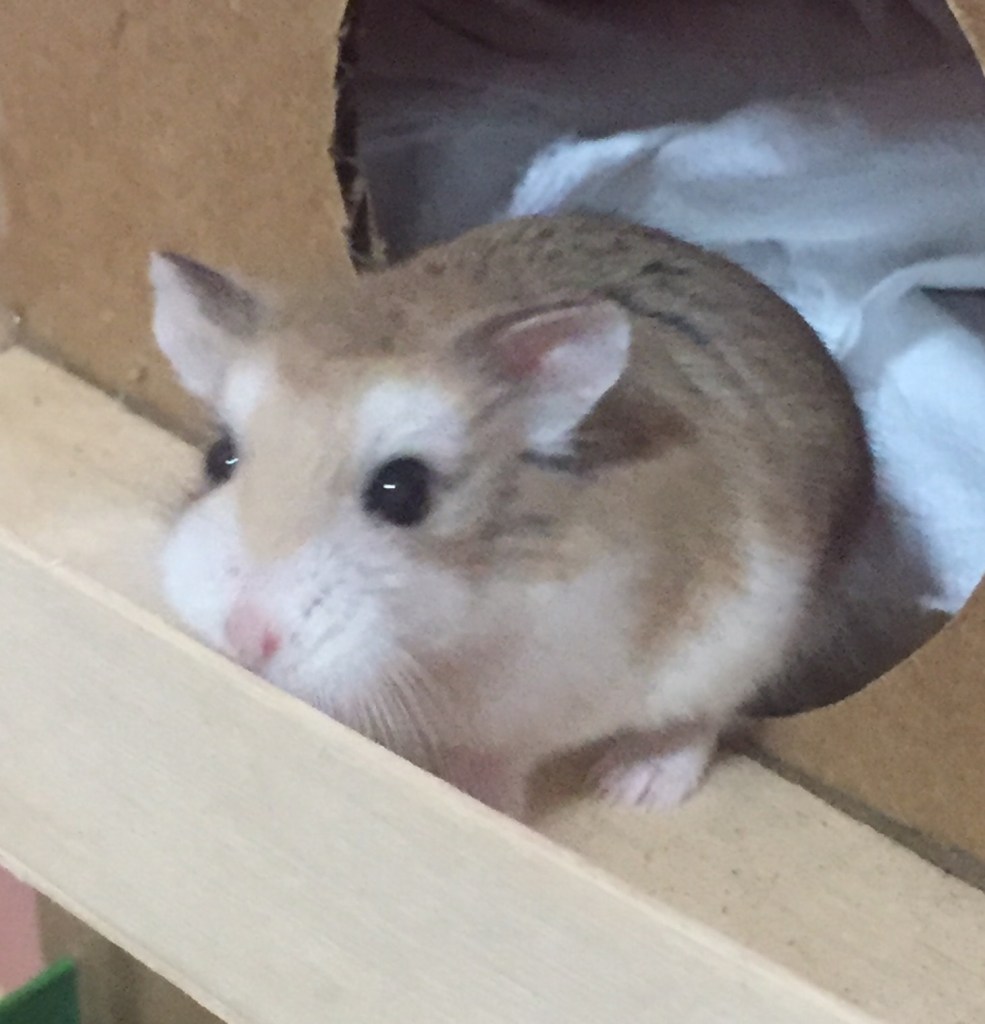
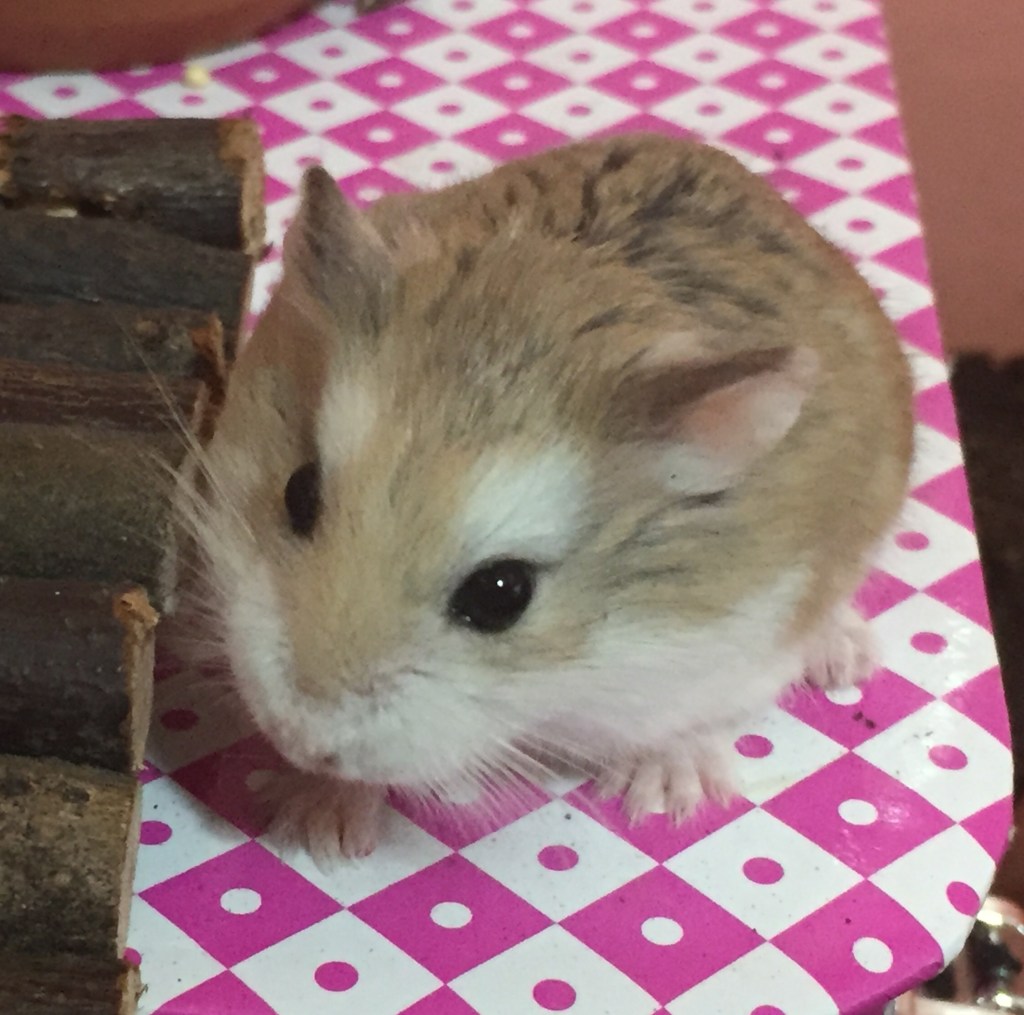
I first started using sand baths with my current hamster, Stew, who is a Roborovski. I had read that they are prone to greasiness and that Robos especially benefit from a sand bath due to their desert origins.

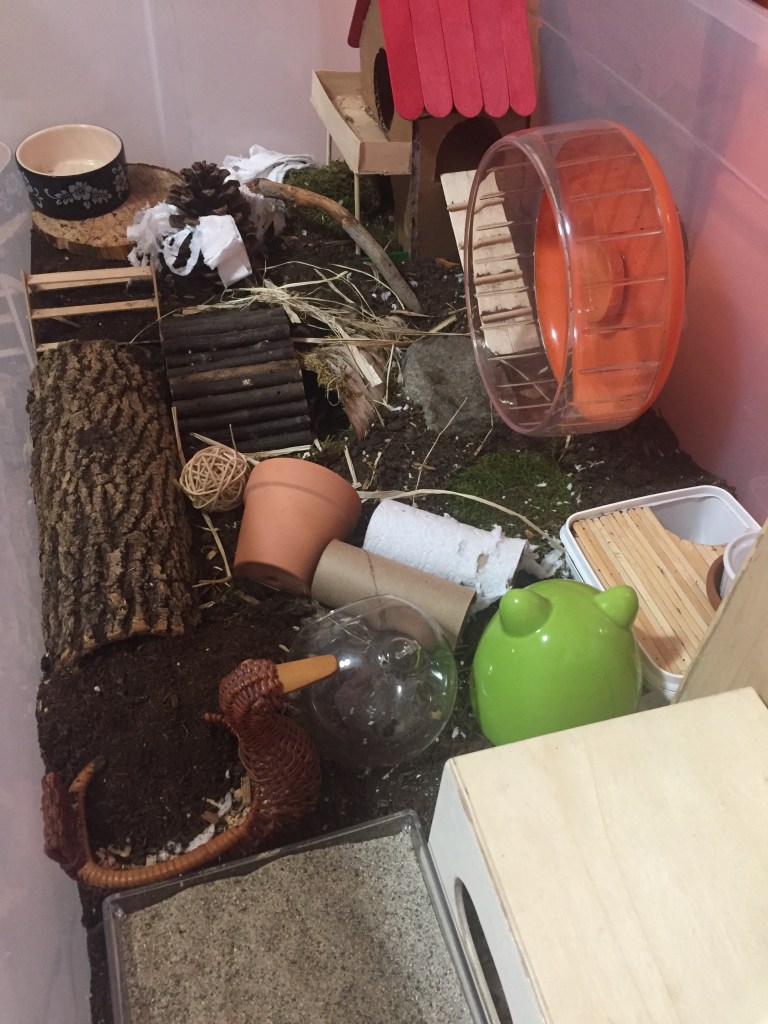
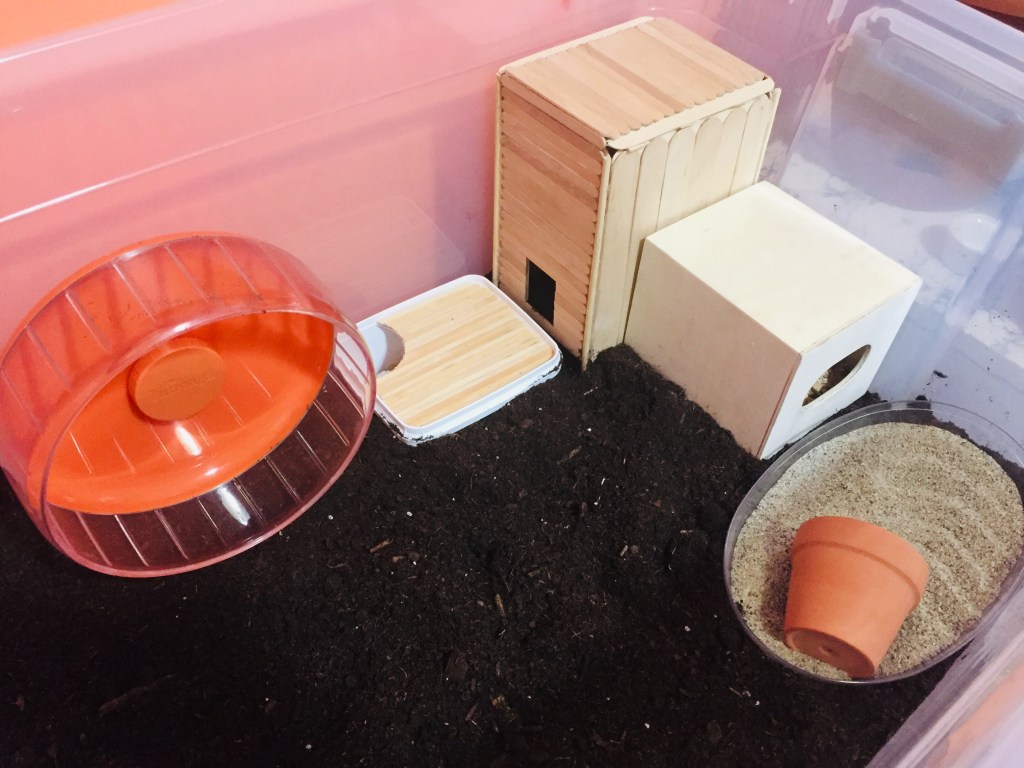
I purchased a bag of Children’s Play Sand from my local hardware store, and put it in a tray where it dried over a few days. I then sieved it and filled my ceramic casserole dish for the future hamster.

I haven’t had any problems with using Children’s Play Sand, and it gets smoother the longer you use it from sieving out seed husks and the bigger ‘sand bits.’

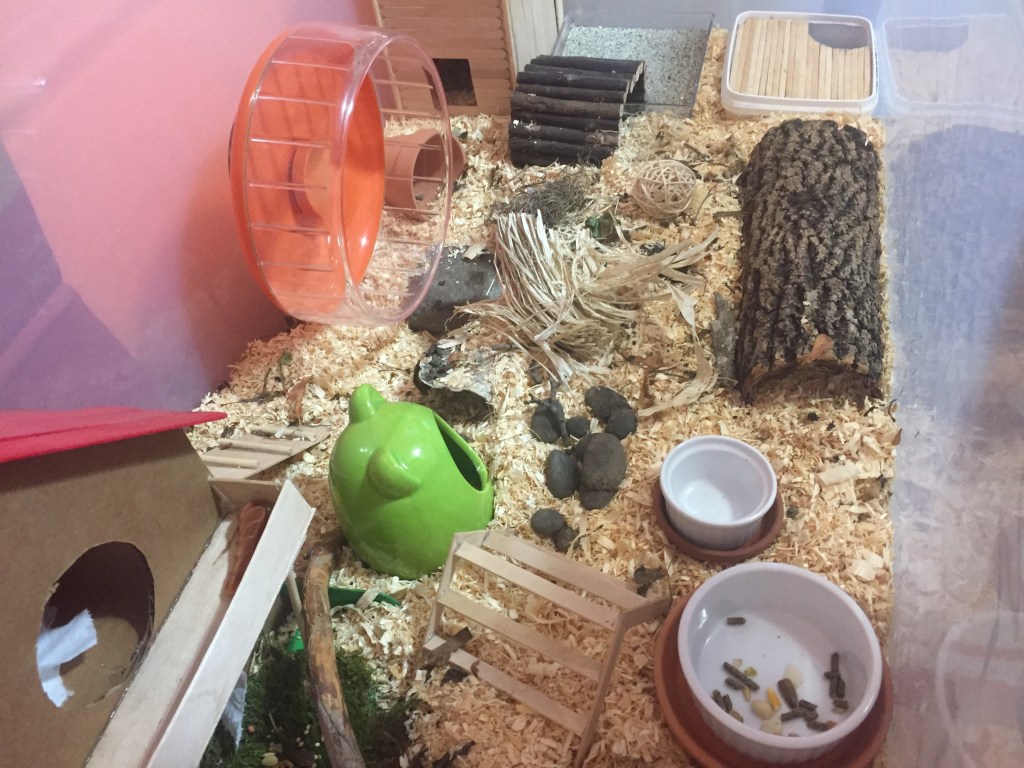
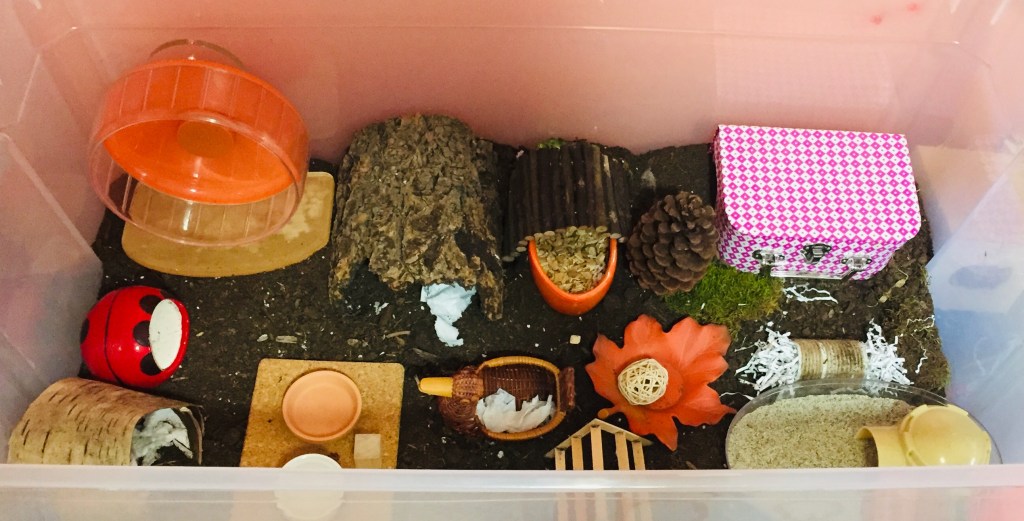
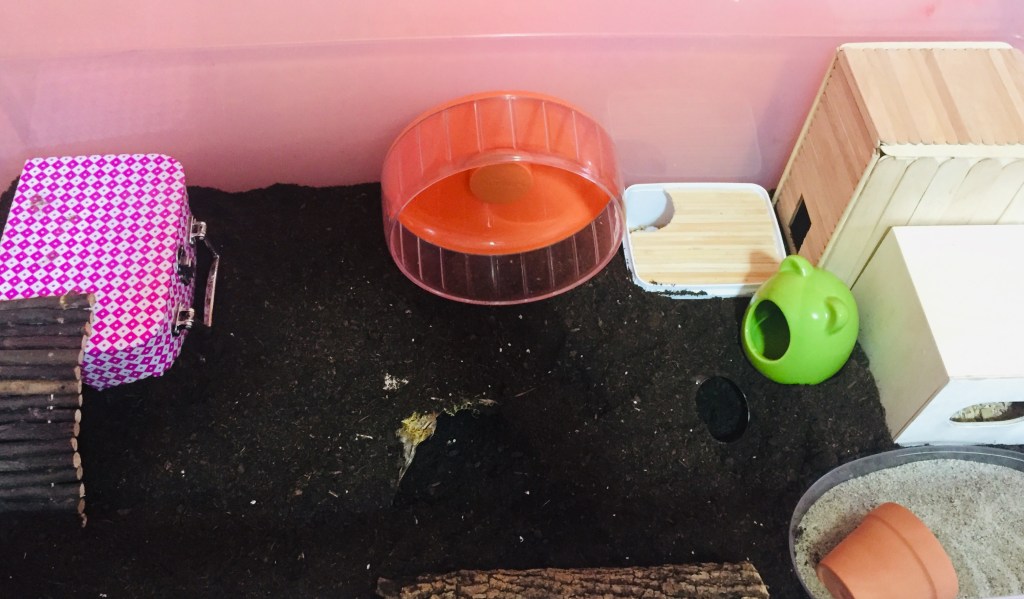
I’ve found Stew doesn’t particularly like his sand bath. It might be because of his soil substrate or just his personal preference, but either way, I have downsized it so it doesn’t waste space. I still feel it’s important for him to have one, albeit a small one.

For upkeep I simply sieve the surface every couple days, and I’ve been using the same batch of sand for over 3 months. The 10 pound bag I have will undoubtedly last Stew’s lifetime.

Conclusion

When I had this idea I didn’t realize I’d have so much information to share about sand baths! I’d like to thank my sources, namely Victoria Raechel, HamppoTV, and HamsterLAB on YouTube. I love their content, please check them out!

I hope any questions you had about sand baths were answered in this post, but if you can think of anything else let me know in the Reply section below!

If you’re interested in more hamster-related content be sure to like this post and follow the blog, and I’ll be back on Tuesday with more small pet care, DIYs, recipes, cage setups, stories and more, have a ham-tastic day!

Flying Saucer Wheels

Hello! I apologize for the tardiness of this post; I was experiencing some technical difficulties.

Flying saucers are a very common wheel used for small pets, but are they really okay to use? Are they superior to traditional wheels, or should they be avoided at all cost?

Today we’ll be looking through the pros and cons of using flying saucer wheels for hamsters, as well as my personal experience, and linking some input from other people who’ve used this wheel for their pets at the end.

My Experiences With The Flying Saucer

I purchased a collection of hamster supplies from a Buy’n’Sell website some months ago, and with it came a purple 7″ flying saucer.

When I brought my precious little Stew (a Roborovski) home, I discovered he couldn’t run in his rather heavy 6″ Silent Spinner (which I was planning to upgrade when he was bigger). The flying saucer was a wonderful replacement to have on hand, as it’s a very lightweight wheel even my young Robo could push it easily.

This wheel was great for about a week until the clattering started.

This wheel would make a dreadful clattering noise, and nothing stopped it (oiling, tying yarn around the axle, attempting to tighten it… nada).

It was then when I ordered the replacement wheel (the flawless, orange, 8″ Nite Angel wheel).

I don’t know if I’d use or buy a flying saucer again, however, and had it not been so noisy, I would’ve used it until Stew outgrew it.

Cons

  • Noise

This wheel was sleep-depriving, and nothing could silence it.

  • Space

When it is the correct size for your hamster, this wheel takes up a lot of space.

Pros

  • Lightweight

This wheel worked great for my baby Roborovski; no trouble pushing it.

Overall…

I only talked about things that make this wheel different from a traditional wheel, and as you can see, there’s not a lot there.

It takes up a lot of space, is noisy, and lightweight. That works for some people and their hamsters, I’m just not one of them.

Conclusion

There’s no reason not to use a flying saucer wheel (as long as it’s the correct size, of course), but I would tell anyone considering it not to waste their money.

There are plenty of awesome traditional wheels that are nicer than a saucer, and are definitely worth investing in (Nite Angel comes to mind).

#notsponsoredbyniteangel

In the end, it’s your decision. Please let me know in the Reply section below what wheel you use and if you like it! You know the drill; if you’re interested in more hamster-related content be sure to like this post and follow the blog, and I’ll be back on Tuesday with more small pet care, DIYs, recipes, cage setups, stories and more, have a ham-tastic day!

Sources

Hamster Hideout Forum – Wheel or flying saucer?

Hamster Central Forum – Flying Saucer Wheel Warning!!

-Check out my other posts to learn more about hamster wheels!-

Pairing Hamsters

This is yet another controversial topic that deserves more recognition: should hamsters live in groups? Is this an enriching lifestyle that will result in multiple happy hamsters, or a strained relationship of two anti-social animals being forced to coexist together?

The Anti-Social Species

Syrian hamsters naturally do not live together in the wild. They will steer clear of other hamsters and their territories. A single Syrian will have their own territory where they have their nest, search for food, and raise their pups.

Male Syrians seek out the territory of a female with whom they will breed. The male then assists the female with caring for the pups until they reach sexual maturity.

The female hamster will then force out the male and her mature pups, and they’ll go create their own territories.

Syrian hamsters have been proven from thorough studies that they do not seek out companionship from other hamsters, and will usually fight (or kill) any hamster that enters their territory UNLESS they intend to breed.

Syrians should be housed in separate cages, but you can own multiple, separate Syrians at one time.

Chinese hamsters are the least common species of hamster to own. Should you be able to find multiple Chinese hamsters available, it is best to house them separately for the same reasons as Syrians.

Winter White Russian Dwarf hamsters, also referred to as Djungardians, are often thought to be a social species of hamster. This is not true for Winter Whites. They have been found to not be social in the wild, and should not be forced into close proximity in captivity.

The Social Species

Campbell’s Russian Dwarf hamsters have been seen in large colonies of other Campbell’s in the wild. However, does this mean they should be housed together?

I think not. Campbell’s hamsters only really live together for 2 reasons in the wild:

  • Safety (in numbers)
  • Breeding (mass reproduction)

A domestic hamster needs to neither seek safety in a large group, or reproduce! For those reasons, I don’t recommend housing pairs of Campbell’s.

The chance of a pair fighting is reasonably high, and I prefer not to take chances.

Roborovski Dwarf hamsters, A.K.A. Robos are the smallest and speediest species of domestic hamster. In the wild they too live in colonies for the same purposes as Campbell’s, and for the same reasons, I wouldn’t personally house them together unnecessarily.

Hybrids

The Winter White and Campbell’s Russian Dwarf are extremely similar; they are so closely related in fact, that they have produced a cross-bred hamster.

These cross-bred Russian Dwarfs are usually referred to as Hybrid dwarfs or Hybrids. The real question is: are they social?

I don’t believe there is a definitive answer to that question. You have a social and an anti-social parent, so which will the pups be? I think there would be some social and some anti-social Hybrids.

I would not recommend housing Hybrids together because we just don’t know if they’re truly social.

And the issue is, most Russian Dwarfs advertised as Winter Whites or Campbell’s are not purebreds, but Hybrids (unless purchased from a reputable, ethical breeder). I would not recommend housing any Russian dwarfs from anyone except an ethical breeder together, because it will most likely be a Hybrid, which is probably not social.

The risk of them fighting is extremely high, and pet owners should be striving for prevention, not the owner’s joy of seeing two hamsters together.

Recap

Syrians, Chinese, and Winter White Russian Dwarf hamsters are NOT SOCIAL, and must be housed separately for their well-being.

Purebred Campbell’s Russian Dwarfs and Roborovski Dwarf hamsters can be housed in same-sex groups, but do not have any real benefit from doing so.

If a Campbell’s Russian Dwarf hamster is not coming from a reputable, ethical breeder they are MOST LIKELY going to be a Hybrid Dwarf, which should not be paired with other hamsters.

Never put two different social hamster species in pairs.

Conclusion

Whew! That was a lot to go through. I really hope that this all makes sense, but if you have any questions please go ahead and comment your concerns.

Personally, I wouldn’t ever keep a pair unless I rescued/adopted them, and even then I would work towards separating them. Have you ever owned a pair, or had experience with owning multiple hamsters? Feel free to comment in the Reply section about your experience; I’d love to hear about it!

If you’re interested in more hamster-related content be sure to like this post and follow the blog, and I’ll be back on Tuesday with more small pet care, DIYs, recipes, cage setups, stories and more, have a ham-tastic day!

Stew’s August 2021 Cage Makeover

Stew Exploring His Cleaned Cage

Welcome to the August cage makeover! This post is a followup from my last two about selecting safe and enriching hamster toys and accessories. Those posts as well as all the DIYs seen here are linked at the end for those interested.

Before the Deep Clean

Stew’s cage had dwindled from perfection since the last month’s undocumented deep clean. The setup will be redone, soil removed and replenished, and everything washed as needed.

Step One

I emptied all the accessories from the cage, put Stew into his carrier, and began preparing the soil. I scooped out the top layer, added half a bag of new soil, and thoroughly combined the soils together. Next, I spread it evenly and packed it down.

Then in the far right corner I placed my DIY popsicle stick apartment, and a wooden tissue box holder from my local dollar store, for nesting options.

Step Two

I knew I wanted Stew’s wheel in the middle of the cage at the back, so I placed that there right away. I proceeded to fill my DIY yogurt tub nest box with wood chips and shredded tissue for bedding and placed it in front of the apartment as a sort of entryway.

I topped off the sand bath and placed it in the front right corner with a small terra cotta pot in it for cover.

Step Three

Next I added a few more hideouts throughout the cage. In the middle we have a piece of hollow birch bark hidden in the soil, along with a little glass sphere to duck into. By that we have the little green ceramic hammy hide and across the cage in the back left corner, my DIY suitcase hidey house with a bendy bridge leading on top of it.

Step Four

And to finish off, I added in a few space filling accessories, including the mini duck basket, some moss, food and water dishes, some pebbles, a popsicle stick bridge, a bark tunnel, and a toilet paper tube.

I love how this setup turned out, and Stew seems delighted to have a change of scenery.

If you’re interested in more hamster-related content be sure to like this post and follow the blog, and I’ll be back on Tuesday with more small pet care, DIYs, recipes, cage setups, stories and more, have a ham-tastic day!

The DIYs Featured in this Post

Related Posts

Tips For Selecting Enriching Toys For Your Hamster

Last week I talked about how to select safe toys for your hamster. I then realized that hamsters would be living very boring lives in such safe enclosures, so this week we’ll be discussing…drumroll please….

How to Select Enriching Hamster Toys

The definition of enrichment is to enhance life (thank you Google dictionary), so let’s learn how to ‘enhance the lives of our hamsters,’ when we pick out or create new accessories for them.

Textures

Textures are probably the most enriching thing you can provide for your hamster. Hamsters have terrible eyesight, and rely primarily on smell, hearing, and touch to navigate their world.

When you’re gazing down the aisles of a pet store looking for something to entertain your hammy, look for toys with texture. Natural toys tend to have more texture than plastic or ceramic accessories.

You can also create a section of the cage with a secondary substrate. A few options are soil, shavings, paper bedding, sand, corn cob bits, wood pellets, or that weird granule substrate. Just make sure your primary substrate can hold burrows.

Chew-ability

Hamsters’ teeth continuously grow, and they need things to chew to keep their teeth short (otherwise they require a vet procedure to trim their teeth).

When selecting toys for your hammy see if they are a safe material to chew, such as wood. You can also provide chew toys, but some hamsters prefer chewing their accessories.

Climb-ability

Some hamsters (namely Syrians) love climbing. Hamsters are not made for climbing. When offering climbing toys to your hammy make sure they are either quite low or have a railing to prevent major, injury-inducing falls.

Lots of these toys have ramps, but if not, make sure they can climb it without too much trouble.

Hide-Ability

Hamsters are prey animals, and they benefit from having easy access to hiding places. They will be more confident when they can hide quickly.

Hidey houses are a great option for this, and provide a safe place to nest as well. Hamster houses come in many sizes, shapes, and designs. Try to avoid transparent plastic houses; hamsters feel safer in opaque accessories.

When selecting a hideout make sure the doorway is (at minimum) 2 inches for dwarfs and 3 inches for Chinese and Syrian hamsters. This will prevent them from getting stuck when their cheek pouches are full. They can also puncture the inside of their cheeks with food if the doorway is too small.

I always like to have at least 3 hidey houses for my hammies so they can choose which they prefer for a nesting place.

Foraging Toys

Foraging toys are wonderful for hamsters. These toys come in many forms, but all usually have the same concept: hiding food.

Most hamsters are highly food-motivated, so hiding their food in a foraging toy is an excellent way to stimulate their little brains. Many foraging toys also involve chewing to free the captive food, so this also provides something to chew.

You can also scatter feed their seed mix, or sprinkle some forage for them to find. Forage usually consists of different hamster-safe leaves and flower petals that they can snack on (you can purchase bags of forage online).

Conclusion

If a hamster toy or accessory does not provide a new texture, somewhere to hide food, something to chew, something to climb on, or something to hide under, it does not really provide any enrichment.

Hamsters do like semi-crowded cages, so you can afford to put in some random, boring toys, but always think safety and enrichment first.

Next week I’ll be sharing how I do Stew’s monthly deep clean, and show you how to apply these principles to his new setup, so if you’d like to see that post be sure to like this post and follow the blog, and I’ll be back on Tuesday with more small pet care, DIYs, recipes, cage setups, stories and more, have a ham-tastic day!

Related Posts:

  • Learn to create your own safe and enriching hamster toys here!
  • See last week’s post on how to pick safe hamster toys here!

Tips for Selecting Safe Toys for Hamsters

There are many types of hamsters toys with their ups and downs, but today we will discuss how to tell if a toy is safe for your hamster.

Something that applies to ALL toys

Hamsters are ground dwellers. They literally burrow underground; you can’t be more of a ground dweller than that. So even though some hamsters enjoy being up high, they are not equipped for climbing.

If your hamster enjoys climbing you should embrace this aspect of their personality by providing easy ways for them to climb (e.i. platforms with ramps). When selecting toys for your hamster to climb on always ensure there are railings so they cannot ‘yeet’ off the platform and possibly harm themselves.

Hamsters are known for leaping off of things; take precautions.

Plastic

Plastic hamster toys are a very popular option, and tons of small pet owners, including myself, use them without problems. The issue is that if ingested, hamsters can have internal blockages from plastic toys, so if your hamster is more of a chewer I would not recommend using plastic toys.

If the toy is meant to be a hidey house, ensure it has enough ventilation and is not transparent. Hamster’s need their privacy to feel safe.

An issue with some hideouts is that the ventilation holes (and other small gaps) pose the risk of a foot getting caught. Always check and make sure there are no crevices where your hamster’s foot could get stuck.

Natural Materials

Natural materials include wood different woods and grasses, and even cardboard. In terms of safety, these materials are all digestible, so if your hamster chews them they will pass the materials as usual. This is one reason natural toys are safer.

An issue with natural toys, however, is that they are very textured, which can create opportunities for caught toes and limbs. Texture is important for hammies, but always make sure there are no dangerously V-shaped branches etc… that can cause injury.

Edible Houses

There are a category of toys that deserve to be talked about in depth: edible toys. There is a lot of controversy surrounding these accessories, and I wanted to mention them.

Edible toys have a very… interesting array of ingredients, including hays, softwoods, and flavorings, such as honey or processed sugar. It is okay for hamsters to consume these ingredients in moderation, but when you put an entire house stuck together with sweeteners in their cage, they’re usually going to eat more than a moderate amount.

When hamsters chew things, usually they spit it out (they chew to wear down their teeth, not from hunger). But when the wood is ground up and tastes really good, they’re going to consume the wood. Hamsters are not beavers. They are not meant to eat wood, so if enough is consumed, your hamster could develop constipation or any number of issues from these edible houses.

Conclusion

Use common sense when selecting hamster toys. Is your hamster a chewer? Maybe don’t give them plastic accessories. Lots of hamsters tend to get more enrichment from natural toys anyway, so go ahead and try ’em out!

Always check for tight spaces where your hamster could get caught, and maybe give them different edible chew toys than one of those edible houses (I highly recommend Whimzees dog chews). Make sure they can’t fall too far off of a toy or platform. Stay safe, hammies!

If you’re interested in more hamster-related content be sure to like this post and follow the blog, and I’ll be back on Tuesday with more small pet care, DIYs, recipes, cage setups, stories and more, have a ham-tastic day!

Design a site like this with WordPress.com
Get started