Wet Tail (Proliferative Ileitus)

I’ve heard the term ‘Wet Tail’ thrown around by people who obviously don’t know what they’re talking about. Hopefully with this post we’ll be spreading some awareness, as well as helping those whose hamsters are suffering from it.

We’re going to be answering the some of the most asked questions in depth, particularly:

  • What Causes Wet Tail and Can I Prevent It?
  • What Are The Symptoms of Wet Tail?
  • How Do You Cure Wet Tail?
  • Can My Hamster Get Wet Tail?

I would recommend learning about some common diseases before you get a pet, not just when you notice something isn’t right. By doing this you will notice symptoms right away, and that could save your pet’s life.

What Causes Wet Tail?

Wet Tail, or Proliferative Ileitis, as the nerds might know it, is a disease found in hamsters (Cricetinae). The majority of hamsters affected by Wet Tail are younger Syrians. Roborovskis, on the other hand, are rarely stricken with the disease.

After doing some research, I’ve come to the conclusion that:

  • Stress plays a major part in the onset of Wet Tail.
  • Stress can be caused by improper husbandry (small cage, improper diet, etc…), an overcrowded and/or dirty cage, or a sudden change in diet.

One or more of these stressors causes a bacteria called Lawsonia Intracellularis to grow in the hamster’s digestive system, which leads to a compromised and/or weakened immune system. This is the ideal environment for Proliferative Enteritis, a small intestine inflammation which results in…

Proliferative Ileitis, commonly known as Wet Tail.

A less common cause of Wet Tail is age. An older hamster might not be capable of properly grooming themselves. This lack of hygiene can weaken the hamster’s immune system and increase the risk of Wet Tail.

Preventing Wet Tail

In order to prevent Wet Tail, you need to start at the beginning. Stress. Avoid creating a stressful lifestyle for your hamster, and you should be Gucci. Some things you can do to bypass a stressful lifestyle are:

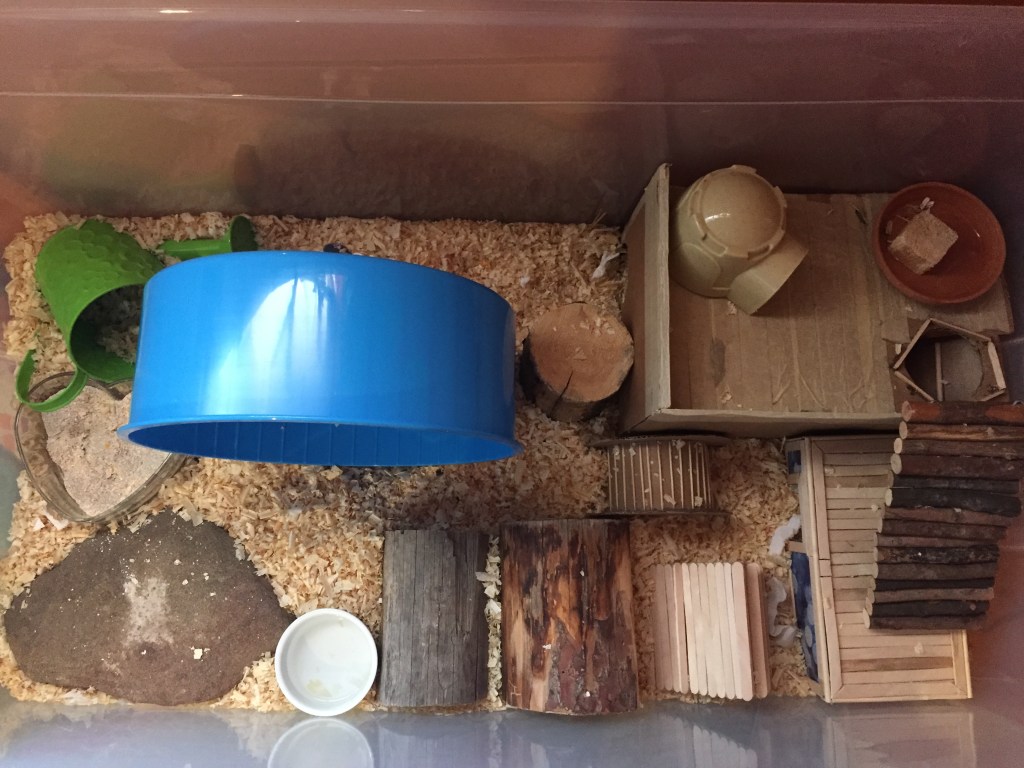
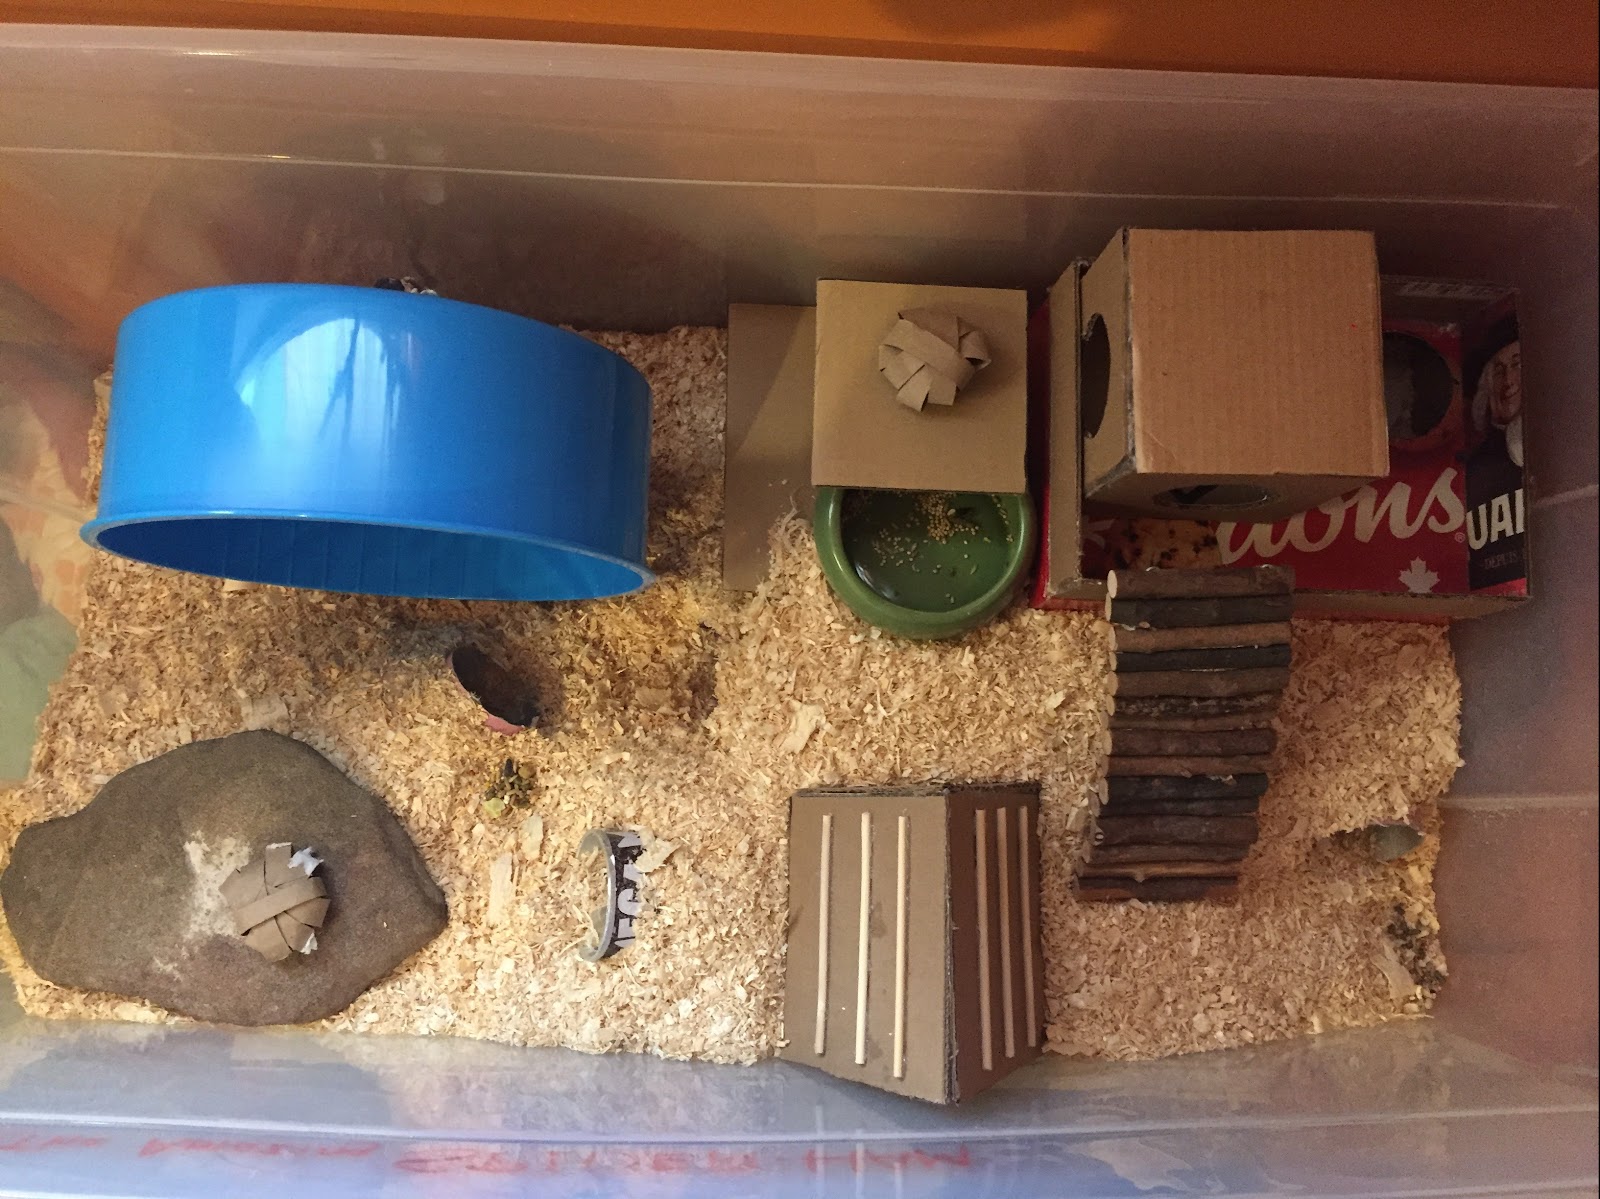
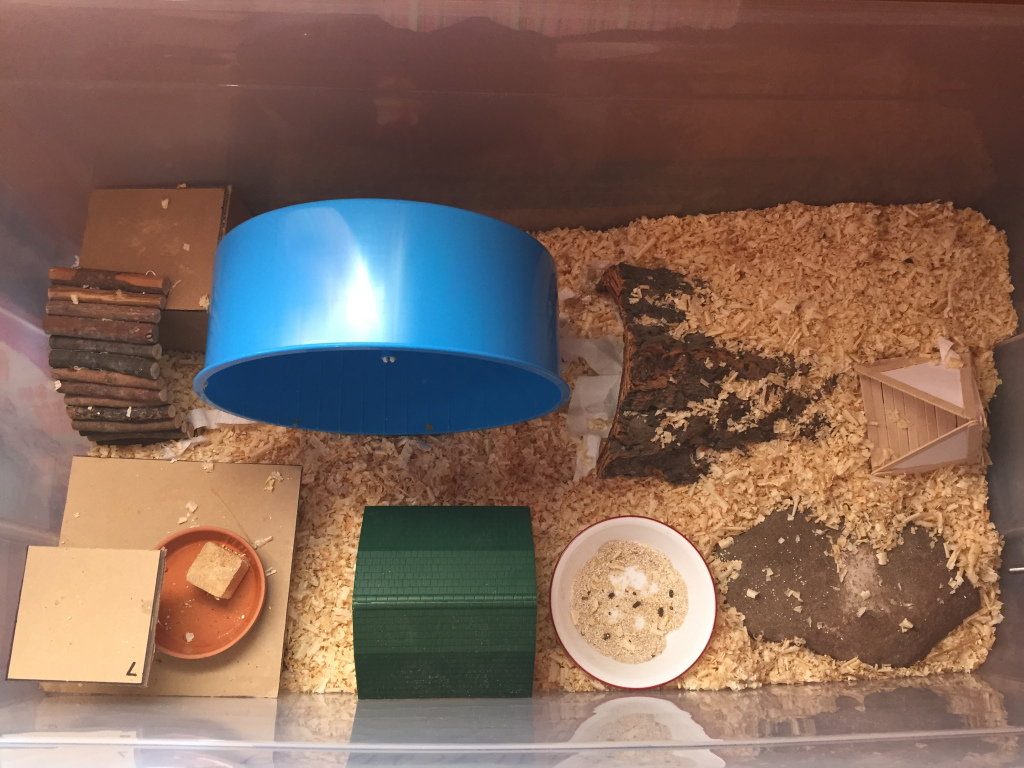
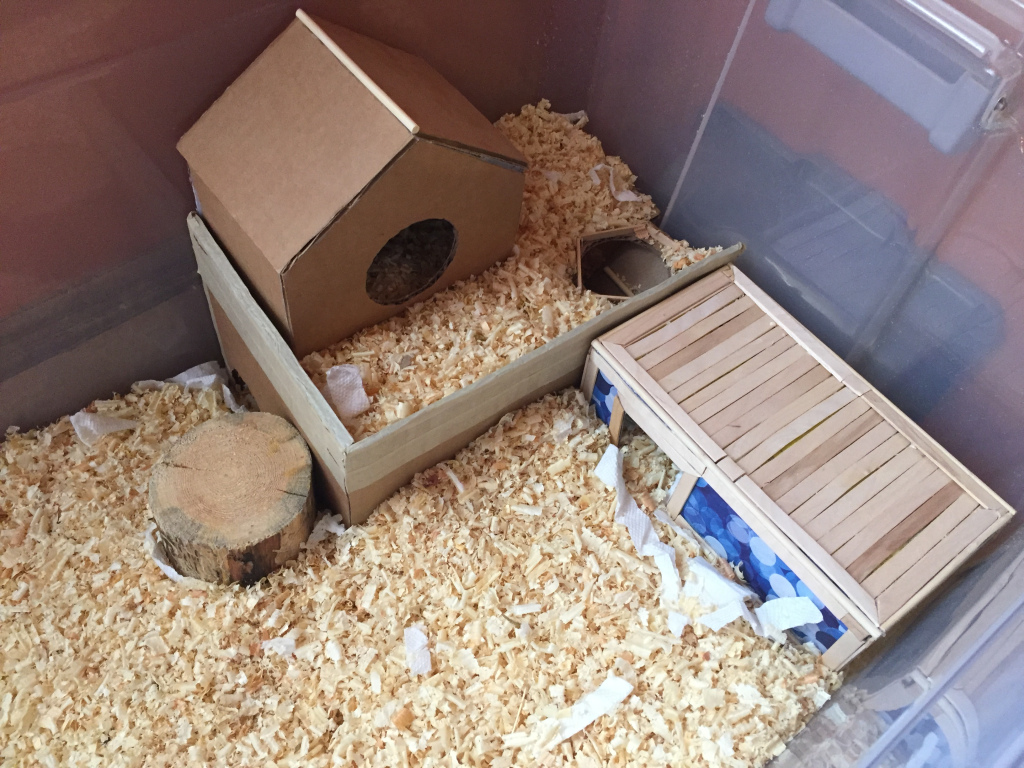
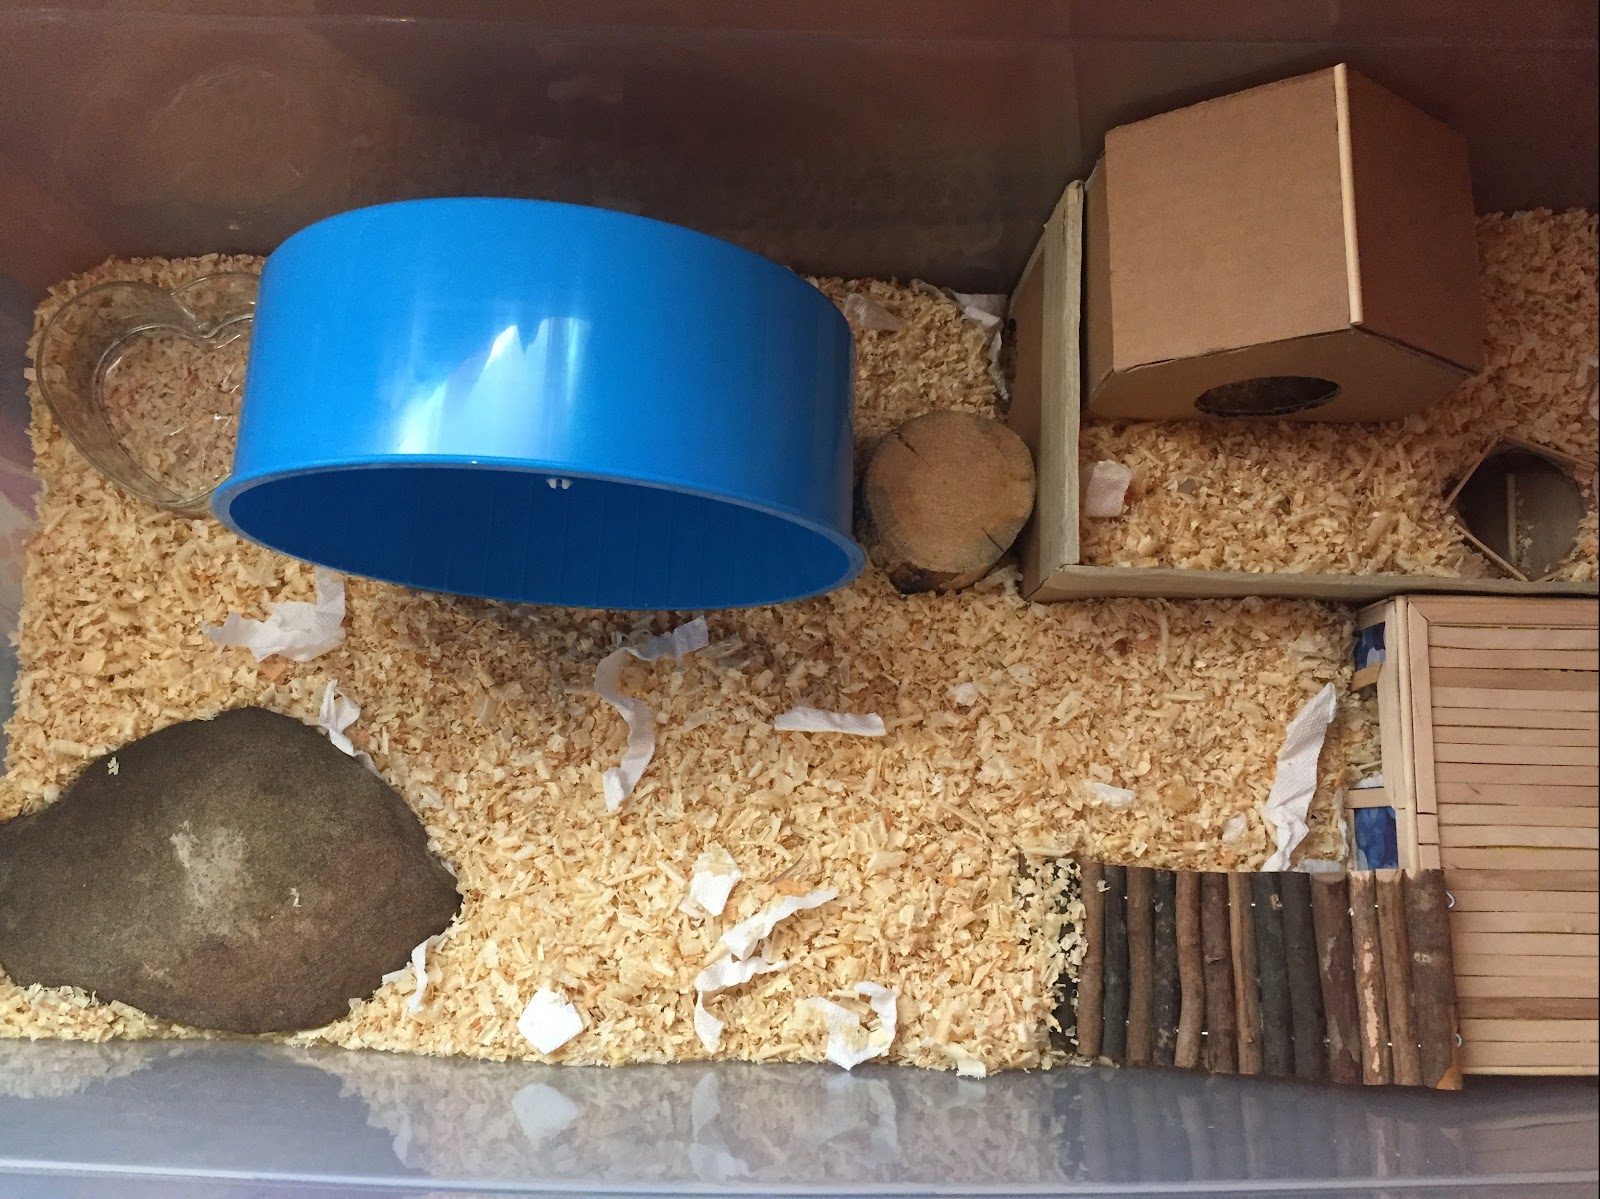
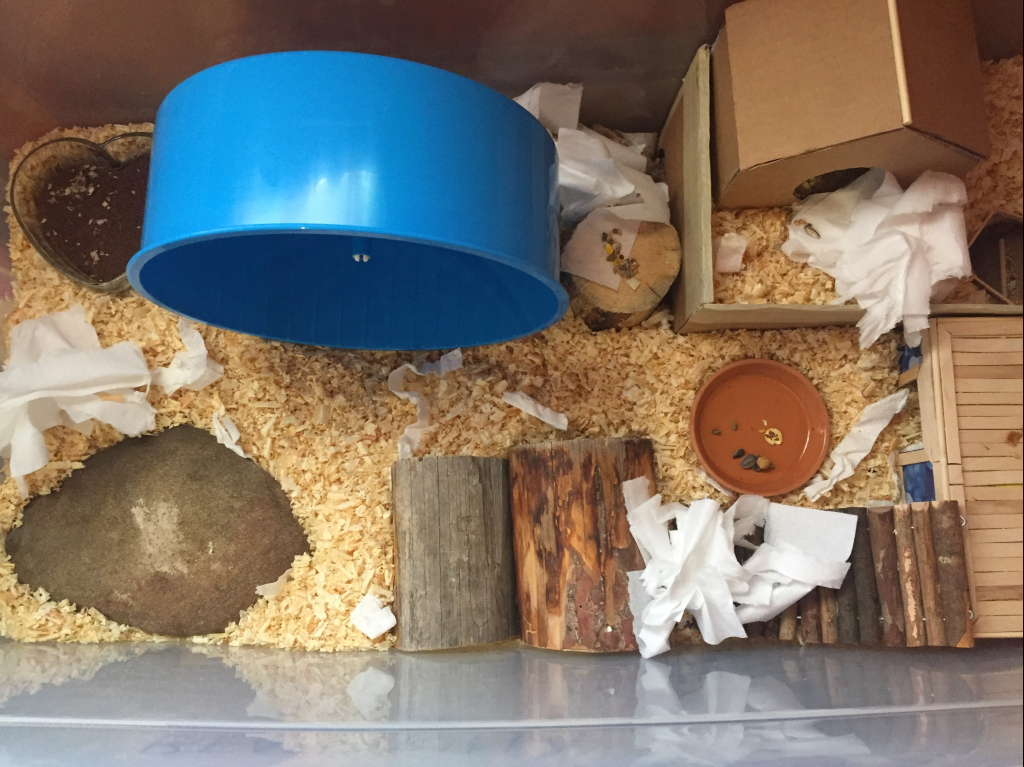
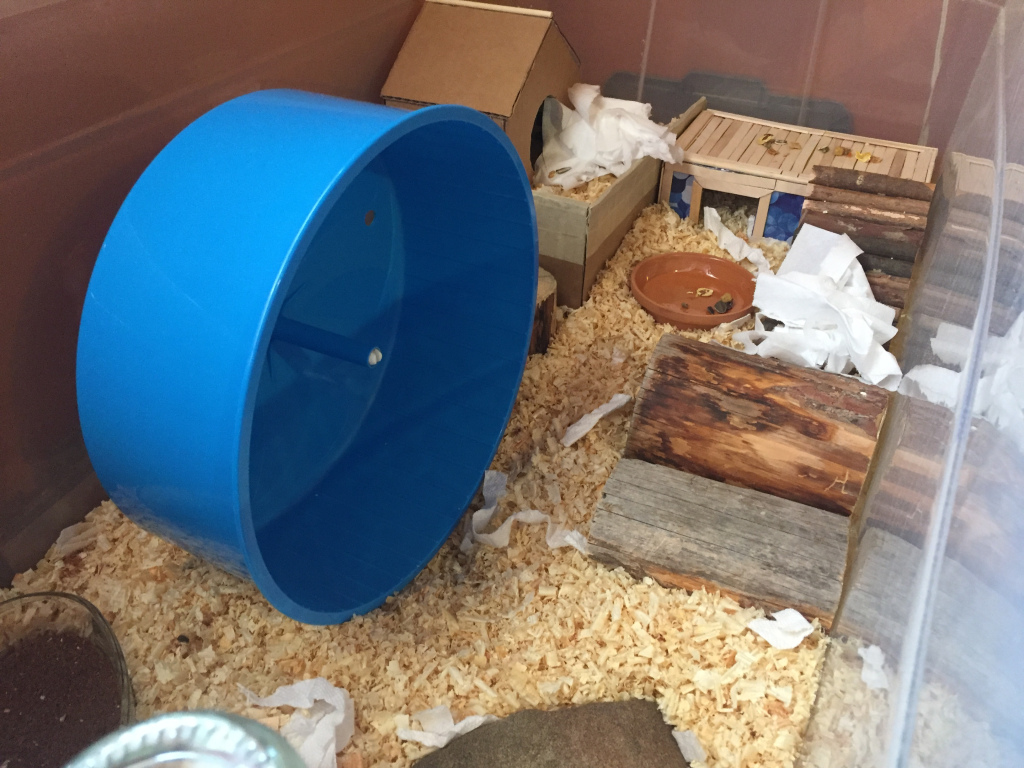
  • Have an appropriately sized cage of at least 450 square inches of solid, unbroken floor space, preferably more.
  • Don’t keep hamsters together; when kept together, hamsters tend to fight and this can be a huge stressor for your pet.
  • Spot clean a couple times a week and do monthly deep cleans to prevent a filthy environment.
  • Serve a healthy, varied diet (fruits, veggies, nuts, seeds and animal proteins).
  • Provide lots of substrate, toys, and hides so your hamster feels safe.
  • Tame your hamster so they don’t get stressed out when you interact with them.

PLEASE NOTE: There are many products on the market that are advertised as “Wet Tail Prevention Medication.” These medications do not work and can cause various health issues.

Symptoms Of Wet Tail

Even the name ‘Wet Tail’ makes the symptoms sound pretty obvious. Wet, meaning covered or saturated with water or another liquid, and tail, being the appendage pursuing the animal’s hindquarters.

Wet Tail literally means their hind end is wet. A hamster with Wet Tail will be showing most, if not all, of these symptoms:

  • Diarrhea
  • Foul odor
  • Lack of appetite
  • Lethargy
  • Inability to walk properly
  • Arched back when walking
  • Unusual sleeping patterns or sleeping more than usual
  • Folded ears
  • Aggressive behavior
  • Damp and/or scraggly appearance

If you notice any of these symptoms, Wet Tail or not, something is wrong (if your hamster is old, lethargy is to be expected).

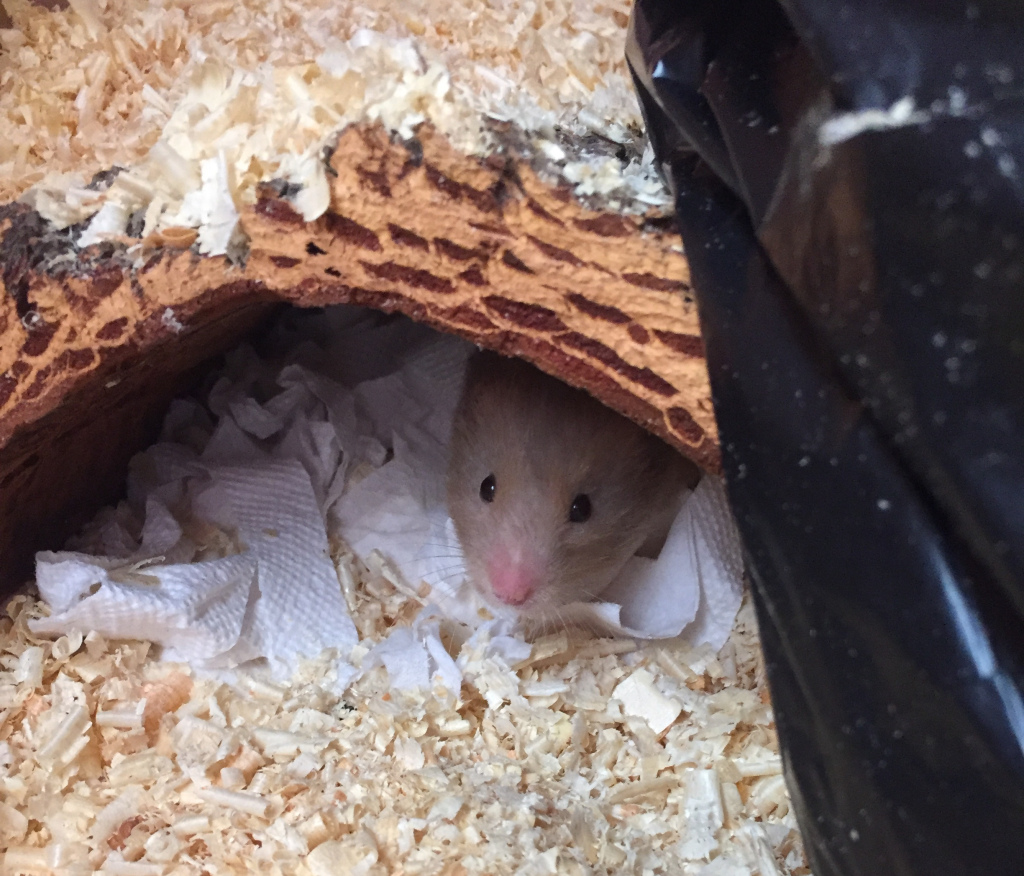
Commonly, the first sign of Wet Tail is excessive diarrhea. If your hamster’s rear end appears damp or soggy, seek veterinary aid!

If your hamster is untamed and/or aggressive, and you are unable to get a good look at them, use a mug or similar container to scoop them into a clear plastic tub. Holding the tub up and looking into it through the bottom will give you a better view.

How To Cure Wet Tail

Sadly, Wet Tail kills almost all of its victims within 72 hours of its torturous symptoms showing themselves. The key word here is almost. If you spring into action within 24 hours of symptoms showing, your hamster has a chance.

First of all, no Wet Tail afflicted hamster can pull through without antibiotics, so you will need to consult a vet. Visit your exotic vet, and follow their instructions.

Once your hamster is back home, here are the things you need to do to increase the chances of recovery:

  • First off, Wet Tail is extremely contagious. Quarantine the afflicted hamster in a separate room away from any other hamsters.
  • DO NOT miss a prescribed medication time.
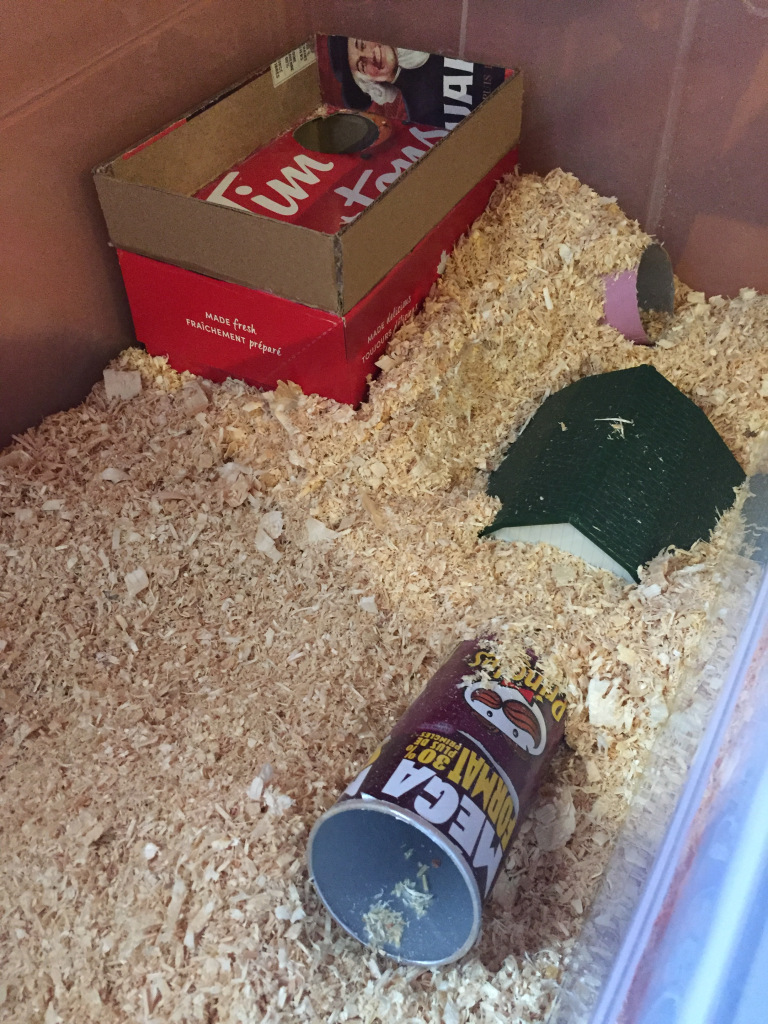
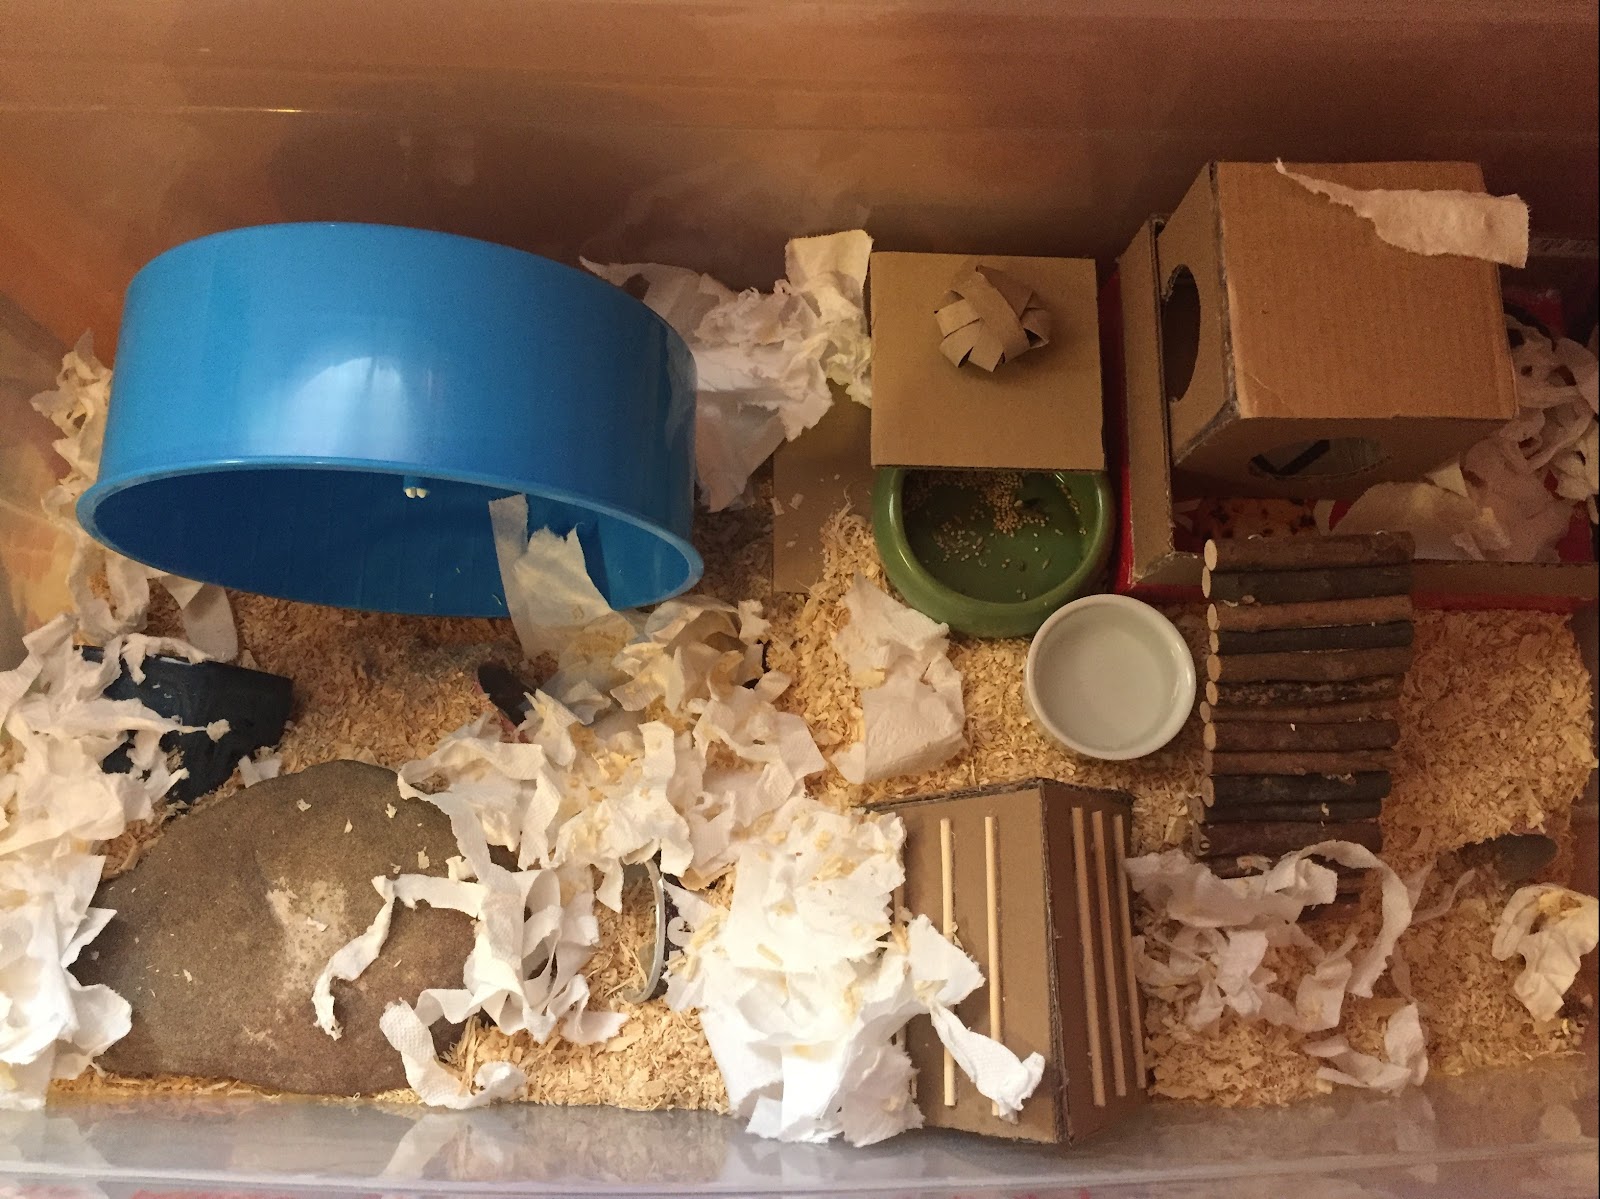
  • Everything needs to be sanitized; you’ll need to dispose of used substrates, nesting, and natural toys. Using hot water, soap and/or white vinegar, sanitize all the redeemable items (things that are plastic, ceramic, glass, etc) and the cage.
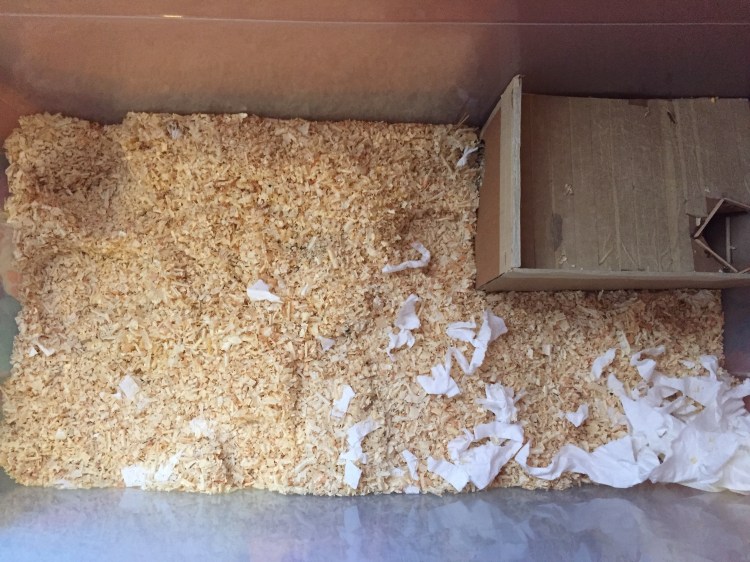
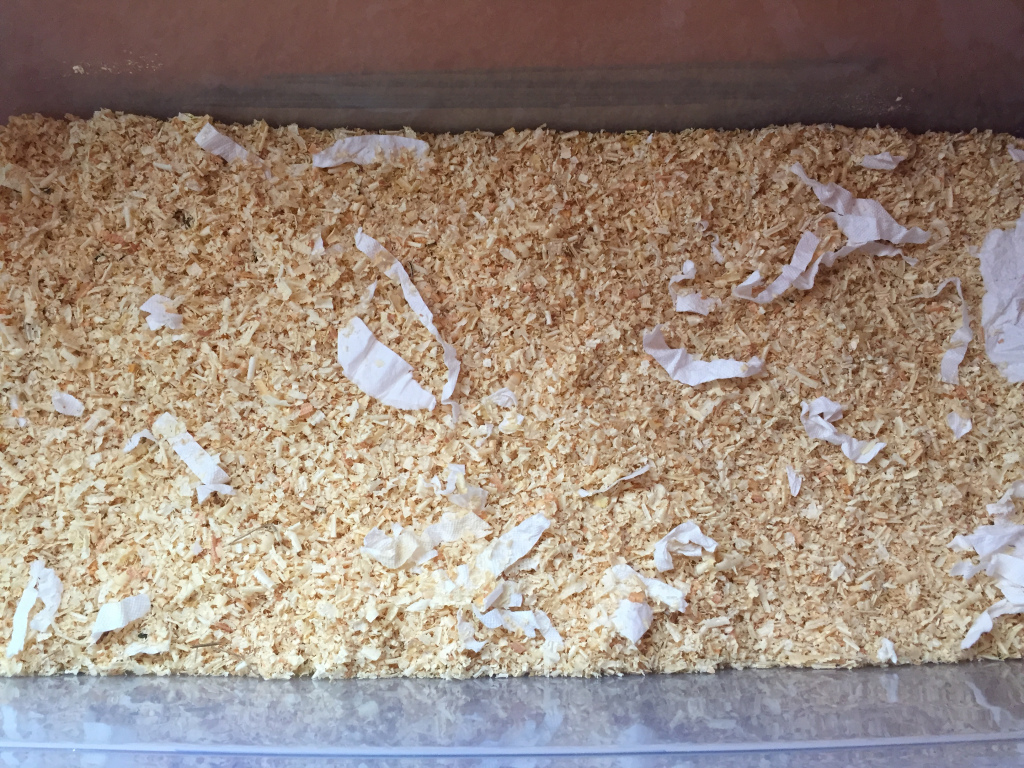
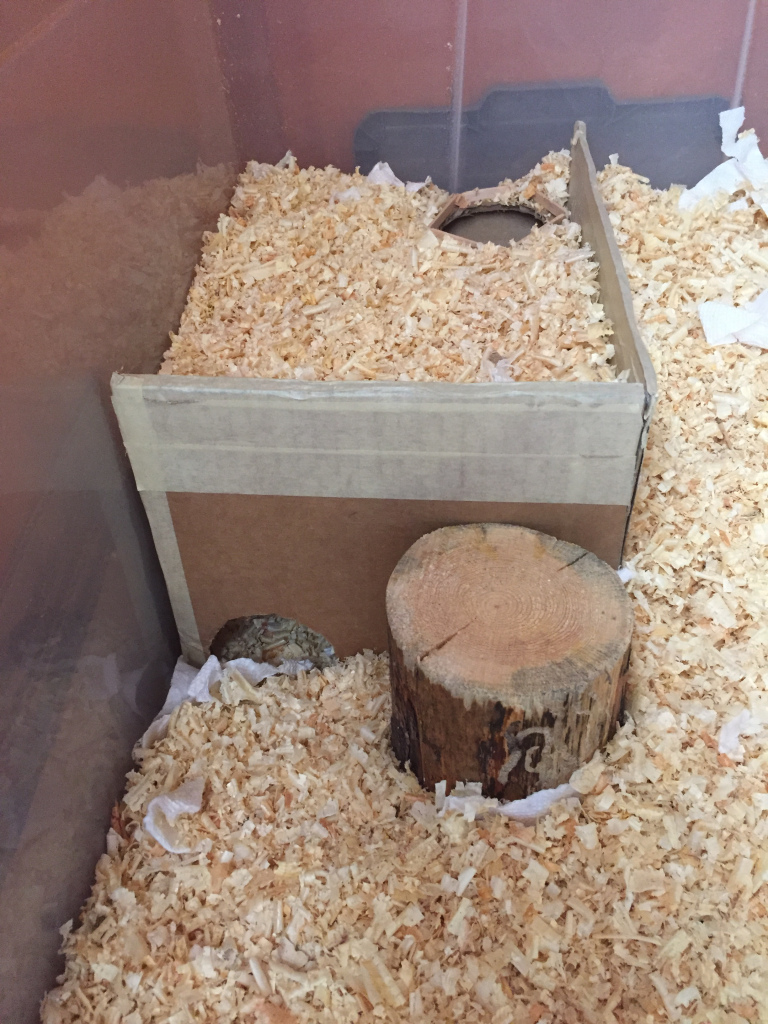
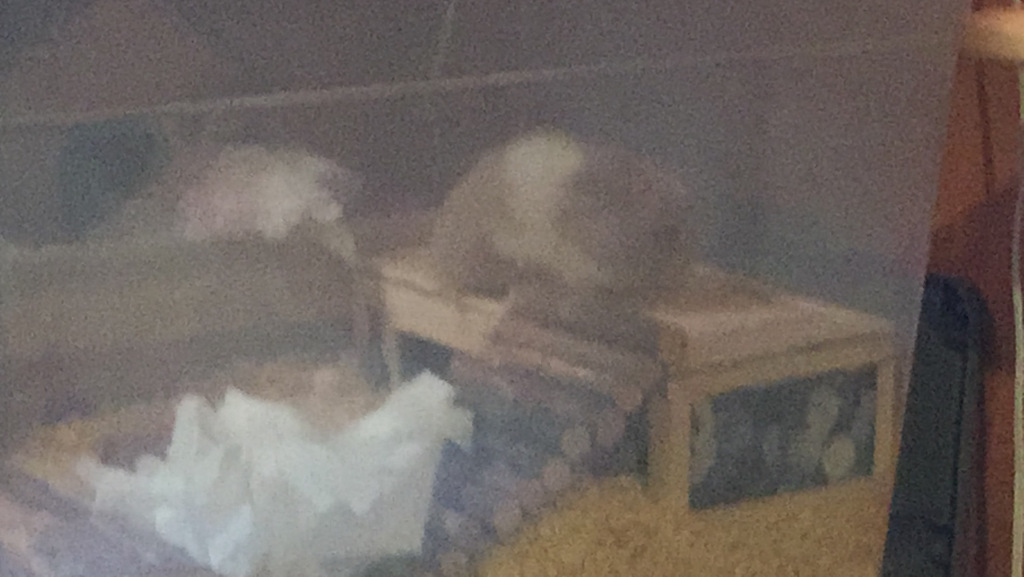
  • Line the bottom of the cage with paper towels and use shredded tissue to provide something for burrowing. This will be easier to replace.
  • Create a simple setup using the sanitized plastic, metal, ceramic, and glass toys and dishes only.
  • Only feed dry foods, and have a water bowl (not a water bottle) available at all times.
  • If recommended by your vet, you can also syringe-feed safe baby foods and/or Probiotic Natural Yogurt. You can also syringe-feed water. This will help hydrate and clean out your hamster’s system.
  • Wear gloves when caring for your hamster and wash your hands frequently.
  • When you freak out, so does your hamster. Remain calm.

Can My Hamster Get Wet Tail?

Something to keep in mind is that any hamster can contract Wet Tail, not just younger Syrians. Any hamster can suffer severe stress, and since some suspect that Wet Tail could be genetic, it’s entirely possible your hamster could get this disease sometime in their life.

Conclusion

Wet Tail shouldn’t deter you from bringing home a hamster. If you provide proper care, chances are your hamster will live a long, happy life without health issues. It’s important to be aware of this disease, because preventing is easier than curing.

Please note I have no personal experience with Wet Tail, and all the information in this post was taken from the sources listed below. I gathered information from six different sites to make sure the information is compatible.

If you have any tips, experiences, or additional information, please leave it in the comments down below!

If you’re interested in more hamster-related content, follow the blog and I’ll be back on Tuesday with more small pet care, DIYs, recipes, cage setups, stories, and more! Have a ham-tastic day!

Related Posts:

Sources:

Thank you to:

for providing the questions, definitions, answers and information in this post!

The Luxury Hamster Home DIY

This is the Luxury Hamster Home! I created this one afternoon from a tissue box that was in my way. This house serves as a platform as well as a hidey, and it’s great for hamsters, gerbils and mice.

For this project I used:

  • A tissue box
  • Ruler
  • Hot glue gun
  • Hot glue
  • Mod Podge (a water-based sealer)
  • Popsicle sticks
  • A few skewers
  • A paintbrush
  • Craft/box knife
  • Scissors
  • A marker

Keep in mind these are just the items I used for my version of this house, and that you can always improvise.

  • First remove the top section of the box.
  • Next cut a doorway into the box; you can do this wherever, but I put mine in what will be the front right corner.
  • By personal preference I proceeded to paint the interior with Mod Podge.

This next part is difficult to explain, but with the help of my imagery I hope you get it 🙂

  • Next cut some popsicle sticks and glue a border around the corners and edges of the box, as shown above.
  • Now cover the top in a layer of popsicle sticks.
  • Glue a border around the doorway; I cut the sticks diagonally to look prettier, but whether you cut them this way is totally up to you.
  • Now cut some skewers to fit the perimeter of the box; glue them in place.
  • Inside of the skewer border I made an inner border of popsicle sticks. As you can see I cut the sticks diagonally (again).

Here’s a random back view of the house so you get a better view of the borders 😄

And here is the final product! This is definitely a creation which takes more time than others, but I’m so happy with the results I don’t mind! The luxurious hidey and platform looks amazing, and using this pretty blue/dotted box also plays into the stylish appearance.

I hope you enjoyed this DIY! If you’ve created it or something similar be sure to comment down below and let me know how it turned out! If you’re interested in more hamster-related content be sure to like this post and follow the blog, and I’ll be back on Tuesday with more small pet care, DIYs, recipes, cage setups, stories and more, have a ham-tastic day!

The July Cage Makeover (2020)

Hello and welcome to the July 2020 Cage Makeover! It’s about time Beanie had a deep clean, and this time I’m going to replace all the substrate! It’s at the stage where it feels like there’s more poop than substrate, if you know what I mean. I hope this post is entertaining and inspirational if you’re looking to make your hamster’s cage a little more interesting 🥳

I will be linking most if not all the DIYs’ Tutorials I use in this post at the very end!

  • Step one is to remove everything. I like to take all the toys and accessories first, then Beanie usually comes out of her nest on her own while I’m removing the substrate.
  • I removed all the old substrate, and cleaned the interior of the cage with my water/vinegar cleaner.
  • A tip of mine is if there’s 6 inches of substrate all around the cage then it’ll be plenty, however you adjust it. I encourage you to add more!

Since all the substrate is new I’m only going to use toys Beanie has used, to make her feel safer 🙂

Beanie hasn’t been burrowing much lately, so I wanted to encourage burrowing by creating some underground nests for her with Pringle cans and houses. Beanie really enjoys having some burrow starters, and if your hamster isn’t burrowing I highly recommend trying this (then you can eat Pringles, too 😄).

I added the wheel, a sanitized rock, one of my two-tiered towers, a small bendy bridge and you might be able to see the little entryway of the buried igloo hut next to the tower.

Although I scatter feed Beanie she does enjoy sitting in and munching in a food bowl, so I put a largish bowl next to the bendy bridge.

I also added a few more hiding places and foraging toys for good measure.

After adding Beanie’s water bowl the cage looked like it was missing something, so I added a Navy Blue ceramicish flower pot. We are getting into summer, and I thought she could cool off in it if she wanted to.

Then I went nuts and sprinkled shredded tissue everywhere. No shortage of nesting material here!

And I’ll draw this makeover to a close with a good ol’ before/after.

Beanie now has lots of substrate for burrowing, and the cage has been jazzed up. Beanie is a happy hamster 🤩

I hope this post was entertaining, and gave you inspiration for your own hamster’s cage! If you’re interested in more hamster-related content be sure to like this post and follow the blog, and I’ll be back on Tuesday with more small pet care, DIYs, recipes, cage setups, stories and more, have a ham-tastic day!

Related Posts:

DIY Small Pet Tee-Pee

Presenting the Tee-Pee for small pets! The Tee-Pee is adorable, but is smaller in size than my other DIYs. Because of its smaller size it is recommended for Dwarf Hamsters and Mice. It’s lightwieght, small, and portable. It’s perfect for sheltering a food or water dish from substrate, or can be used as a hideout.

For this DIY you’ll need:

  • A piece of paper, any colour
  • A hot glue gun and glue
  • Scissors
  • Popsicle/lolly sticks
  • A writing utensil
  • Find a piece of paper, you can use any colour. I used white.
  • Step one is to get a popsicle/lolly stick, and using the edge measure out three paper triangles.
  • Cut out your triangles.
  • Using glue and popsicle/lolly sticks create three triangular frames.
  • Glue your paper triangles to the backs of the frames.
  • When flipped right-side-up the frames/walls should look like this.
  • Now we’ll start of the floor.
  • Make a plain square frame.
  • Fill in the square frame to make a platform.
  • Quickly add on all the walls.
  • Renforce the walls by adding extra glue in the seams.
  • Wait for the glue to cool completely before use.

And that’s how you make the Small Pet Tee-Pee! I’m loving this DIY, and I hope you do to! If you’re interested in more hamster-related content be sure to like this post and follow the blog, and I’ll be back on Tuesday with more small pet care, DIYs, recipes, cage setups, stories and more, have a ham-tastic day!

DIY Beanie Barricade

Beanie enjoys running around in my pet room in the evenings, and she also tries to squeeze under the door. She can’t fit, and she’s resorted to chewing the bottom of the door. I didn’t want her destroying the door, so I invented the Beanie Barricade.

For this project you’ll need:

  • Cardboard
  • Box/craft knife, or scissors
  • A hot glue gun
  • A writing utensil
  • You’re going to start by measuring the gap at the bottom of your door.
  • Cut two pieces of cardboard that length, and about 7-10 inches wide.
  • Stick one of the pieces under the door; the cardboard won’t go all the way through due to the door jam.
  • Get your writing utensil, and mark how far the cardboard goes in.
  • Glue the second cardboard piece at the marked point.
  • Let it cool completely before use.

The Beanie Barricade now prevents Beanie from chewing the bottom of the door, and it’s portable, lightweight, and simple to make.

I hope this DIY is helpful to everyone who struggles with the door-chewing issue. I’m sorry I couldn’t get very many images to comply with the steps, so good luck with the DIY, have a ham-tastic day!

DIY Triangular Popsicle Climbing Toy

This is a very cliche small pet toy, and one that is very handy to have. It only takes about 5-10 minutes from start to finish to create. It serves as a climbing toy and a tunnel, primarily for hamsters, gerbils and mice.

For this project you’ll only need:

  • Popsicle/lolly sticks
  • Hot glue gun/glue sticks
  • First make two square frames from your popsicle/lolly sticks and glue.
  • Next cover the frames in sticks so they make two little platform-squares.
  • Take six sticks, and make them into little steps, three on each square-platform of sticks.

I would recommend putting them the opposite way I did, so the platforms and steps are criss-crossed, because then the gluing is easier later 🙂

  • Glue the tops together, and add a stick on top for stability.
  • You may want to use two items on either side to support the toy while the glue is cooling.

And you’re done! This toy is super simple to make, and requires very few materials. I like scattering food up and down the steps on this toy so Beanie can forage for them, and this toy is very enriching in that sense.

If you’re interested in more hamster-related content be sure to like this post and follow the blog, and I’ll be back on Tuesday with more small pet care, DIYs, recipes, cage setups, stories and more, have a ham-tastic day!

The Basic Syrian Hamster Care Guide

Syrian hamsters are one of the most popular species of hamster, and probably the one you imagine when you think of a hamster. Here I will explain the basics of:

  • Syrian Hamsters Themselves
  • Cage
  • Cleaning
  • Diet
  • Water
  • Substrates
  • Nesting
  • Enrichment
  • Chews

With links to my in-depth posts on the specific topics which I’ll be listing at the very end!

The Syrian Hamster

Syrians are the largest of the five domestic species, and can grow to 7 inches in length. Females are the larger sex, and go into heat every 4-6 days. During that time they will be more hyper than usual. Male Syrians are usually calmer, but keep in mind that every hamster is different.

Syrian hamsters come in many coat types and colours, and are often given nicknames such as ‘Teddy Bear’ hamsters. These names are not the name of their actual species, but of the coat type.

Hamsters are crepuscular or in some cases nocturnal, which means they are active at dawn and dusk, and sometimes during the night.

Syrian hamsters are prone to Wet-Tail, a stress caused disease. They get diarrhea from stress, and can die within 72 hours of symptoms showing. It’s very rare in hamsters over a year old. I wouldn’t fret about getting a Syrian because of it; just try not to stress them out.

Syrian hamsters are solitary, and will kill each other if they’re housed together!

Overall Syrian hamsters make wonderful pets, and if you’re new to hamster owning I highly recommend them, as they are easier to handle then the smaller, speedier species of hamster available. On average they live one and a half to two and a half years old.

The Cage

Any hamster species needs (at the bare minimum,) 450 square inches (width times length) of unbroken floor space, and Syrians thrive in 600 or more. The cage base needs six or more inches deep so you can give your hamster the required amount of substrate for burrowing. You may be thinking a cage that big will cost a fortune, but surprisingly it won’t! Say hello to a bin cage, Preview 528 or Ikea Detolf! These cages can all range from 500-900+ square inches for only $20-$70! There are so many hamster cages besides these around the globe that make amazing cages! I have a post all about cages that you can check out to learn more.

Cleaning

Hamsters are very stress-prone creatures, and because of this they do best when their cages aren’t fully cleaned very often. If your cage is the proper size then cleans won’t need to be as often either, so it shouldn’t be a problem. The average owner does bi-daily or weekly spot cleans, bi-weekly rearranges and monthly deep cleans. Cleaning schedules similar to these are known to cause happier, less stressed hamsters, as well as fewer substrate bills and less work for owners. Creating a cleaning schedule is a great way to keep track of cleaning, as well as get into a routine. I have monthly deep clean tutorials available if you’re interested in deep cleans and stunning cage setups!

Diet

Hamsters are Omnivorous, meaning they need to eat seeds, nuts, animal proteins and fresh fruits and vegetables. This may sound like a complex diet, but it’s really not, considering how much of the diet is a pre-made seed mix. Your hamster’s seed mix needs whole ingredients, variety and as few fillers as possible. The Guaranteed Analysis needs to be 17%-20% Protein, 5%-7% Fat and 7%-15% Fibre. The simplest way to provide this is sharing some of your food with your hamster and I recommend Higgins Sunburst Hamster/Gerbil diet as the seedmix. For my hamster one bag lasts up to four months. Fruits, veggies and proteins can be served around three times a week. A treat can be given once a week. These are the basics of the diet, to learn more check out my post on diet.

Water

Water is vital to anyone and anything, so it is important that your hamster always has access to water. You can offer your hamster a water bottle, a water bowl, or both. Personally I’m rather paranoid and use both, then if the bottle fails (which it has done) Beanie still has access to water. Hamsters are desert animals, so if your hamster doesn’t seem to be drinking much you shouldn’t need to worry (if they’re not drinking at all then there’s a problem!). The water itself is just plain tap water, with no minerals added or removed. I clean my water bottle weekly with a vinegar solution, and the water dish bi-daily.

Substrates

When selecting a substrate for your hamster you must make sure it’s safe. Softwood shavings, such as pine and cedar, have naturally occurring oils in them that cause respiratory infections, which require vet treatment to cure. The most popular safe wood shaving is Aspen, which can be found in most pet stores. Unscented paper-based substrates are also safe. In the wild hamsters are burrowers, and live in chambered burrows underground up to ten feet deep! Most people can’t provide that (if you can definitely do that!) so we’ve settled on six inches as a minimum. The more the better, it’s so rewarding to see your hamster burrowing! When you’re setting up your cage my trick is to have an even six inches, because no matter how you adjust it later it’ll be enough.

Nesting

Hamsters will put materials into their cheek pouches and take it to their hidey or burrow and make a comfortable bed. If you see your hamster ‘eating’ bedding, it’s not, it’s cheeking it. There are commercial cotton beddings available, but cotton kills hamsters, as I mentioned in my Hazards For Sale Post. A much better, safer and cheaper alternative is shredded tissue, which is digestible, warm and safe. If you live in a hotter place then hay makes wonderful, cool nesting material, which they might also snack on.

Enrichment

Hamsters are not items (many people treat them as such), they are living things that need proper care, and part of proper care is enrichment. Enriching your hamster isn’t hard to do. There are several ways to enrich them. The first thing is toys, DIY or commercial. Syrian hamsters in particular enjoy climbing, and providing plenty of things to climb on is a great way to stimulate them and engage them in exercise. You want a semi-crowded cage, which will make them feel safer as well. Scatter feeding and/or use foraging toys is very stimulating, and I highly recommend free roaming them, or having playpen time. And another suggestion is changing the cage setup weekly.

Chews

Hamsters, being rodents, have teeth that are constantly growing. It is essential that you provide chew toys for your hamster to wear their teeth down on. There are countless types, sizes and styles of chews! A rule of thumb is to always have five different chew styles/textures in the cage. Hamsters will chew things on their own usually, but if you have a hamster who is reluctant to chew there are ways to motivate them. Smearing peanut butter on the chew or giving them a foraging toy they have to chew through to get food out of are the most common techniques. Hamsters are definitely food-motivated!

Conclusion

And there you have it, my Basic Syrian Hamster Care Guide! I hope you enjoyed and learned a lot about them. This is to give you the basic idea of what it’s like to care for a hamster, so I made it as short as possible. Please research more before getting a hamster!

This writing is all the basic requirements of Syrian Hamsters, with important things I’ve learned from my own experiences with my Syrian Hamster. They have different needs from Dwarf and Chinese hamsters, so please use this information for Syrians only.

If you’re interested in more hamster-related content be sure to like this post and follow the blog, and I’ll be back on Tuesday with more small pet care, DIYs, recipes, cage setups, stories and more, have a ham-tastic day!

Summary

  • Syrian hamsters are crepuscular/nocturnal.
  • Syrian hamsters need 450 square inches of floor space; more is preferred.
  • Hamsters need 6+ inches of substrate depth for burrowing.
  • The less often you clean your hamster’s cage the less stressed they’ll be (clean as needed is the motto).
  • Make a cleaning schedule!
  • Hamsters are omnivores.
  • A proper seed mix contains 17%-20% Protein, 5%-7% Fat and 7%-15% Fibre.
  • Give hamsters 24/7 access to clean tap water by bottle or bowl.
  • Cotton nesting materials kill hamsters!
  • Offer shredded tissue as nesting material.
  • You can enrich your hamster through toys, foraging techniques and out of cage time in the evening/night.
  • Hamsters’ teeth are always growing!
  • Offer five or more different chew toy styles!
  • Research before getting a pet!

Links

The June Cage Makeover (2020)

All links are relisted at the end for your convenience.

Here’s Beanie’s current setup. A brief tour: Burrow Starter/Hidey Thing, Small Bendy Bridge, 12″ Comfort Wheel, Cardboard Tower, TerraCotta Pot Saucer, Chew Block, Plastic Barn, Bran Bowl, Large Flat Rock, Water Bottle, Small Pet Tee-Pee, and she has a log… cave? Bark cave? That. Beanie’s had this setup for about two weeks, and it’s definitely time for a change. That’s what we’re doing today 😎

  • Remove all the accessories, except the nest.
  • Take out all the bedding, wait for your hamster to emerge from the nest on their own opposed to ripping the roof off because that can be quite stressful.
  • Put the ham in a safe carrier or playpen; a dark cozy place may be preferred.
  • After sweeping out the cage, wipe it down with a safe cleaner.
  • Then add in clean substrate with some old, familiar smelling stuff on top. My trick is if there’s six inches all around then no matter how thin some places are when you adjust it it’ll be fine.
  • I was reminded of this DIY platformy house when I made my Top 10 DIYs post, and I definitely wanted to use it. It was specially made to fit Beanie’s cage. You can get an interior view if you check out said post.
  • To prevent falling I added this cute chunk of wood as well.
  • I wanted to stick with my DIY-y theme, which meant using my DIY houses. I decided on the Cute Small Pet House and Luxury Home (Available July 14th).
  • After sanitizing Beanie’s rock, which I do monthly, I put it where I want to hang her water bottle. Rocks are beneficial for cooling off, keeping substrate dry from water drips and keeping claws trim.
  • I also do her monthly wheel wash, a thorough rinse and scrub, and put in her wheel as well as a heart bowl and bendy bridge.
  • Hamsters don’t feel safe in open spaces, so to make it a little more crowded I added in some pieces of wood.
  • For the final touches I filled the heart dish with Eco Earth, scattered food around and put in clean water, a little Terra Cotta Pot Saucer and some shredded tissue for nesting.

*Forgot to add in the chew toys; they’re there now 🙂

And here are the results! Beanie’s cage is clean and tidy now and much more interesting. I really like the aesthetic, and I just love how easy it is to create an appealing setup with some simple DIYs!

Beanie really enjoyed exploring her cage, and you can also create neat setups with these same cardboard DIYs I use! Here on this blog I share most if not all the DIYs I show, so feel free to follow us if you’d like to see more. Here’s the promised compilation of links throughout this post:

If you’re interested in more hamster-related content be sure to like this post and follow the blog, and I’ll be back on Tuesday with more small pet care, DIYs, recipes, cage setups, stories and more, have a ham-tastic day!

My 10 Favourite DIYs I’ve DIYed!

To enrich Beanie through a more naturalistic setup, I’ve created loads of DIYs using cardboard to keep her entertained and happy. Here I’m going to be sharing my top 10 personal favorite hamster DIYs, some of which I designed and created from scratch.

#10: The Hidey Cube

I love the Hidey Cube’s design and purposes. It’s lightweight, which makes it a safe travel toy, and it only requires a few basic materials, making it very simple to create. Because of the design’s simplicity it’s easy to recreate it in different sizes to suit Hamsters, Gerbils, Mice, Chinchillas, Cats, Rabbits, Sugar Gliders and Rats. I have a tutorial for this DIY here if you’d like to DIY my DIY!

#9: The Adorable Rodent House

I adore this house; who wouldn’t? This house is an adorable addition to anyone’s collection, and it’s amazing for naturalistic setups. It isn’t much different from the Hidey Cube, except it’s cuter! I also have a tutorial for this house here, if you’d like to check it out, and DIY it yourself!

#8: Corner House

This DIY is for all those people who desperately want one of those magazine-divider hamster houses and platforms that you see on social media. I was one of those people until I created this house. I love this house because it serves as a platform as well as a house, therefore not taking up floor space like your cliche hamster house.

#7: Small Pet Tee-Pee

I’m very fond of this DIY design, it’s so geometrical! I like using it as a place to scatter food because the floor makes it easier for Beanie to collect the food. It’s perfect for destroying, and, although it’s a bit small for Syrian hamsters I love using it. This DIY is available here!

#6: The Luxury Burrowing Platform

This was one of the first DIYs I made when Beanie first moved into her bincage, a monstrosity like this would never fit into her barred cage or tank! It consists of an upper floor which was designed as an Eco Earth pit, which I really like, and then the lower section for an underground nest. It’s specially designed to fit Beanie’s cage.

#5: Wooden Barn Facade

This DIY is probably Beanie’s favorite hidey. She absolutely loves it, and choses it as her nest whenever it’s in her cage! It was designed especially to fit her tank. It’s stuck together with hot glue, and is made primarily of plywood. I love the aesthetic, but however this is quite a large DIY, measuring 11 inches in length.

#4: The Triangular Hide’n’Climb

This is a DIY that I whipped up one day when Beanie was bored, and after some editing this finalized design came to be! It’s useful for taking up space, considering hamsters feel safer in crowded environments. This DIY is perfect for scatter feeding, since food can go inside, as well as on the steps. This DIY is also Available here!

#3: The Cardboard Wheel

I got the inspiration for this DIY from Mr. H2’s YouTube video. However, as you can see, I had to make many improvisions because the original was far too small to meet Beanie’s requirements, which is why I’m listing it. Beanie loves chewing this wheel! It is quite squeaky, and due to the materials used I cannot oil it.

#2: The Luxery Home

This house is made from a tissue box, and is coated in specially trimmed popsicle sticks and skewers to ensure a professional appearance. This particular luxury home’s tutorial is available here 😎

#1: The Three-Tiered House

This is my favorite DIY of all time, the three-story hamster apartment! This house is ideal for mice, due to their climbing skills, but is also suitable for all hamster species. The tiers open, revealing your pet’s lair! I have the tutorial available here, if you’re interested in DIYing this legendary apartment!

If you’re interested in more hamster-related content be sure to like this post and follow the blog, and I’ll be back on Tuesday with more small pet care, DIYs, recipes, cage setups, stories and more, have a ham-tastic day!

The Bran-Bowl

In March of 2020 I wondered if there were more to make Beanie forage for her food, since it would be very enriching. I didn’t want her food in her Eco Earth pit for fear she’d consume it, and sand definitely wouldn’t be good either. Then I looked across my kitchen and saw my bag of oat bran which I use for making pet treats sometimes. Bingo! I took the oat bran, poured some into a food dish, and mixed Beanie’s food in it.

The Bran-Bowl was an instant success! Ever since I created it I’ve been using it, and Beanie adored digging around in it, and even uses it as a litter box. Obviously the Bran-Bowl is not a replacement of a sand bath, but I think Beanie enjoys finding her food in it. Unlike with Eco Earth, when Beanie eats the food it doesn’t have the fine, powdery dirt on it, therefore tasting better (I’ve never tasted Beanie’s food, but it sounds like a logical theory to me 😆) and being safer.

How To Make A Bran-Bowl

  • Get a large food dish.
  • Pour some oat bran in.
  • Add your hamster’s normal amount of food.
  • Serve to hamster.
  • Clean as needed, sifting recommended.

I hope your small pets enjoy my invention as much as Beanie does! I just got an Instagram, so if you’d like to see more of Beanie follow us there! If you’re interested in more hamster-related content be sure to like this post and follow the blog, and I’ll be back on Tuesday with more small pet care, DIYs, recipes, cage setups, stories and more, have a ham-tastic day!

Design a site like this with WordPress.com
Get started