My Free Roaming Experiences

Beanie was probably seven months old when I started free roaming her, so she was pretty big. I felt confident I wouldn’t lose her, so I extended her huge playpen and renamed it, ‘The Great Wall Of Beanie.’ The Great Wall Of Beanie sectioned off less than half of the room her cage is located in. It separated the, ‘Messy Side,’ from the, ‘Safe Side.’

I soon realized my efforts to keep her out of the Messy Side were proving to be unsuccessful. After several tries I finally discarded the playpen, and Beanie was officially ‘Free Roaming.’ So much for being in control 😂

How To Save Your Door

When Beanie was officially free roaming I had to DIY the amazing, door saving ‘Beanie Barricade!’ The Beanie Barricade has saved my door from further destruction! Beanie cannot, no matter how hard she tries, fit under the door, so, she chews it. And that’s how the magnificent Beanie Barricade came to be. I have a DIY tutorial for the Beanie Barricade you can check out here if you have this same problem.

BeanVille

Shortly after the creation of the Beanie Barricade I created, ‘BeanVille.’ BeanVille is a collection of Beanie’s things in an out-of-the-way spot. BeanVille stays setup 24/7, which is awesome! No disassembly required. BeanVilles are really simple, and you can create your own using:

  • Three hidey houses
  • A wheel
  • Food dish
  • Water bottle/dish
  • Three toys of your choice.
  • An out-of-the-way spot in your free roaming room.
  1. Take everything to your out-of-the-way spot in your free roaming room and organize them how you want!

Tips For Free Roaming To Improve The Experience

  1. The Beanie Barricade can save your door from chewing!
  2. Free roam in a room where you can do things while your hamster runs around.
  3. Make your own BeanVille.

If you’re interested in more hamster-related content be sure to like this post and follow the blog, and I’ll be back on Tuesday with more small pet care, DIYs, recipes, cage setups, stories and more, have a ham-tastic day!

Free Roaming Your Hamster

Hamsters are high-energy animals, and you may have noticed they’re scrabbling at the walls of the cage. A good way to satisfy your hamster’s need for freedom is free roaming, or free ranging.

A Suitable Space

Now before you just release your hamster into the unknown first you must decide which room you’re going to free roam them in. There are some places you just flat out shouldn’t free roam in, such as:

  • Kitchen
  • Bathroom
  • Livingroom
  • Wreckroom
  • Laundry room
  • Furnace room
  • Huge rooms in general

And you get the general idea why these rooms aren’t safe:

  • Weird fumes.
  • Other pets.
  • Getting into tight spaces.
  • Being in a space so big you can’t find them.
  • Getting lost/stuck in mess.

The typical best place to free range is in an office or bedroom.

You will also want a room with a locking door; this will prevent other pets or people from coming in and providing the perfect opportunity for escape. Besides that, cats, dogs or other predatory pets will most likely attack your hamster, which usually results in death.

Hamster Proofing

Hamster proofing is a part of hamster owning. You’ll do it on your cage, playpen, and/or free roaming room. After you decide on a safe room to free roam in, you’ll need to check some basic things to make sure it’s safe for your pet.

  • The space under the door should not exceed half an inch for Dwarfs and Chinese hamsters, and a three-quarter inch for Syrians.
  • Hang or tape all chords and wires ten or so inches above the ground.
  • Make sure your hamster cannot stick its toes into any electrical sockets.
  • Keep furniture a few inches from the walls.

Those are the essentials of hamster proofing! There are quite a few extra things I’ve learned from my experience that make free roaming a much more pleasurable for me, so I’m also going to share those!

If you’re interested in more hamster-related content be sure to like this post and follow the blog, and I’ll be back on Tuesday with more small pet care, DIYs, recipes, cage setups, stories and more, have a ham-tastic day!

Operation Drawer

I think we can all agree that after a few weeks obviously the designated ‘Small Pet Supplies Drawer’ is going to look something like this. A drawer isn’t a lot of space to store all of your pet’s things, but it is possible to keep it nice for longer if it’s organized properly.

  • First the drawer needs a clean. Sweep it out and sanitize it. This should be getting done anyway, so having to reorganize is great motivation.
  • Then get your food container/bag and put it in the farthest corner.
  • Now gather all of your bowls and food dishes.
  • Stack them in as few piles as possible, the fewer piles the more space saved.
  • Stick the bowls by the food container/bag.

(Just thought I’d let you know Beanie’s on Higgins Sunburst food, not Hartz Bonzana, which she was on. I just keep her food bags and her new food bag isn’t visible.)

  • Now get some small, clean containers and put your treats in them.
  • Put the treat containers in or near the food and dishes.

I ended up moving the little pink divided dish, and now the treats fit into the heart bowl.

  • Now get another container or jar and put all the spare chews in it.
  • Put the chews by the treats.
  • Now get all the, I dunno, utensils? Usful things? You get the idea. Things like scoops, bottles, brooms, measuring spoons, bottle holders and combs.
  • Put them next to everything else. Adjust things as needed.
  • Now gather all the flatish things; ladders, platforms etc…
  • Lay them as flat and close together as possible, opposite from the other items.
  • At this point you’ll also add in any unopened, brand-new things. I just currently don’t have any.
  • Collect all the hollow toys, like tubes and hide outs.
  • Finally organize all the extra items into the hollow items.

As you can see in this image, there’s no particular spot for anything, and you can’t fit very many things into the drawer. And you can’t easily get to anything, and it just dosen’t look appealing.

Meanwhile, this drawer now is clean and orderly. Everything has its place and it looks really nice, and I can finally fit Beanie’s carrier into the drawer, too!

I hope this tutorial was helpful. I use this method of organizing often and I can fit more into less space with it still looking nice, and I hope you realize there’s hope for that cluttered pet drawer.

If you’re interested in more hamster-related content be sure to like this post and follow the blog, and I’ll be back on Tuesday with more small pet care, DIYs, recipes, cage setups, stories and more, have a ham-tastic day!

The March Cage Makeover (2020)

This setup proves that you don’t need to spend money to have a cute cage setup! The wheel, bendy bridge, waterbottle, food bowls and chew toys are the only store bought items in this cage setup! If you’re interested in the basic idea for this setup, here you can learn how to easily recreate it yourself!

  • First empty everything from the cage (sorry I didn’t get a before pic!).
  • Sweep the bottom out, clean it well with a petsafe cleaner.
  • After drying the interior, dump in a solid 6 inches of substrate, smooth it out.
  • Next add in the wheel, move the substrate as nessesary so it fits.
  • Angle the wheel slightly for fashion, and put the watering station next to it, by doing this the pet will have easy access to water while working out. Beanie has a bowl and bottle with a large flat rock to keep her claws trim, but that’s just personal preference.
  • To create an underground tunnel and nest I used 2 Pringle-can tubes and a hamster-sized purple igloo.
  • Dig up half the substrate and install the tunnels and igloo, put some shredded tissue inside the igloo as nesting materal.
  • Cover the tunnels in the substrate.

I ended up adding in a second burrow-starting tube, but it’s not visible.

  • Next add in a food bowl. Personally I scatterfeed, but I like having foodbowls with a little food and a chew in them.
  • Put the bowl near the wheel.
  • Add a large hidey house. I’m using my Three-Story House I made recently.
  • Put it in the opposing corner from the wheel.
  • Since the house is so high I added some wooden stairs of the side, and I think they look pretty great! The wood pieces were DIYed.
  • Then leading down from the roof of the house I added my bendy bridge, which was too short, so I added some more wooden pieces for stairs.
  • Then I added a cute Terra Cotta Pot Saucer food dish, just because I think it’s cute.
  • Remember, always go by personal preferance when setting up your cage, some people may hate Terra Cotta Pot Saucers, only personally, I love em.
  • Hamsters don’t like open spaces, so I added in some more DIYs to take up the empty space, both these DIYs will soon be available on the blog 🙂
  • Cardboard DIY available here!
  • Popsicle Stick DIY Unavailable.
  • Next I added in my chew toys. Here I have a carved apple stick, walnut, ratton ball and a carrot crunch chew (I am now aware these coloured chews are known to colour feces, and I’m no longer using them).
  • Stick the chews around the cage.
  • Never put walnuts in dishes! They make the worst noise that will keep you up all night, trust me, I know!
  • And finally I put Beanie’s food out, and the setup’s done!
  • I added Beanie, and called it a day.

Beanie explored her new setup, and I think she’s enjoying it a lot!

Taken 5 Minutes After the Makeover was Completed

I know many people think hamsters can live happily in tiny cages, but I would never have seen Beanie enjoy exploring and burrowing if I hadn’t upgraded her to a 690 square inch bincage with enough substrate to properly burrow. So if your small pet is currently in a tiny cage, I just want to say there is nothing as rewarding as seeing your pet happily exploring and burrowing, so really consider that upgrade 😉

If you’re interested in more hamster-related content be sure to like this post and follow the blog, and I’ll be back on Tuesday with more small pet care, DIYs, recipes, cage setups, stories and more, have a ham-tastic day!

DIY Hide’n’Seek Cube

Since small pets are prey animals they enjoy having things to hide in. Besides providing easily accessable protection from whatever domestic animals are afraid of, the Hide’n’Seek Cube is perfectly safe for your pet to destroy.

For this project you’ll need:

  • Cardboard, any thickness.
  • A ruler
  • A writing utensil, a dark marker works best.
  • A craft/box knife

And then you get to choose from:

  • Tape or hotglue, personally hotglue is easier.
  • A template or drawing compass
  • Using your box/craft knife, ruler and marker create six squares of cardboard. Mine are 5 inches by 5 inches, and that should work for Hamsters, Gerbils and Mice. You may want a different size due to your specific pet.
  • On four of the squares draw/trace a doorway in the middle. 2 1/2 or 3 inches in diameter should work for most Hamsters, Gerbils and Mice.
  • Cut out the doorways using your box/craft knife (I don’t want to imagine doing this with scissors, so a knife is recommended!).

Now your six pieces should look like this.

And now the final step, gluing/taping.

  • Glue/tape the four holed squares onto a solid piece.
  • You will need to trim the edges as you go to make everything fit.
  • Glue/tape the final solid piece on top.
  • Trim it up to look nice, and you’re done!

The Hide’n’Seek Cube is awesome for many things, including:

  • Travel
  • Free roaming
  • Cage accessory

And different sizes can be for different animals and purposes:

  • A smaller version for rabbits to fling around.
  • A larger version for cats/rabbits.

I hope your pets enjoy this toy as much as mine do! If you’re interested in more hamster-related content be sure to like this post and follow the blog, and I’ll be back on Tuesday with more small pet care, DIYs, recipes, cage setups, stories and more, have a ham-tastic day!

Beanie’s Cage Upgrades

While I was building my relationship with Beanie I did notice a few things about her and her cage. Beanie’s first cage was the, ‘Ware Manufacturing Chew Proof 4-Story Cage For Hamster,’ and about five weeks after getting Beanie she moved out of it for multiple reasons.

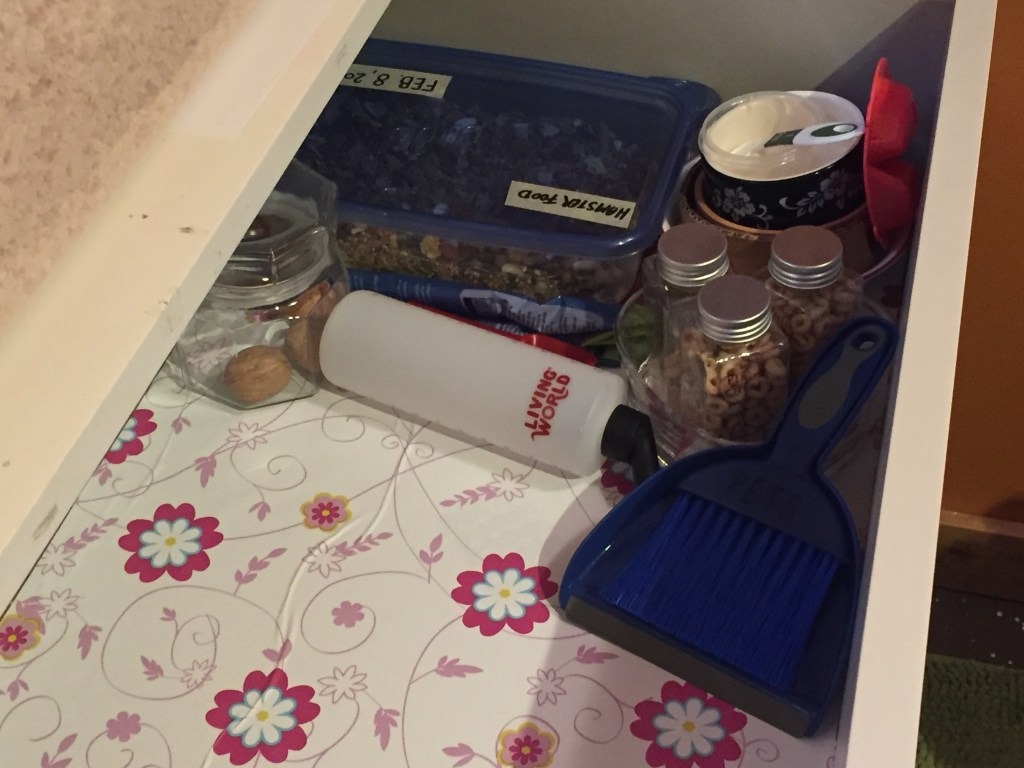
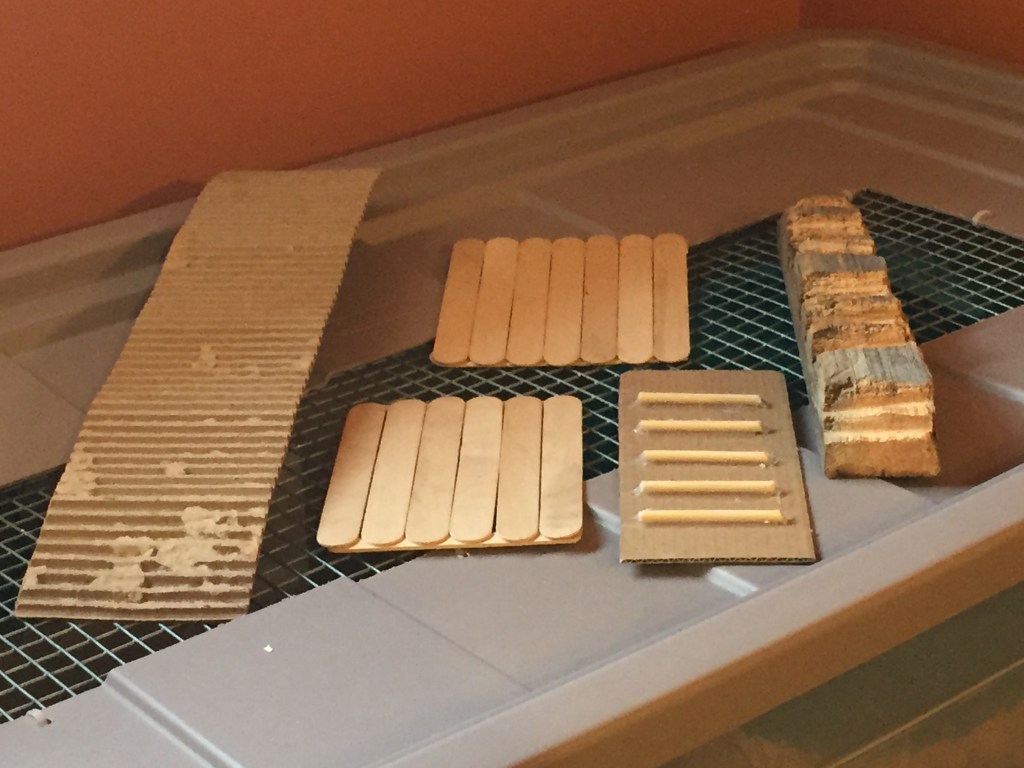
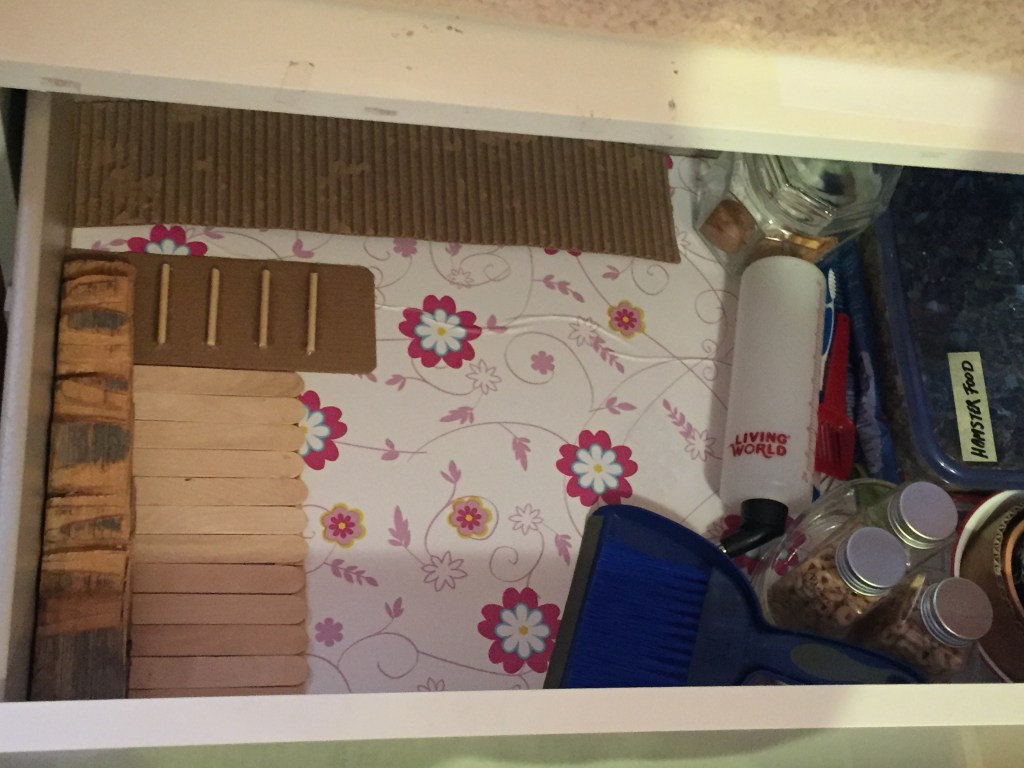
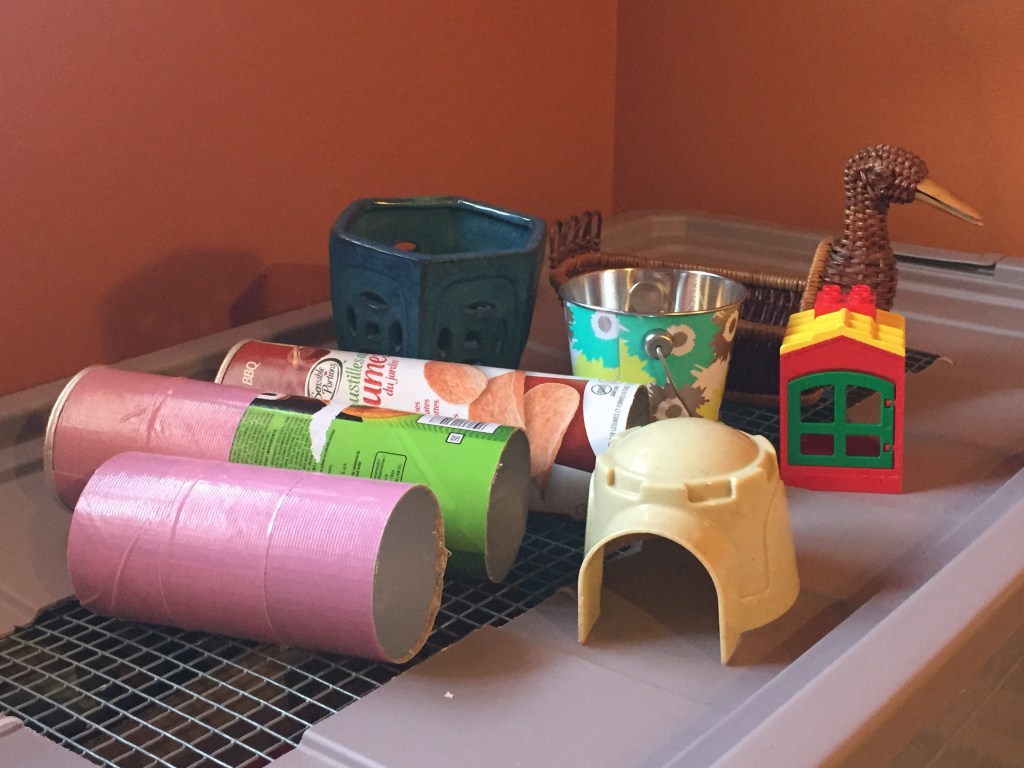
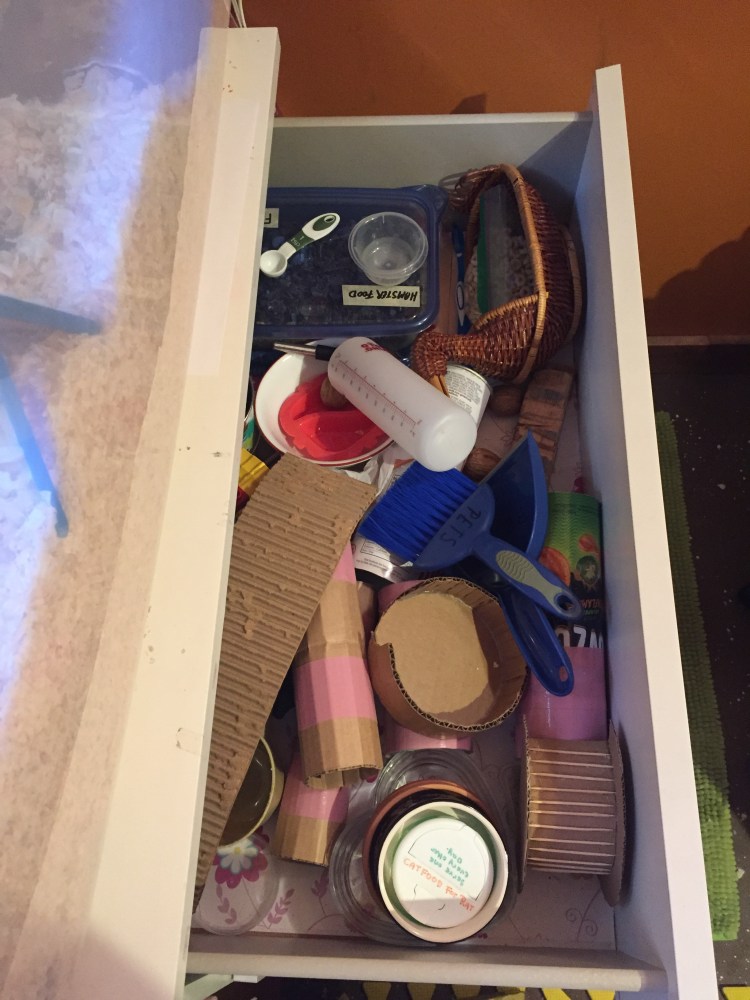
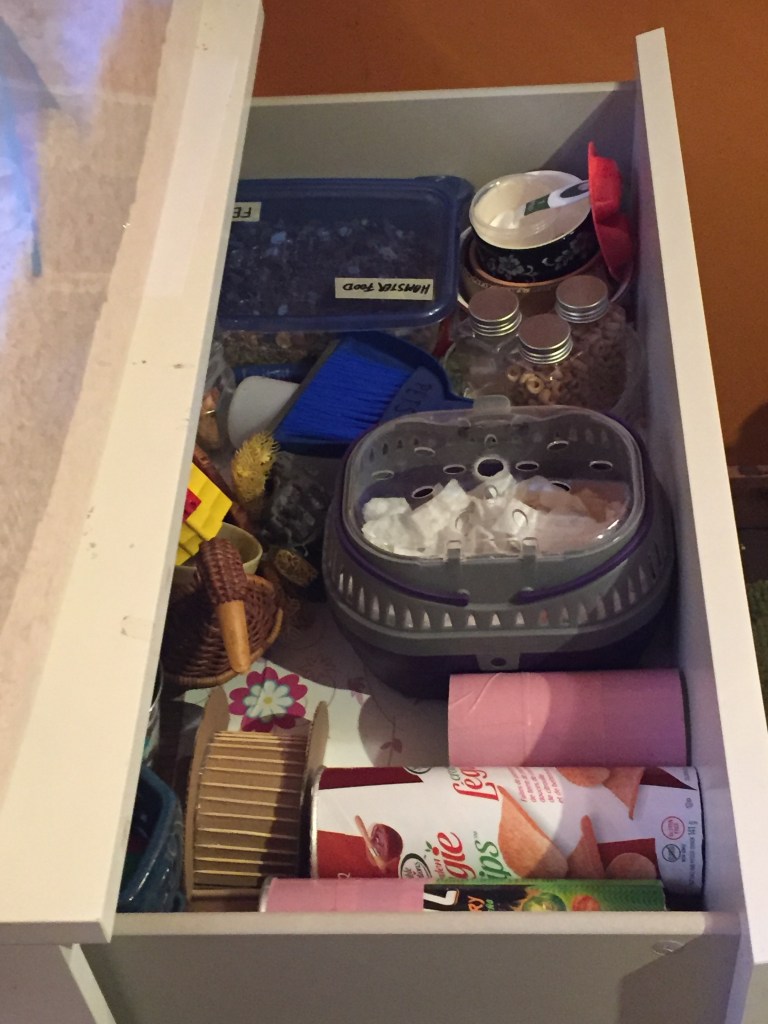
I’d found that cage second hand on a buy and sell website and it came with many other items. I honestly am very glad I got that setup, I got about $100 worth of supplies for only $40, and I’d probably not have gotten a hamster for a long time if I hadn’t bought those supplies, but I did throw out or stop using most of the items eventually.

Bar-Chewing

Beanie started bar-chewing the first week I had her. Bar-chewing is a sign of stress and boredom, and it’s also harmful to rodent’s teeth. It really bothered me, so I put some tape over the bars where she chewed, and that solved most of the chewing.

Beanie’s Reaction To Her Cage

When Beanie came out each night for Playpen Bonding time she would run around her massive playpen for around an hour, then I’d need to go to bed, and therefore have to put her back in her cage. When she saw her cage looming ahead as I approached it she would climb up my arms and try to jump away, and I felt so bad.

Upgrades, And More Upgrades

Shortly after that I lined up two of the levels and added a board across them so the second cage level was a solid surface, where I had her 8 inch wheel and a takeout box she slept in for weeks. RIP Takeout Box, 2019-2019.

She was happier for about a week, then I decided she needed another upgrade, soon. I used to have fish, and their tank was just sitting around, so I decided it would be a perfect fix for the moment. I spent the day sterilizing, polishing, moving and setting up the cage.

The tank was about 410 square inches. Less than the requirement, but it was an improvement. That night Beanie moved in, and she was much happier! She ran around, dug in the substrate, explored every nook and cranny. She was almost too big for her 8 inch wheel by now, and her 12 inch was coming in the mail that week. When I really think about it her 12 inch wouldn’t have fit in the old cage anyway.

The Final Upgrade

Even after the tank upgrade I was not happy. Beanie apparently was, but I wanted an appropriately sized cage. I wanted a bincage. The only issue was I couldn’t find any suitable bins. They were all too low, solid sided, small, or bad quality.

I had almost given up the search for a bin cage when a friend texted me, “Are you still looking for a bin?”

“Yeah, why?”

“I found a 200 quart Sterilite bin at Walmart.”

WHAT?! I needed it.

“What are the dimensions? Square inches? Price? Stability?”

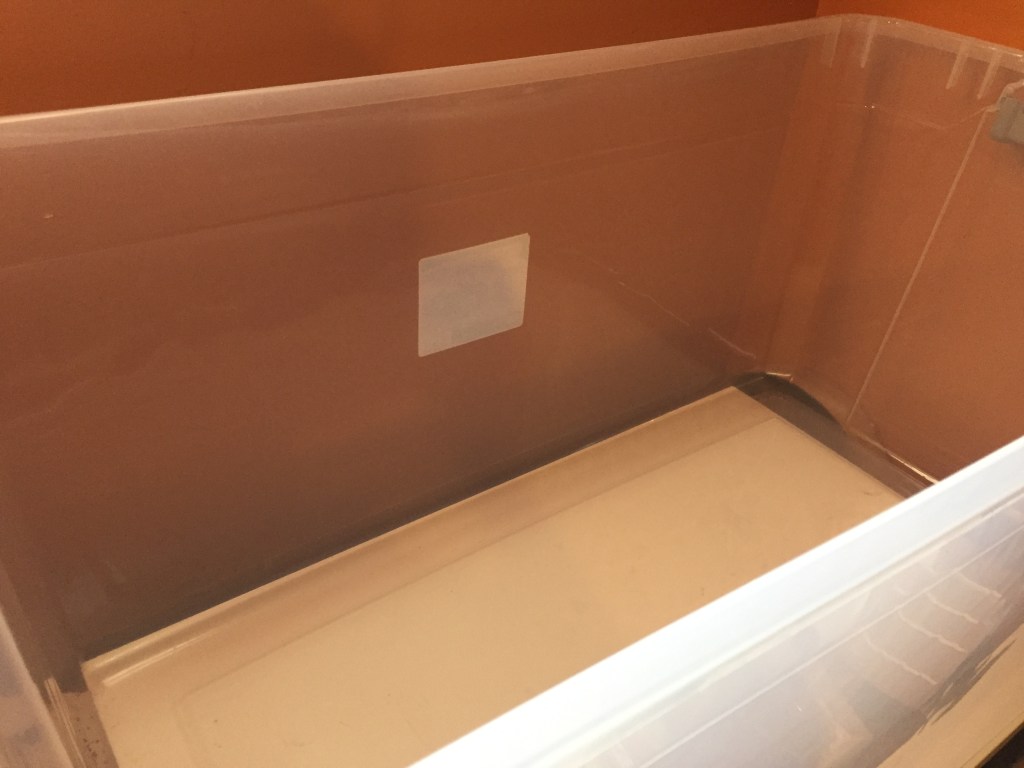
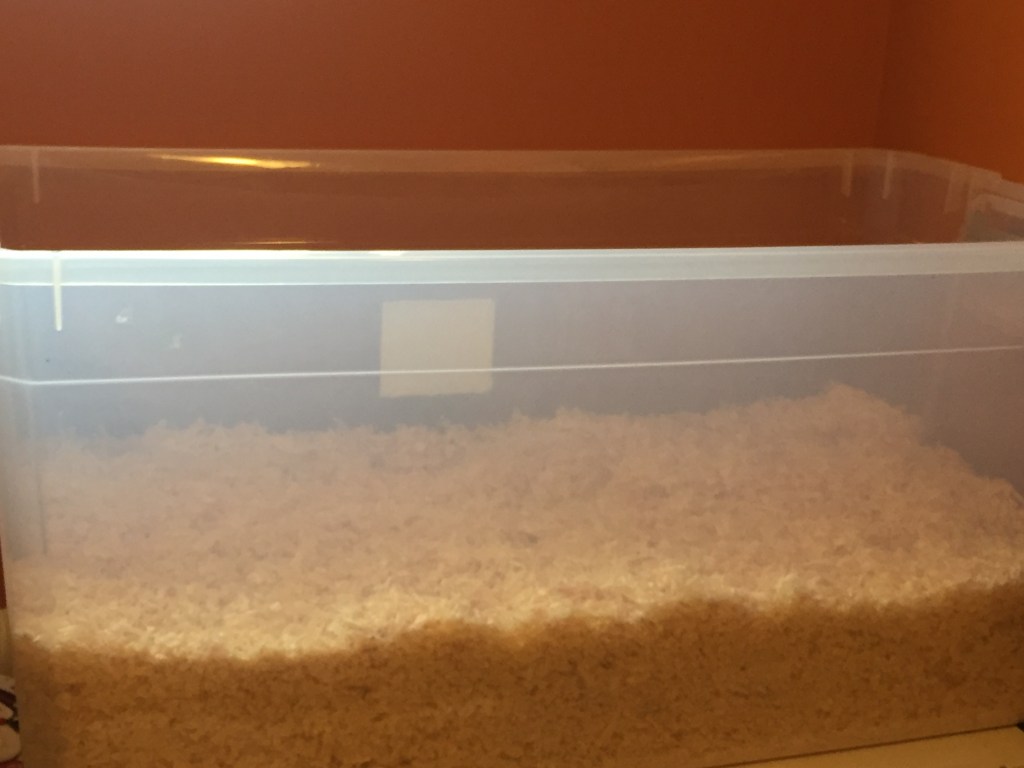
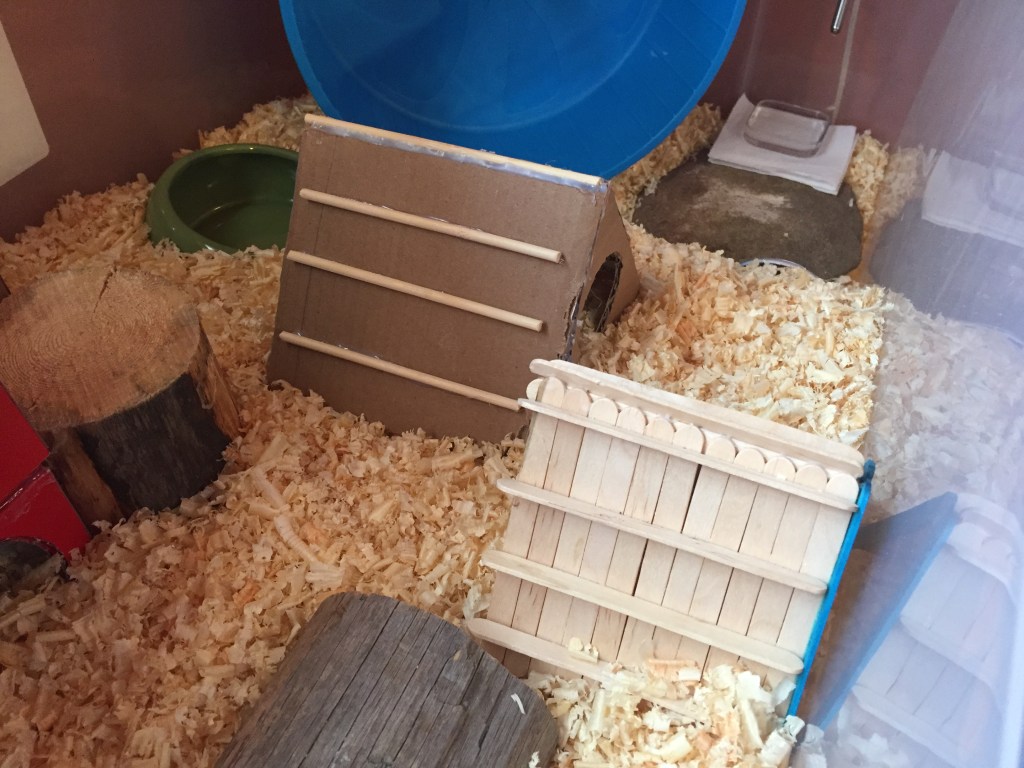
It turned out the bin calculated to 690ish square inches, it was around 20 inches high, so the 12 inch wheel would fit well, it was clear with a tan lid, and looked very appealing, and it was $35. And that bin was going to be mine.

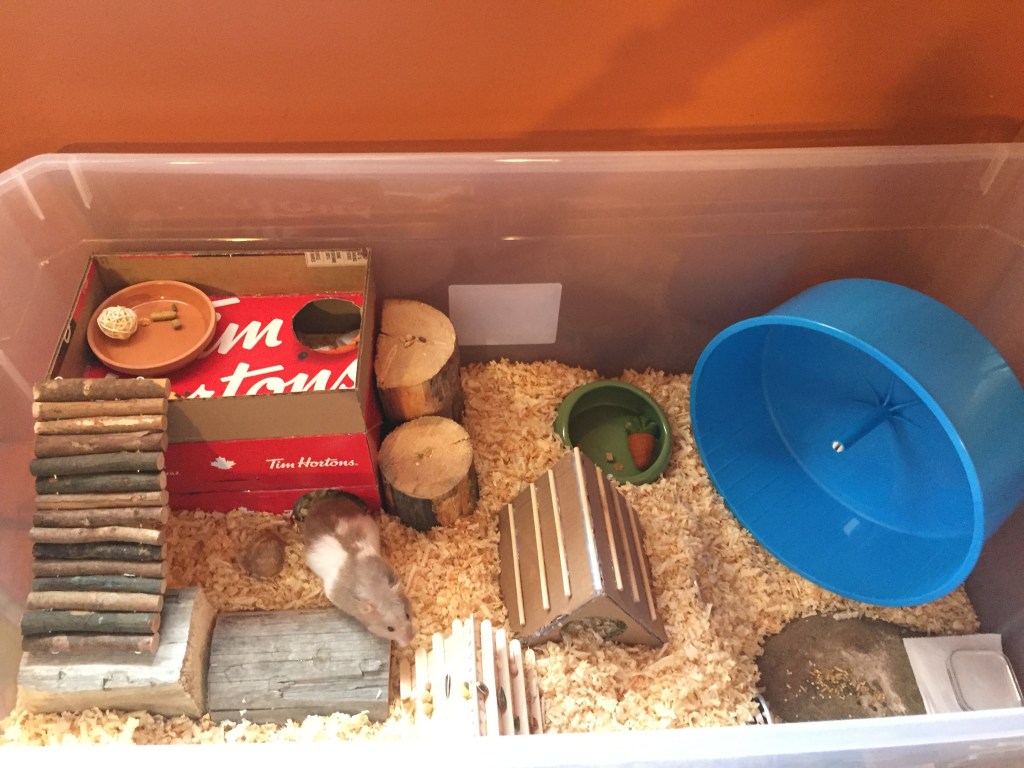
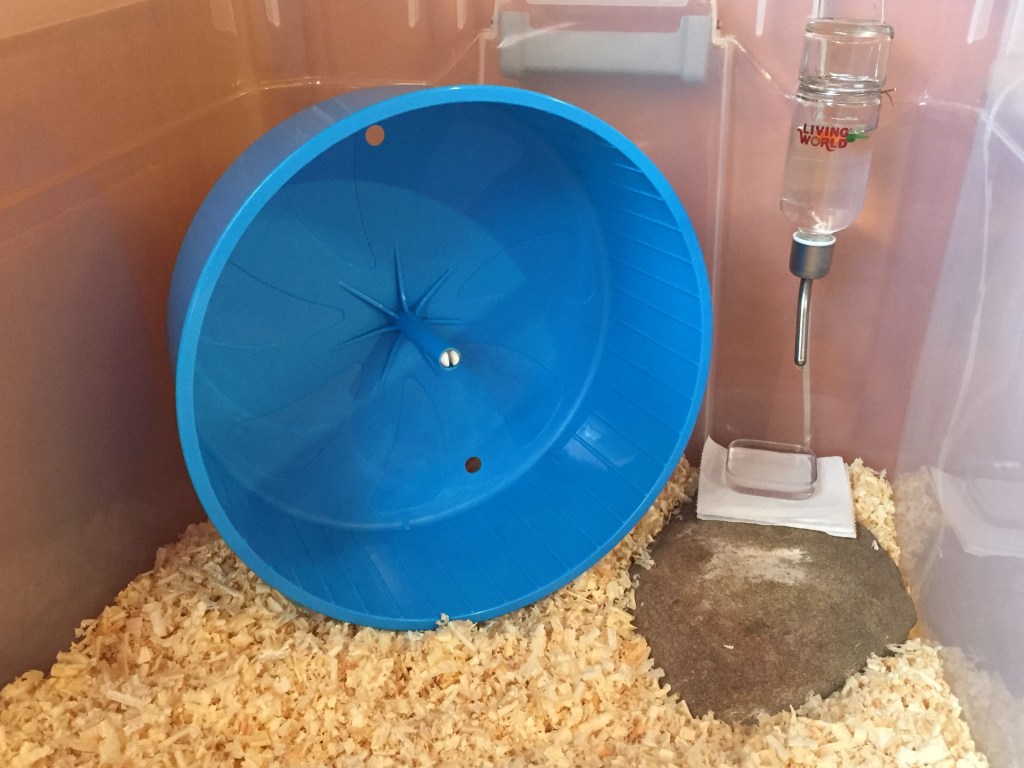
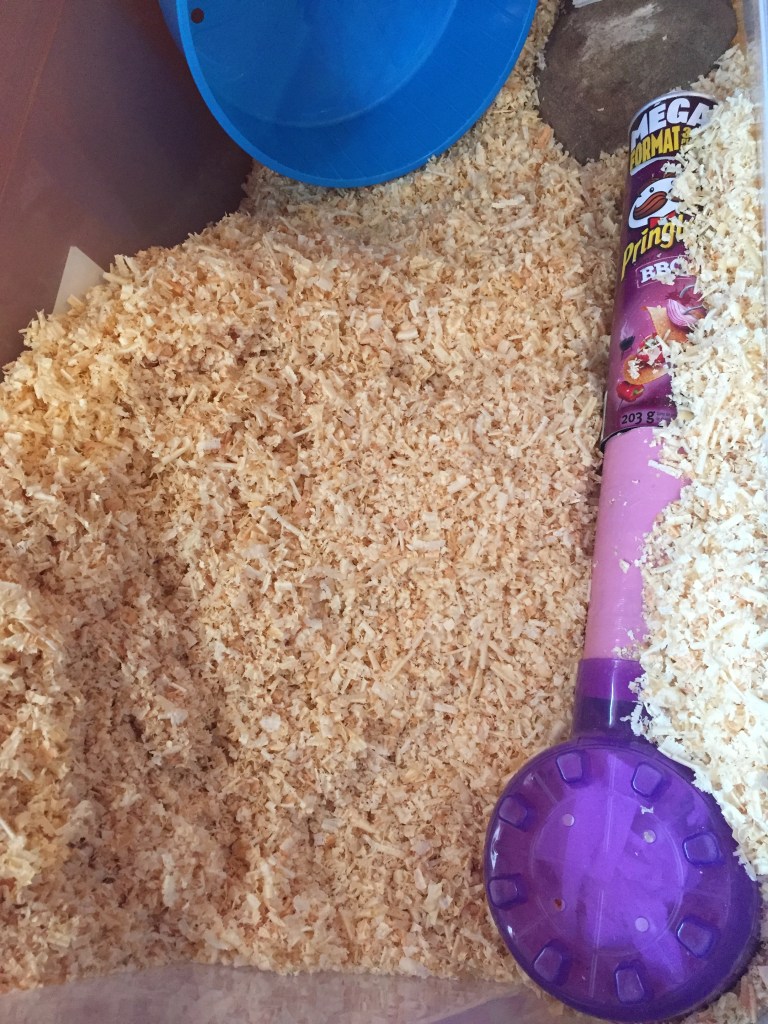
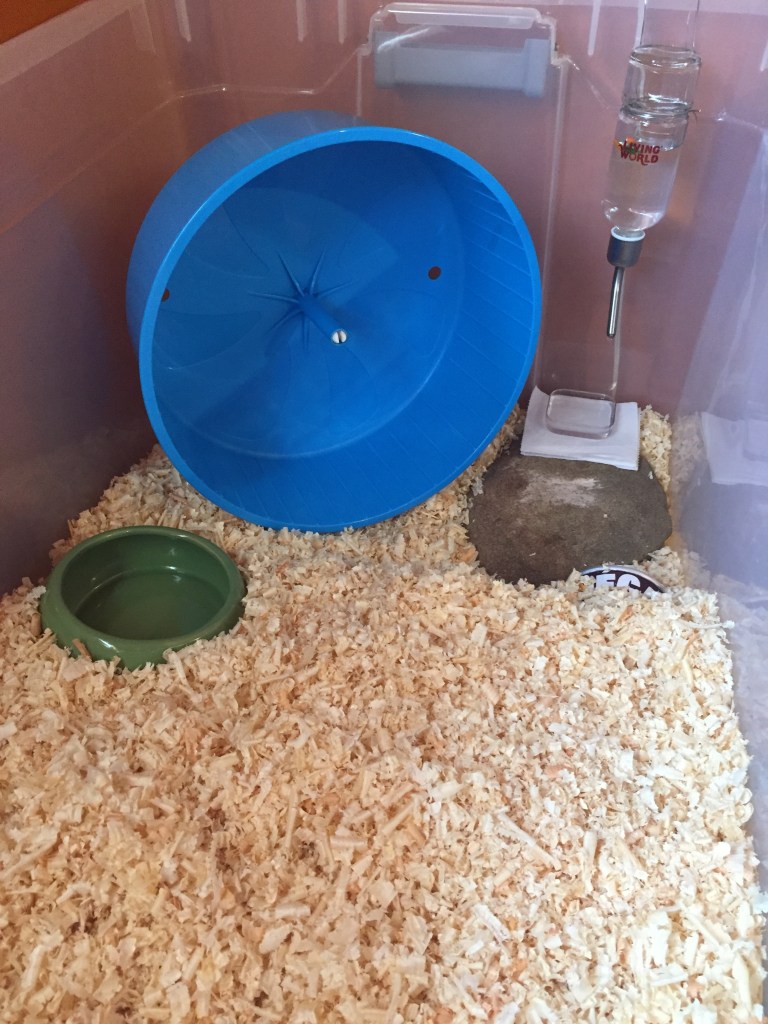
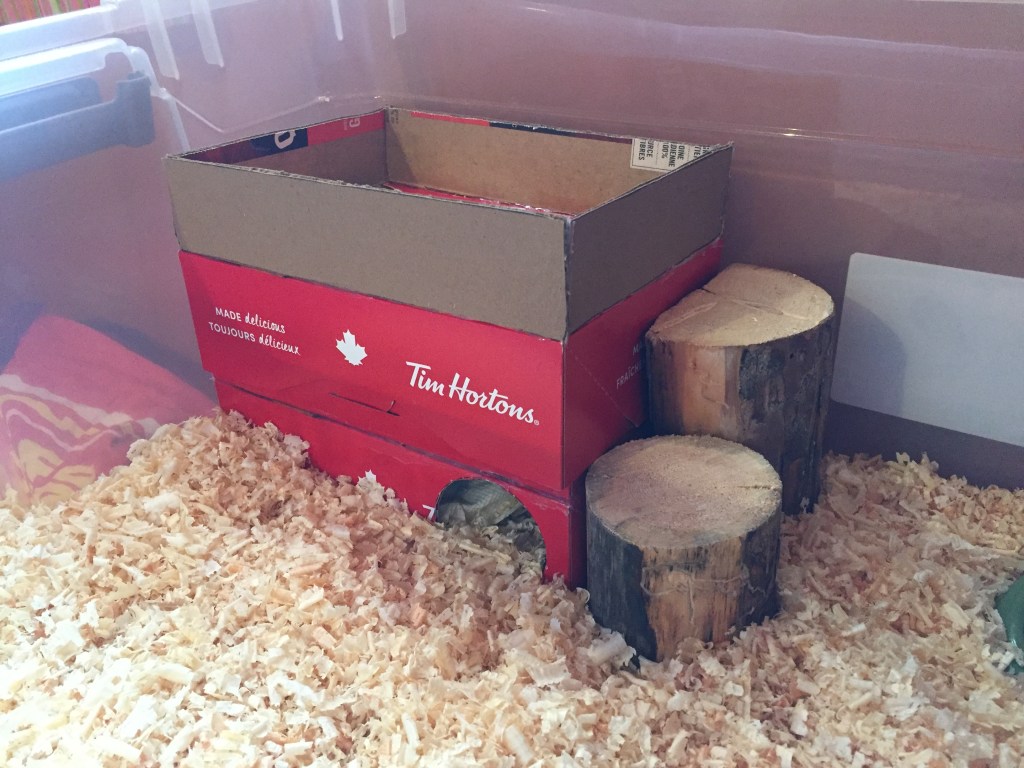
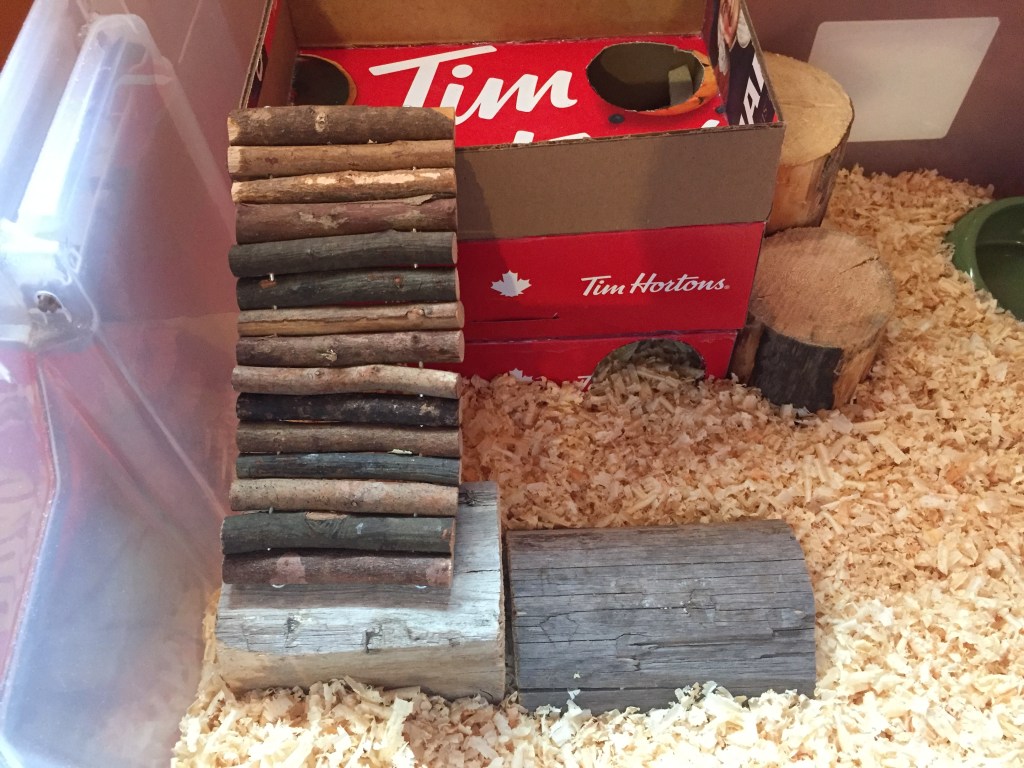
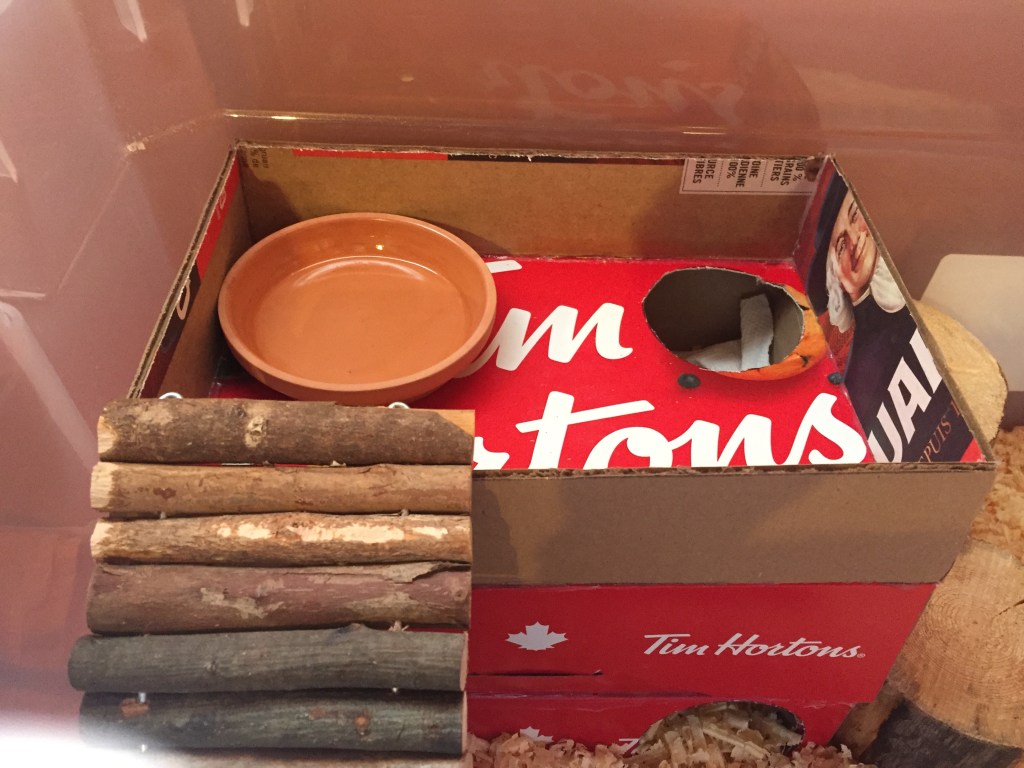
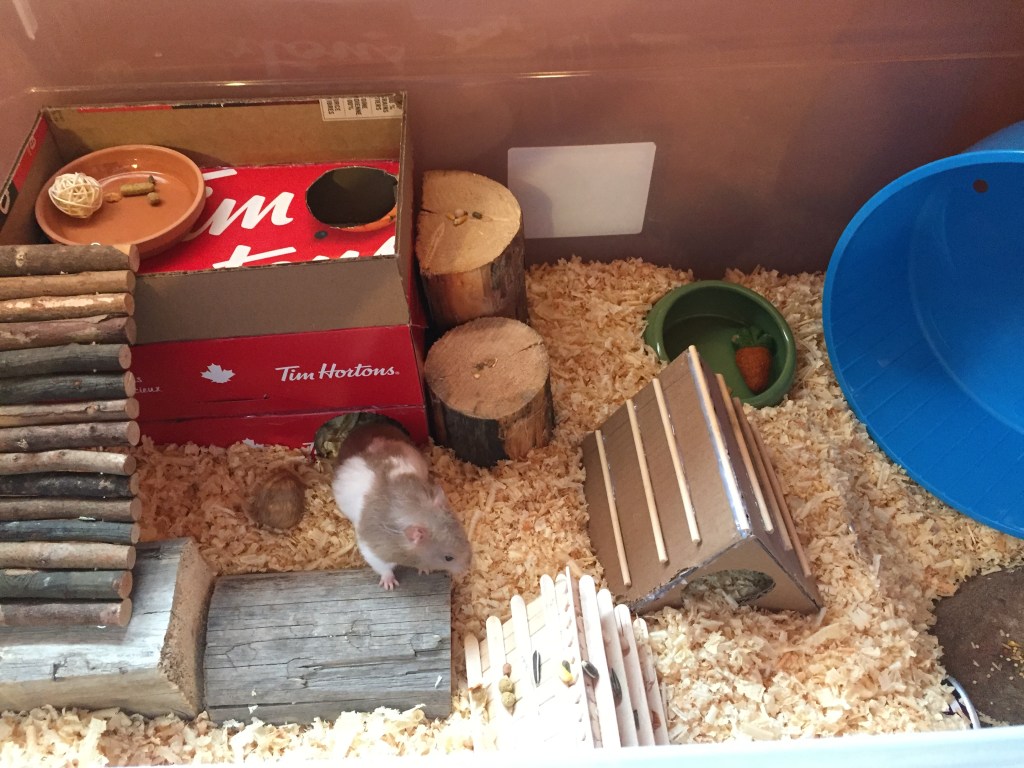
The evening the friend dropped off the bin Beanie moved in, sometime in late March, early April of 2019. I got some help to tablesaw a hole in the lid, zip tied some mesh on. I cleaned it, made a quick setup with Beanie’s things and got her in that night.

As soon as Beanie got inside she was so excited. She was bathing in substrate, exploring, just… so happy! I was overjoyed. The bin is much wider than the tank, which was 11 inches wide, and Beanie loves the width.

The bin is by far my favorite cage for many reasons.

  • Easy cleaning
  • Beanie loves it
  • Easy to DIY
  • Size for price

I’m so thankful my friend checked the bin section and found this bin! I love it so much and highly recommend it to anyone, with the exception of Gerbil owners, because Gerbils are known to totally destroy anything plastic. And that’s my experience with upgrading cages, Beanie’s reactions, and bar-chewing. I hope this was entertaining and helpful if anyone is contemplating whether to upgrade or not.

If you’re interested in more hamster-related content be sure to like this post and follow the blog, and I’ll be back on Tuesday with more small pet care, DIYs, recipes, cage setups, stories and more, have a ham-tastic day!

Seedy Foraging Cookies

Makes around 10 medium-sized foraging cookie treats. These cookies are amazingly healthy, and if made with your seed mix can be used for feeding purposes as well as enrichment. Intended for Hamsters, Gerbils, and Mice. Serve one to three a week, and they’ll keep longer if refridgerated. Do not store in a bag.

Ingredients:

  • 3 tbs Seedmix of Your Choice.
  • 1-2 tbs Flour, Buckwheat is Prefered
  • 2-3 tbs Safe Fruits and/or Vegetables

Method:

  • Preheat your oven/toasteroven to 350f.
  • Next take your fruits/vegetables and mush/pureé them very well; berries work the best and don’t require a blender to make them the batter-y texture needed. If you want more fruity/vegetably flavor simply have more in the recipe. If you want less fruit/veggie flavor but don’t have the right texture add some water.
  • Now mix half a tablespoon of flour in and combine them completly. The mix should be like a batter, so add more or less flour to achive the texture.
  • Next take a tablespoon of your seedmix and add it in. Mix more in until you have a clumpy, somewhat sticky dough. Combine very well.
  • Scoop half-whole tablespoon portions onto a baking tray, make sure you have parchment paper on the pan. Non-stick substances are not recommended.
  • Bake for 8 or more minutes until they darken in colour and are dense but a little springy to the touch. You can cut one in half to check if you’d like to.
  • Let the cookies cool completely before serving.
  • Now serve them to your small pet!

If you’re interested in more hamster-related content be sure to like this post and follow the blog, and I’ll be back on Tuesday with more small pet care, DIYs, recipes, cage setups, stories and more, have a ham-tastic day!

Taming Beanie

After giving Beanie three nights to settle into her new home I started the taming process. Personally the taming process was quite easy for me, because that’s just Beanie’s personality. Keep in mind taming any pet takes diligence and effort, and there’s no way to know when your pet will be fully tame, or if they’ll ever be.

Preparing For Taming

During the settling in and taming period I didn’t try to pick her up with my hands, but I would hand-feed her through the bars sometimes. I’d wait until Beanie was asleep then do the spot cleaning so I wouldn’t frighten her.

I just braced myself for taming to take a month or more. Since getting bitten, I was kind of wary of Beanie, so I was wearing a pair of thin, fuzzy gloves. Some protection. Oh well, I felt safer.

Beginning The Taming Process

After carefully putting some food or a treat in my hand I’d offer it to her, and she crept over right away, obviously curious. She snatched a seed and would sit an inch away and devour it, and we did this every night for a week or two, but soon Beanie was climbing on my hand and sitting contentedly to eat, then let me pet her.

Playpen Bonding

About the second week of taming we started ‘Playpen Bonding.’ I had made a cardboard playpen weeks prior to adopting Beanie, and was eager to use it. Some people do use their bathtubs, but… yeah, I used a playpen. I put on some clean clothes and layed a clean towel inside, added several toys, then got Beanie. After so long in her awful tiny cage she was eager to get out, and climbed right on my hand, and was lowered into the pen.

The playpen was large, probably around five by four feet, so I could sit comfortably inside while Beanie dashed around exploring. I would scoop her up, let her run all over my back, arms and hands, and she seemed to enjoy it thoroughly.

Beanie’s Reaction To Skin

After another week or two of this I felt like Beanie wasn’t going to bite me, and I took off my left glove. Beanie disliked the texture of skin for a while and actually avoiding walking on my hands. She also seemed confused because I wasn’t furry anymore.

A few short weeks later I was a confident hamster handler, and had chucked the gloves. Beanie seemed comfortable being handled, and that’s how I tamed my Syrian hamster, Beanie.

After Beanie was officially tame we still worked on some taming just to boost our confindence around eachother. After all, I’d never owned a hamster before and was very new to handling them. Animals can sense your feelings, so if your scared of them they’ll know and won’t feel confident while being held, so always be confident but not cocky when holding any animal.

If you’re interested in more hamster-related content be sure to like this post and follow the blog, and I’ll be back on Tuesday with more small pet care, DIYs, recipes, cage setups, stories and more, have a ham-tastic day!

Some Thoughts:

  • Wait a few days for your hamster to settle into their new envirornment before beginning the taming process.
  • Feel free to use gloves if you’re uncomfortable handling your hamster.
  • Use the larger peices of your hamster’s seedmix as treats so your hamster doesn’t get too many treats.
  • Don’t hold your hamster unnessecarelly while taming, this will put you back.

DIY Three-Story House

This house’s amazingness caught me by surprise! It’s super cute, easy to make, and has many uses, including enrichment, a platform, nest, and hide house! This three story house is awesome for Mice, since they love climbing, but is perfectly fine for Hamsters and Gerbils as well.

The supplies you’ll need are:

  • Two boxes, it’s better if they’re the same size.
  • Ruler
  • A drawing compass/entryway template
  • A box/craft knife
  • Scissors (optional, just made life easier.)
  • Hotglue and gluegun
  • Cardboard, any thickness.

These are the items I used to create the exact house shown, you can be creative and edit the origianal design if desired 😃

Take a box, if you have different sizes use the bigger one, and using your template or drawing compass draw a doorway somewhere on the front of it, I chose to do a circle on the right side.

Cut out the door hole. You may have to cut through two layers like I did, but I just:

  • Cut out the drawn hole.
  • Traced the doorway through the hole.
  • Opened the box.
  • Cut the other layer which I traced.

On the box you just cut a doorway in:

  • Get your template/drawing compass.
  • Draw a doorway on the top of the box on the opposite side from where you cut the door hole. I put my door on the front right so this hole went on the top left.

And once the roof hole is cut out the box should look something like this.

  • Get your second, untouched box and cut a hole in the top, a corner is best. Before you cut stack this box on top of the other one and make sure you don’t cut the hole above or near the other holes.
  • Stack the two boxes, putting the one with two holes on the bottom.
  • Cut out a hole in the bottom of the top box that connects the two boxes.
  • Measure the width and length of the top box.
  • Cut out some strips of hardboard that fit the perimeter of the top box, I made mine two inches tall.
  • Glue the two boxes on top of eachother, make sure the holes all line up so your small pet has access to the levels.
  • Finally glue the cardboard border onto the top box, this will prevent falls.

And you’re done! The best thing about this house is that you can easily open it to clean it out, as shown above!

I totally recommend this DIY for Hamster, Gerbil, and Mouse owners. These species need to and enjoy chewing, and this house is perfectly safe for them to chew! Beanie enjoys it, and I hope your pets love it too!

If you’re interested in more hamster-related content be sure to like this post and follow the blog, and I’ll be back on Tuesday with more small pet care, DIYs, recipes, cage setups, stories and more, have a ham-tastic day!

Some Tips

  • Put some toys around the house to act as stairs in case your pet wants a different way down; tall wooden toys or long bendy bridges are great.
  • Wait until the glue is dry before giving to your pet.
  • Paint the interior with a safe sealer to prevent urine damage.
  • Scatter feed your seed mix inside for enrichment.
  • Use boxes that are only a few inches high unless you want to add ramps inside.
  • For easier DIYing use boxes that are flatter and open in the top, this will also prevent it from opening accidentally.

Beanie’s Banana Bread

This recipe makes about 10 quarter teaspoon sized cookies for Hamsters Gerbils and Mice. Serve one-two only as a weekly treat, do not overfeed to diabetes-prone Hamsters. Refridgerate, do not store in bag.

Ingredients:

1 tbs Very Ripe Banana

1-2 tbs Flour, Buckwheat is prefered

You may need a couple drops of tapwater.

Method:

  • Preheat your oven/toasteroven to 350 ferenhight.
  • In a small bowl, use a fork to mush the banana until there are no lumps.
  • Mix in half a tablespoon of flour at a time until the consistancy of the dough is very sticky, thick, and well mixed. You may use more or less flour then recipe.
  • If you add too much flour add in a couple drops of water.
  • Get a baking tray; line with parchment paper.
  • Using a quarter teaspoon measurement and your finger, scoop all the dough into little cookies on the parchement.
  • Bake until they are a kind of golden, are quite dense but not hard, and just a little squishy. This should take 8-10 minutes
  • Remove from oven/toasteroven and cool before serving.
  • Serve to your Hamster, Gerbil or Mouse/Mice and watch them enjoy!

If you’re interested in more hamster-related content be sure to like this post and follow the blog, and I’ll be back on Tuesday with more small pet care, DIYs, recipes, cage setups, stories and more, have a ham-tastic day!

Design a site like this with WordPress.com
Get started