DIY Barred Foraging Toy Tutorial

Welcome to this DIY tutorial! These cylindrical, barred toys are most often used for hamsters and rabbits, but is also suitable for gerbils, mice, rats, and other little pets. You can put wooden beads, treats, or food inside and your pet will have to chew and fling to get the prize from the toy. It’s very mentally stimulating and helps wear down your pet’s teeth. Let’s get into it!

For this project I used:

  • Cardboard
  • A hot glue gun
  • A ruler
  • 3-4 12 inch bamboo skewers
  • Wire cutters
  • A craft knife
  • A drawing compass
  • A dark marker

You can substitute some of the items, such as:

  • Wire cutters/Scissors
  • Craft knife/Scissors
  • Drawing compass/Circle template
  • Dark marker/Another writing utensil

Using your compass or circular template, cut out two circles of cardboard, with a diameter of about 3 inches.

Cut your skewers into 8-12 pieces, 3 inches long. The more pieces you have the closer the bars will be to each other, vice versa.

Heat up your glue gun, and glue the bars upright onto a cardboard circle (the biggest understatement of the year; this takes patience). If you keep the glue gun moderately cool (unplugged whenever possible) then it dries faster.

Put your wooden bead, treat, or food inside the toy.

Dob glue on the ends of the sticks, then stick the other cardboard circle on top. I recommend turning it over and adding extra glue, for good measure.

Voila! This DIY is complete! I hope your pets enjoy this toy 😁

If you’re interested in more hamster-related content be sure to like this post and follow the blog, and I’ll be back on Tuesday with more small pet care, DIYs, recipes, cage setups, stories and more, have a ham-tastic day!

Ways To Enrich Your Hamster!

Hamsters are surprisingly intelligent and active, and they need enrichment and stimulation to keep their physical and mental health in check.

Hamsters spend a majority of their time in their cage. Having lots of interactive and stimulating toys in the cage is the difference between the cage feeling like a home or a prison to your hamster. Make sure your cage is an appropriate size (minimum 450 square inches of unbroken floor space. Width times length equals square inches), and that your hamster’s wheel is big enough for them (back shouldn’t be bent at all).

The cage, wheel, and toys are key components in your hamster’s lifestyle and enrichment. If you have a good sized wheel and a large, semi-crowded cage this will already be making your hamster very happy.

However, you may notice despite your best efforts your hamster is still trying to escape. This is quite normal. In the wild a hamster’s territory is up to 10 square miles, and there’s no way you can mimic that in a domestic environment.

While we may not be able to provide ‘enough’ space for our hamsters, we can still do our best to keep them happy. Here are my tips and tricks for enriching your hamster in and out of the cage.

Food Motivation

Hamsters are very food motivated, and we owners like to use this to our advantage to enrich our hamsters. There are a few ways to use food as enrichment:

  • Scatter feeding is a very beneficial method of feeding, and it promotes a hamster’s natural foraging behaviors. There are two main ways of scatter feeding. You can put the food in little piles around the cage, or full on sprinkle it everywhere. Be sure your hamster is able to find all the food and that they’re getting enough to eat. What some people do is they feed their hamster every other day twice as much food so they have time to find everything.
  • Foraging toys are primarily for getting your hamster to think. Hamsters may not be as intelligent as rats, but they are capable of chewing food out of wooden or cardboard contraptions. These toys also wear down those ever-growing teeth.
  • Tricks are something I personally haven’t put the effort into teaching my hamster, but it is possible to teach a hamster some simple tricks. When teaching a hamster you must be rewarding every correct move, and what better way than using their seed mix? Pick out the bigger pieces of food from their usual amount of mix and use them to treat your hamster. If you have any leftovers make sure to give them to your hamster later with the little stuff because they still need every component of their seed mix.
  • Hanging seed mix treats are also a fun way to get your hamster busy and fed. ErinsAnimals an awesome tutorial for this toy that you can see here.

Out-Of-Cage-Time

Hamsters don’t play the same way cats and dogs do. They’d much rather explore their surroundings. It is good to handle your hamster for a few minutes so they stay accustomed to you, but I know Beanie gets impatient after a few minutes of handling and adores her free roaming time.

I love free roaming Beanie; I just take her out, play with her for a few minutes then she’s happy to just run around! I wrote a post about my experiences and one on how to get started free roaming, so if you’re interested in learning more about free roaming be sure to check those out 😀

Many people just can’t free roam their hamsters, and that’s totally fine. Nevertheless, your hamster needs to get out of their cage for at least half an hour a day, and there’s a solution!

Playpens are wonderful if you are unable to free roam your hamster; they’re really cheap to make, and usually they can fold up for easy storage during the day. Playpens can be as big as you want, and you can make them out of different things, such as solid CNC grids and cardboard. You can also purchase wire playpens, but I’ve seen too many escaping hamster videos to feel comfortable buying one, and they’re really expensive, too!

More Food-Motivated Toys

As mentioned before, hamsters are foraging animals, and we can use this to our advantage when entertaining our hammies.

Mazes are great entertainment when you have your hamster out in the evening. Never leave your hamster alone in a maze, or leave a maze in their cage. Mazes are quite simple to create with cardboard and glue, and there are several tutorials on YouTube. Currently I don’t have a DIY post for mazes, but I hope to have it available soon 🙂

Thick corrugated cardboard is awesome in-cage entertainment! You can wet the top layer of paper, peel it off and use the compartmented sheet of cardboard as a foraging toy. Simply sprinkle seed mix into the tray and your hamster will have to chew up the cardboard to reach the food.

Conclusion

Hamsters and other small pets aren’t too difficult to entertain when you give them a variety of toys to keep them busy. I hope this post was helpful if you are looking for new ways to occupy your small pet.

If you have any more enrichment ideas feel free to share them in the comments section down below!

If you’re interested in more hamster-related content be sure to like this post and follow the blog, and I’ll be back on Tuesday with more small pet care, DIYs, recipes, cage setups, stories and more, have a ham-tastic day!

Links/Related Posts:

Water Bottles vs Bowls

The most common way of watering your pet hamster is using a water bottle, but are bowls just as good, or maybe better?

Water Bottles

Water bottles are the most commonly known and used method of providing water for small pets, and there are tons of pros to using them.

Water bottles come in many different sizes, and my personal favorite is the 8 ounce. For me, 8 ounces lasts a little over a week, and since I sanitize and refill it weekly this works really well for me. I wouldn’t want the water level under 2 inches, and it should be cleaned weekly anyway to prevent algae and calcium build up.

Bottles are typically made in two materials: plastic and glass. My glass Living World bottle has a really nice aesthetic (and the cute carrot floaty), however I always worry I’ll break it, so I bought a plastic one as a spare. Both materials have pros and cons, and which kind you use is your decision.

Hamsters sometimes chew holes in plastic bottles, or can also chew apart plastic water bottle holders, which isn’t healthy if your hamster ingests the plastic. These scenarios can be prevented by using glass bottles and metal holders.

Bottles have a spout, and inside that spout is a metal ball, sometimes two. When the hamster drinks they lick the ball which moves it and lets the water through. If you don’t clean the spout often, calcium builds up, and then the ball gets stuck, resulting in a lack of water. I was away for a few days once and the bottle was stuck, and Beanie couldn’t get her water. This event scared me into using a bowl as well as a bottle.

Sometimes the spout of the bottle can be at a really vertical angle, and this is not a natural or comfortable way for a hamster to drink. When selecting a water bottle try to find one with more of a horizontally positioned spout.

Water bottles are also known to leak. A dripping water bottle not only gets the substrate soggy, but could also leak out all the water leaving your hamster to get dehydrated. Sometimes you can fix it by tapping the end of the spout with your finger, but sometimes you need to buy a different bottle altogether.

Overall there’s nothing that should deter you from using a water bottle, however you should check the bottle daily to ensure water is still coming out. Water bottles are a great option because hamsters cannot get substrates into the water. They don’t need to be cleaned quite as often, and don’t take up floor space. You should be checking the bottle daily to ensure water is coming out, and clean it whenever you refill it, usually bi-daily or weekly.

Water Bowls

Water bowls are preferred by many because they are a much more natural way for pets to drink.

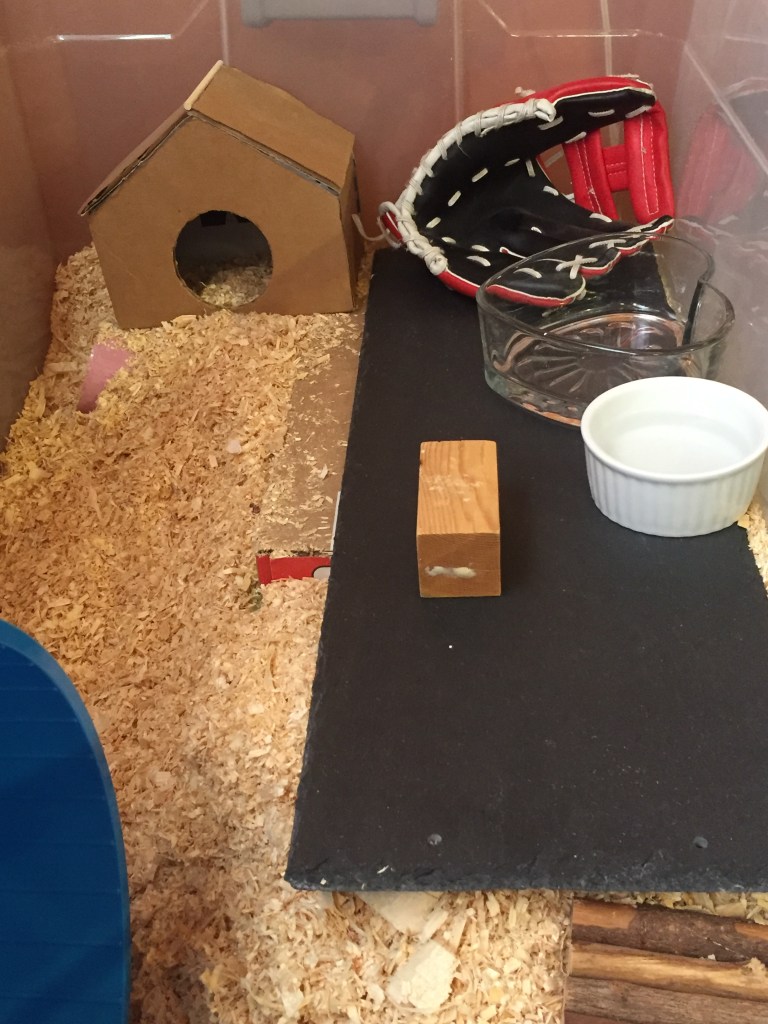
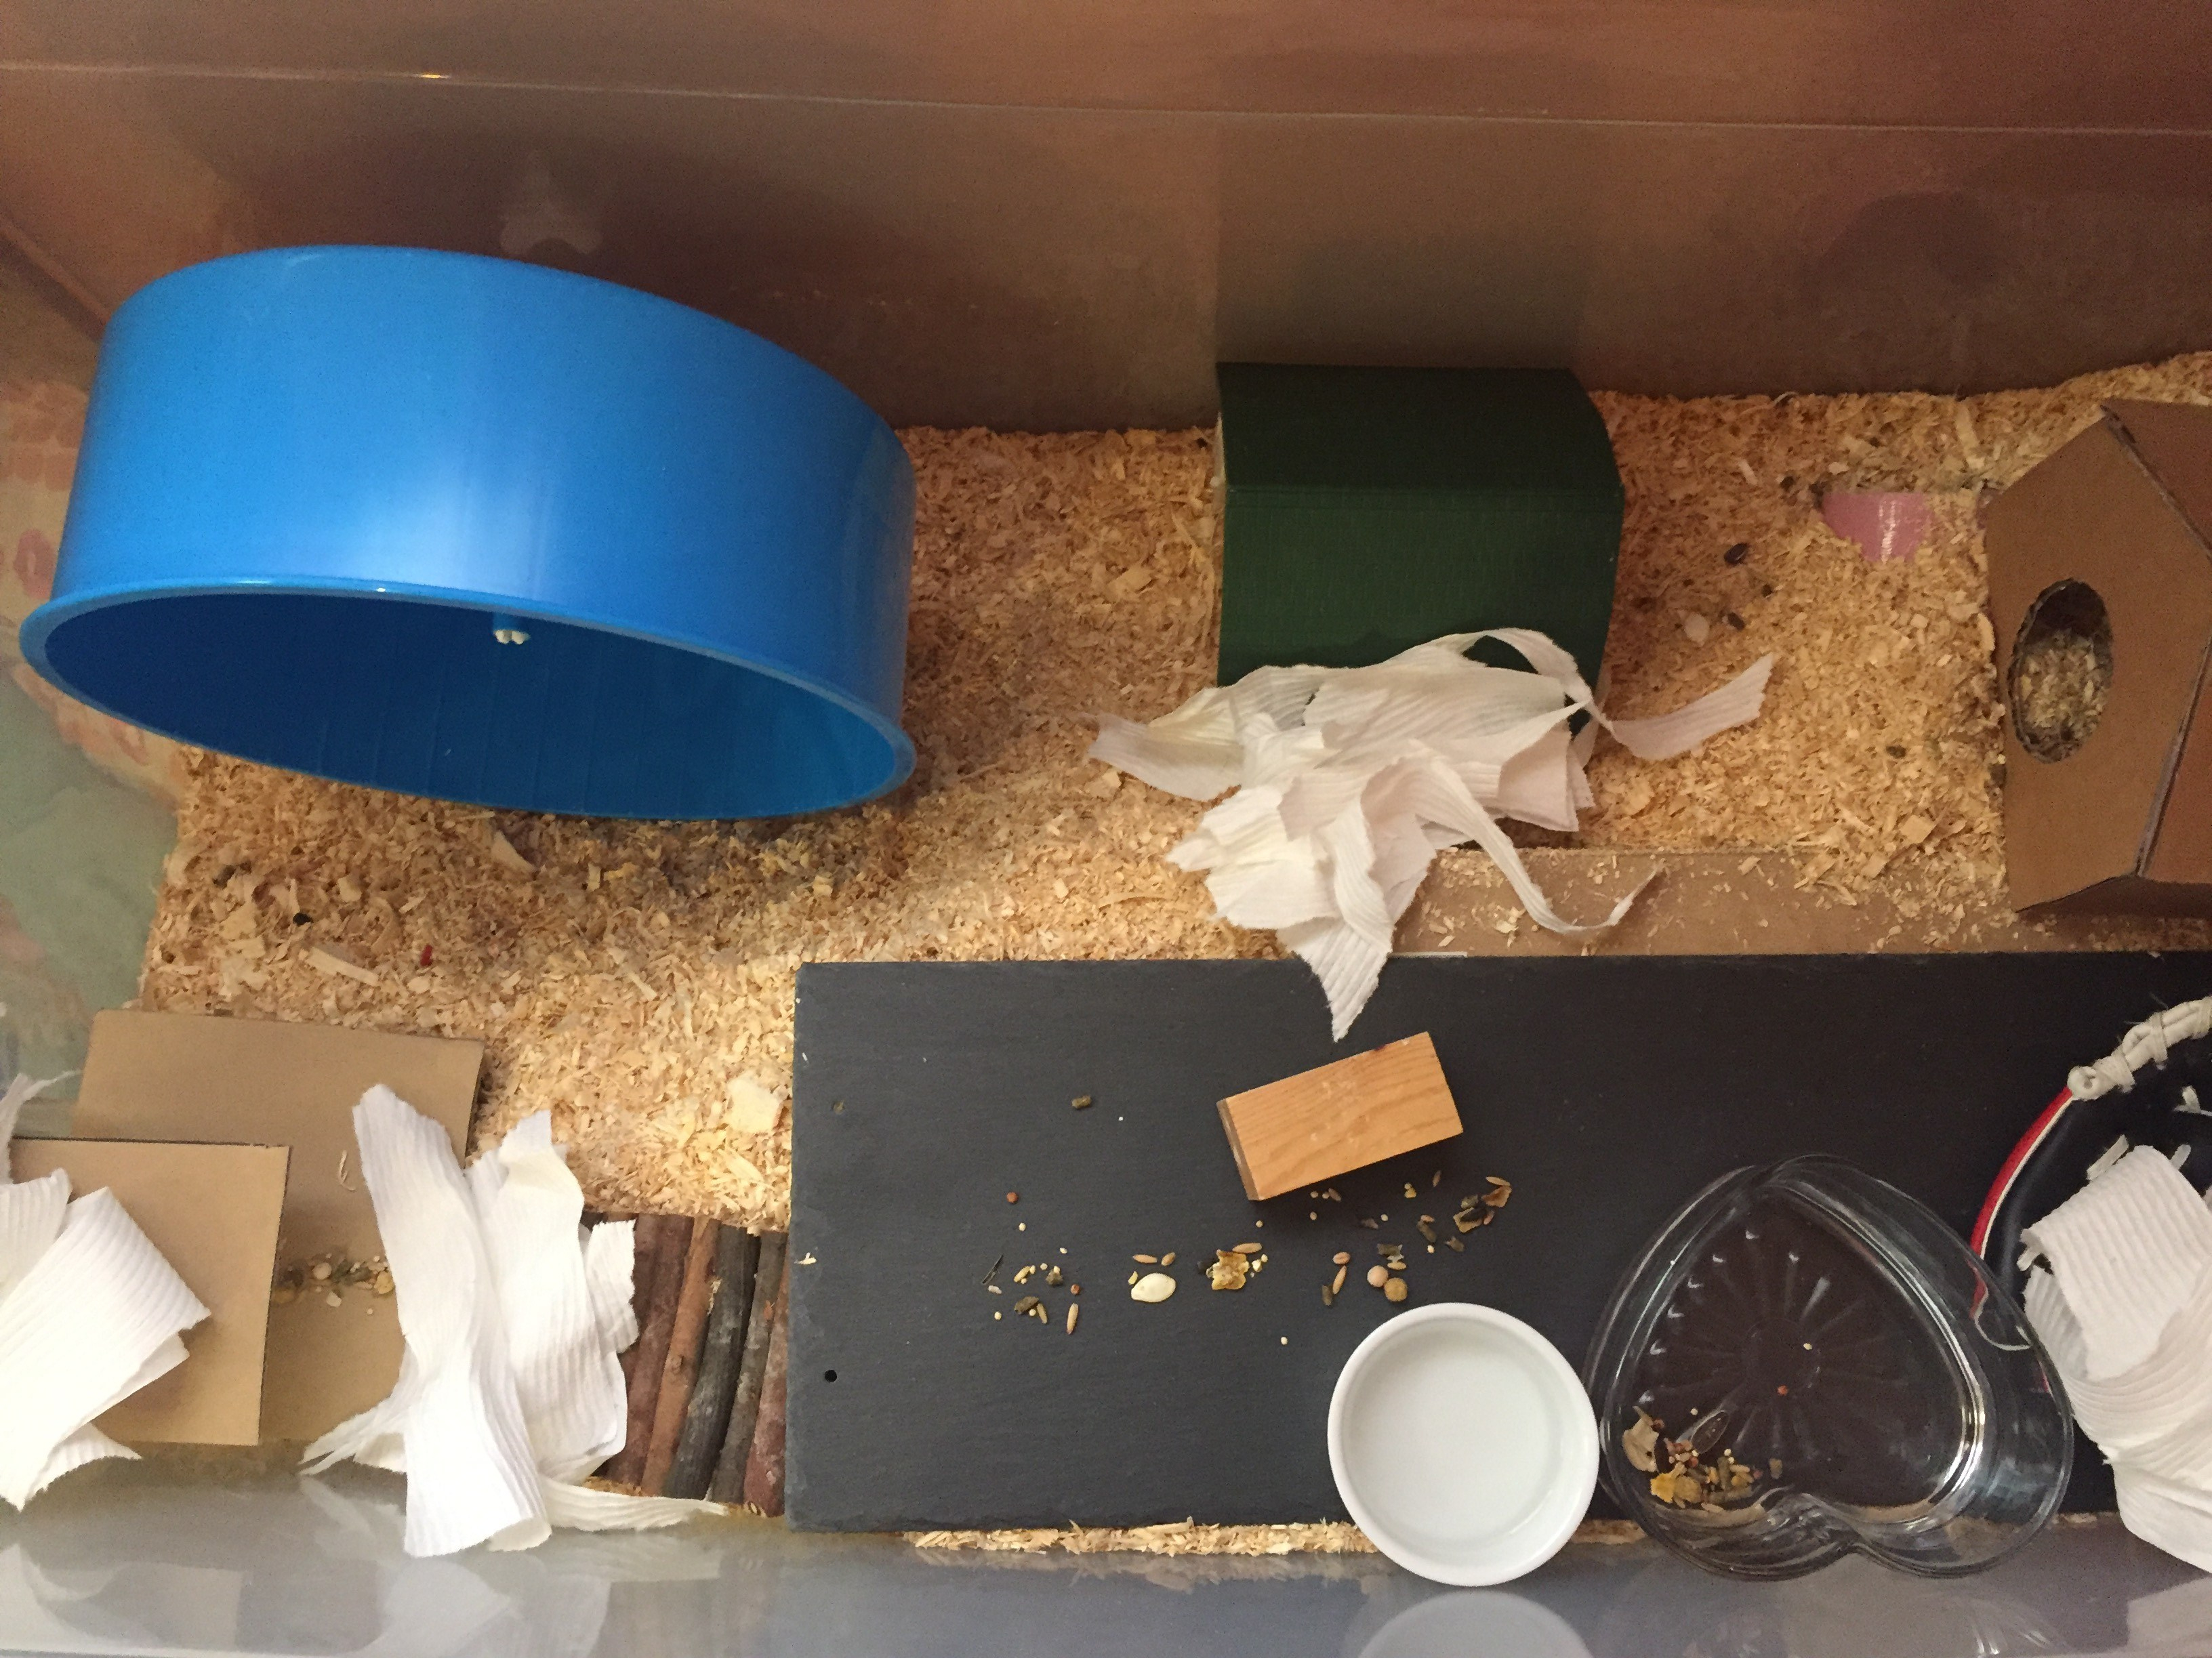
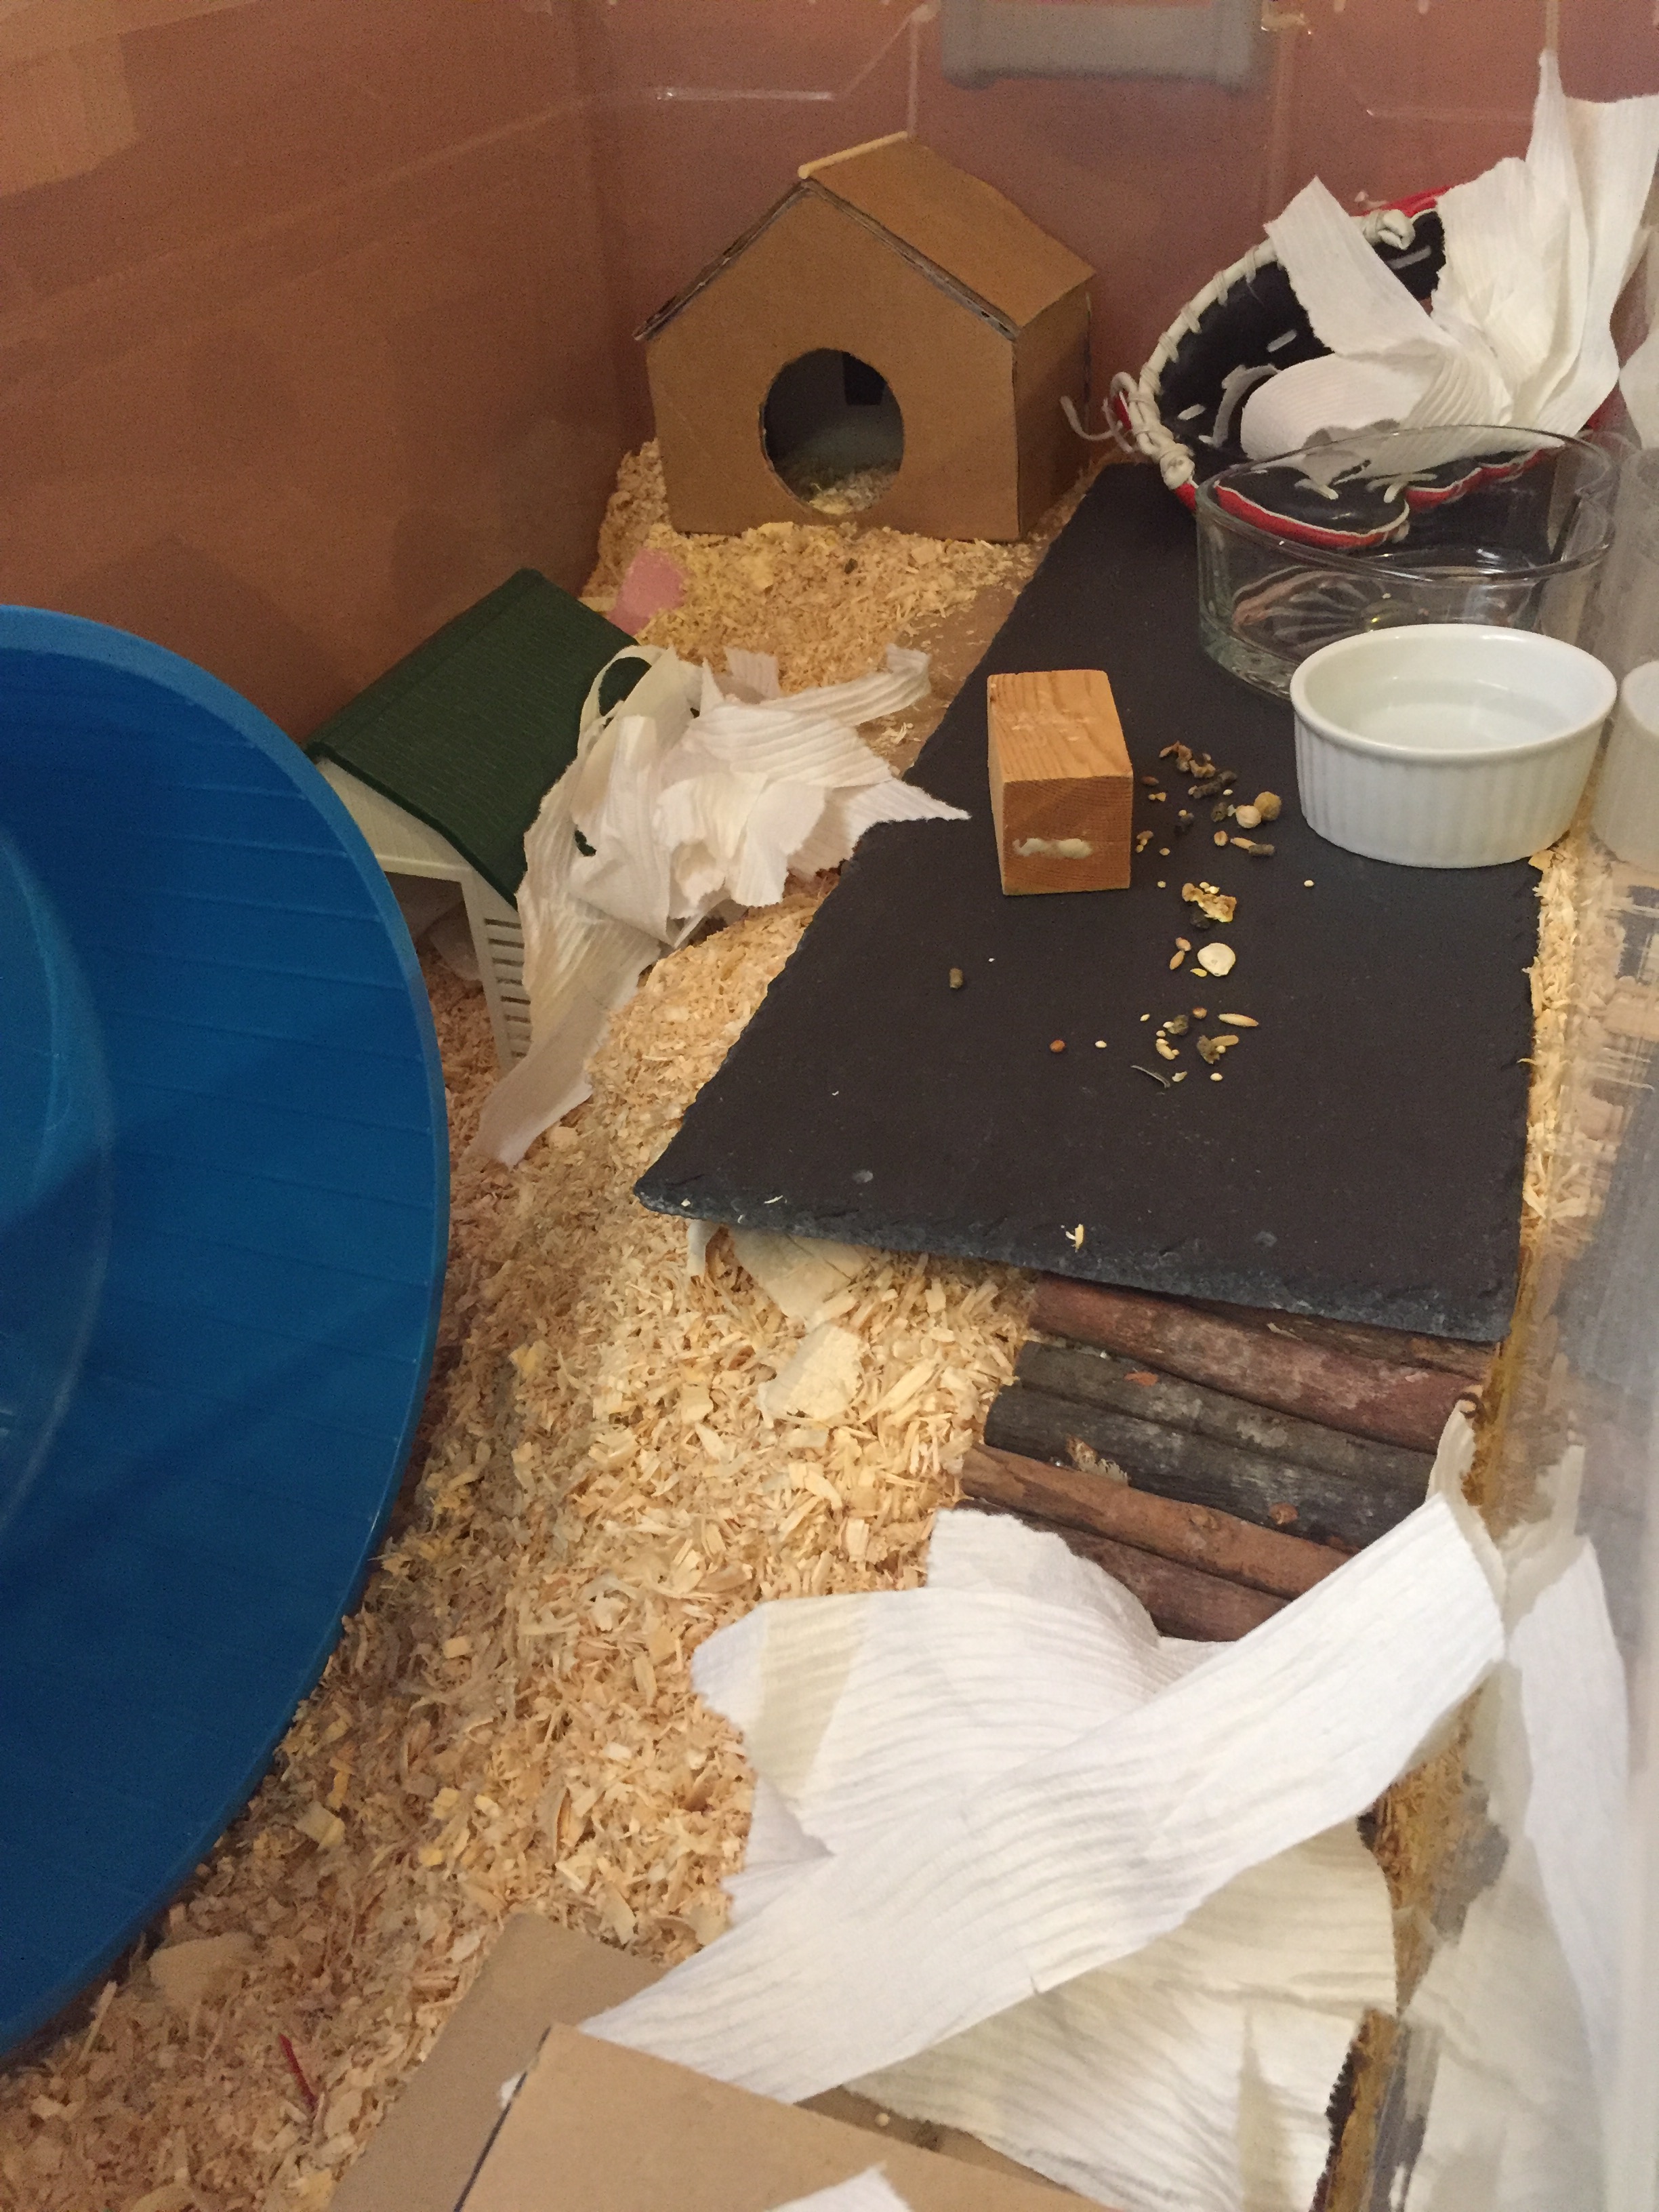
Water bowls are usually small glass or ceramic pet dishes that have vertical sides. If you use a shallow dish it’s more likely that your hamster will fling substrate into it or fall in. I have also seen people use small candle dishes, and these are great as well.

Bowls come in all sorts of different designs, and personally are much more visually pleasing than bottles.

Water dishes need to be refilled often (every other day) because the hamster is drinking from the surface. If the bowl isn’t full then they have to reach down into the dish to get a drink, which isn’t comfortable. They could fall in if they’re reaching in too far to drink. The bowl may also get substrate in it, which will grow mold or algae if it’s not cleaned out.

Although cleaning the water 4-5 times a week may seem like a lot of extra work, your hamster will have fresher water 😆

Which is Better?

This is for you to decide. Let’s compare:

Bottles

  • They’re in every pet store.
  • Different sizes.
  • Plastic and glass.
  • Clean weekly.
  • Spout can get stuck resulting in lack of water availability.
  • Not a natural or comfortable way to drink.
  • Some bottles are leaky and you need to buy a new one.
  • Hamsters and gerbils may chew holes in plastic bottles/bottle holders.
  • Bottles don’t take up floor space!
  • Can be tidier.
  • Small pets may climb the bottle/holder and escape.
  • Stay cleaner for longer.
  • Some small pets don’t know what it’s for.

Bowls

  • Better looking.
  • Different sizes.
  • Glass and ceramic.
  • Clean bi-daily.
  • No intricate pieces to get clogged.
  • Natural and more comfortable to drink from.
  • Doesn’t leak (unless there’s a crack).
  • Chew-proof.
  • Takes up a few precious square inches of floor space.
  • Sometimes messier; spills easier.
  • Can’t be climbed.
  • The water can get dirty quicker.
  • Water is fresher because it’s cleaned more often.
  • Some small pets don’t know what it’s for.

Water bottles and bowls are both very effective methods of watering small pets, and both have their pros and cons. From my experience, bottles are less reliable, however my hamster drinks from it more often than from her bowl. I believe she prefers her bottle, although she still drinks from the bowl occasionally.

Whether or not you use a bottle, bowl or both is totally up to you, and what works for you and your small pet.

I hope this post was informative, and let me know in the comments section below what you use for your pets, or what you plan to use. If you’re interested in more hamster-related content be sure to like this post and follow the blog, and I’ll be back on Tuesday with more small pet care, DIYs, recipes, cage setups, stories and more, have a ham-tastic day!

Thanks to the Hamster Hideout Forum for providing some of the information!

Icing For Hamsters

For Beanie’s first birthday I made her a banana cake, which is her favorite food. I wanted to make it even more special, so I decided to make some frosting to spread on top. It turned out really well, and I wanted to share it with ya’ll.

You’ll Need:

  • Water
  • Yogurt drops
  • Microwave, toaster over, or oven
  • Small bowl
  • Spoon
  • Oven mitt

Method:

  • Put a few yogurt drops into the bowl, and a thin layer of water just covering the bottom of the bowl.
  • Heat in your microwave/toaster oven/oven for 30 second intervals until they are mushable.
  • Stir and squish the drops into a paste. If you want it runnier add a few drops of water at a time until you get the desired consistency.
  • Smear onto your hamster treats/cookies while it’s warm.
  • Let the icing cool completely onto the treat before serving.
  • If you have leftover icing form it into little blobs and let it dry, reuse as yogurt drops.

I like to use this on my hamster-safe Banana Bread. If you’re interested in more hamster-related content be sure to like this post and follow the blog, and I’ll be back on Tuesday with more small pet care, DIYs, recipes, cage setups, stories and more, have a ham-tastic day!

Thanks to VanillaHamHam’s adorable video which inspired this post!

The September Cage Makeover (2020)

The Remains of the August Makeover

Welcome to the September 2020 Cage Makeover! As usual, after a month Beanie’s last makeover is dwindling, and it’s in need of a clean. I hope this post interests you and that it inspires you for setting up your own hammy’s cage!

The Substrate Setup

First I did the usual, removing all the dirty substrate, adding in the clean stuff, and adjusting it to begin setting up Beanie’s home.

Bark-caves

Since I wanted this setup to be more naturalistic, I submerged two bark caves in the substrate for hiding and burrowing from.

Another Hidey

I then added Beanie’s wheel, rock, and for good measure, my corner hidey house.

Toys!

I now put in a Bran-Bowl, chew block, bendy bridge, water bowl, and food dish. Although I scatter feed Beanie I do like to put a food dish, which Beanie enjoys sitting in.

The Final Touches

And for the final touches, some shredded tissue for nesting material, and food.

The Makeover Completed

Voila! The setup is complete. I love the natural appearance, and just how fresh it looks!

Beanie Explores Her New Setup

Thank you so much for reading this post! If you’re interested in more hamster-related content be sure to like this post and follow the blog, and I’ll be back on Tuesday with more small pet care, DIYs, recipes, cage setups, stories and more, have a ham-tastic day!

Links:

Beanie’s Holding Cell

While I deep clean Beanie’s cage I obviously have to put her somewhere. Since I free roam I don’t have a playpen, and Beanie gets really claustrophobic in her little Living World carrier. I found the solution: her holding cell.

Beanie’s holding cell is a 10 gallon tank which I had intended to use for a number of other pets, but since I never got those pets the tank is used for Beanie.

In the 200 square inches I have at least 3 inches of substrate, a hidey house, food dish, and chew toy. This provides the perfect little nook for Beanie while I’m cleaning her large cage.

I really like using this tank over the little wire cage I have, which is about the same size, because Beanie cannot climb the sides and fall.

The tank is exceptional for travel, since it’s secure, hamster-proof, big enough for comfort, and the glass sides prevent drafts.

Beanie’s holding cell is really handy, and since it’s set up 24/7 I know I’ll always have somewhere to put Beanie if need be, and I love the peace of mind.

If you’re interested in more hamster-related content be sure to like this post and follow the blog, and I’ll be back on Tuesday with more small pet care, DIYs, recipes, cage setups, stories and more, have a ham-tastic day!

DIY Cardboard Tunnel

Today we’re going to be making a very simple DIY tunnel for hamsters, gerbils and mice! Tubes are a very popular toy, and can be used for many purposes, such as a burrow starter.

For this project you’ll need:

  • A hot glue gun
  • Box/craft knife
  • Scissors
  • Tape

Using pink duct tape was a personal preference.

  • Using your box/craft knife cut slits in the cardboard. Don’t cut all the way through, and if you go with the wavy ridges in the cardboard it will be easier.
  • Now curl up the cardboard with the slits on the inside; the slits make it easier to bend the cardboard.
  • Curl up the cardboard to how big you want the tube to be.
  • Trim off the extra cardboard.
  • Glue and/or tape the tube together.

And you’re done! Tunnels are very handy toys to have, and since they’re so simple to DIY it never hurts to have a few. You can make tubes in different sizes for pretty much any pet if you have a big enough piece of cardboard.

I hope you enjoyed this tutorial, and if you’re interested in seeing more hamster-related content be sure to follow us, see you on Tuesday!

Things I Use For Beanie That Are Not Made For Hamsters

Hamsters are very hardy little animals, and using things that aren’t intended for them usually doesn’t do any harm. Products like these can be really cheap alternatives and are usually way better quality! Here are my top 6 things I use for Beanie that aren’t made for hamsters.

200 Quart Sterilite Storage Bin

I purchased this bin for $35 at Walmart, and it makes an exceptionally good bin cage! It has a total of 690 square inches of floor space (give or take for the notches in the ends), which makes it ideal for all hamster species and mice.

Beanie’s been living in this cage since March of 2019, and it’s ageing very well. I highly recommend this bin as a hamster cage since it’s big, cheap, and very well made!

The Professional Spray Bottle

This plastic spray bottle costs $3-4 at your local Dollarama. They recommend you fill it to the 25 fluid ounce mark, and it is intended for chemicals. When I was first testing it out it wouldn’t work… until I realized it has an adjustable nozzle! That’s right, by twisting the end of the nozzle you can make this bottle mist, jet, and anything in between. The highest ‘setting’ can blast up to 10 feet away!

I use this spray bottle for cleaning Beanie’s cage and supplies. I put a vinegar/water solution in it, and with my trusty paper towels I can easily just clean her things without leaving the room! It’s super convenient, and the bottle works really well, not to mention the awesome price!

Glass Food Processor Bowl

Believe it or not, the white water bowl you may have seen me put in Beanie’s cage (July Makeover) is actually from some kind of food processor!

They come in a ‘set’ of two, and I honestly have no idea what exactly they came with, or what they were supposed to be for. They are a great size for Beanie, who is a Syrian hamster, to use as water dishes.

Mini Broom

I hope I’m not the only one in Dollarama searching for pet supplies. One day while browsing, I found a nice mini broom and dustpan at Dollarama, and since it was exactly what I needed I got it for $1.50.

When I spot clean I like to sweep substrate off of toys with it, and when I’m doing a deep clean it’s really handy for getting all the little hamster-poos and whatever else. I use the mini broom every day, and it’s a really useful thing to have around.

Flower Pots

Flower pots are so cute to put in hamster cages, especially Terra Cotta pots. For some reason I don’t own Terra Cotta pots yet, however, I do have a pretty, blue, heavy flower pot that looks super cute in Beanie’s cage.

Terra Cotta Pot Saucers

While I may not have any Terra Cotta pots, I do have three medium Terra Cotta Pot Saucers! They are the cutest little food dishes, and I love serving Beanie’s salads on them.

Of course, I purchased them at Dollarama, and they came in a set for about $1.50. I love using them and they make such adorable, cheap dishes I couldn’t refuse. Mine are about 4 inches in diameter, and you can get others in bigger or smaller sizes.

Conclusion

These are just a few of the things I use for Beanie that are not meant for hamsters. If you’re interested in seeing more lemme know in the comments section down below, I’d be happy to do a part 2!

If you’re interested in more hamster-related content, be sure to like this post and follow the blog, and I’ll be back on Tuesday with more small pet care, DIYs, recipes, cage setups, stories and more, have a ham-tastic day!

The August Cage Makeover (2020)

Welcome to the August 2020 cage clean! Last month Beanie became a senior (18 months old), and her cage setup has been simplified to suit her needs. I won’t be changing it up too much, but I will do a deep clean and exchange some toys. I will be reusing the black cheese slate, because since it’s so hot out I’m sure she’ll enjoy cooling off on it.

I will be linking any mentioned DIYs I have posts on at the end of the post 🙂

First I removed all the toys and bedding from the cage. Beanie came out of her nest on her own while I was doing this.

I sanitized the cage with vinegar/water and put in the clean substrate.

Next I gave her a new nest box, which I’ve fitted with a tube for an entryway.

Now I added in the wheel, slate and a short bendy bridge.

Then I added her chew block (smeared with yogurt drop), her baseball glove, heart-shaped dish, cute little house, and water bowl.

Finally I added a small Two-Tiered Tower, plastic barn, food, and shredded tissue around to complete the look.

And that’s it! Thank you for reading this rather short blog post, I hope it may inspire a setup for your own hammy 😍

If you’re interested in more hamster-related content be sure to like this post and follow the blog, and I’ll be back on Tuesday with more small pet care, DIYs, recipes, cage setups, stories and more, have a ham-tastic day!

Links:

Cute Small Pet House DIY

Two-Tiered Tower DIY

Caring for a Senior Syrian Hamster

Syrian hamsters are typically bred for their coloration, not lifespan. Because of this the average lifespan of a domestic Syrian hamster has gone from 48 months (4 years) to 18-24 months (1-2 years) over the last 30 years.

Beanie turned 18 months old this month, which means she’s a senior hamster. Just like with humans, hamsters show signs of aging, and may need some changes made in their lifestyle to make them more comfortable. I am going to share my research and experience with caring for my senior Syrian hamster, Beanie.

Do I Need To Do Anything?

You want to provide a comfortable lifestyle for your hamster. If your hamster is still a hyper little bean you probably don’t need to do anything, but if they’re slowing down you may want to make a few changes.

Cage Setup

A misconception when it comes to elderly hamsters is that they need less space. You don’t want to downgrade your hamster. You do want to put all the essentials (wheel, water source, food, hideouts) near their nest if they are having difficulty getting around. Continue to provide plenty of substrate (6+ inches) for burrowing.

Water Source

Most hamsters will be able to use a water bottle as they age, but if they have a hard time reaching it you might want to offer a bowl as well. Personally I offer both, because Beanie uses both. If you have a water bowl available make sure to keep it full so your hamster can reach the water comfortably.

Feeding

Aging hamsters may need extra protein or have their food specially prepared so they can eat.

A hamster’s primary source of nutrients is their seed mix, which should consist of nuts, seeds, proteins and some dehydrated fruits and veggies. These components are obviously quite crunchy, and some hamsters may have trouble chewing these foods when they’re older. The best thing to do is add water to the mix and soak it for a few minutes before feeding. Don’t use too much water, just enough that when it’s all absorbed the ingredients (particularly the ‘cookies’) are squishy/chewy instead of hard/crunchy. Feed them the same as you always would (amount, brand, etc…), just prepare their food a few minutes in advance.

You want to be providing a few protein supplements, especially if your hamster is losing some weight. Hard boiled egg white, baby food, nuts, and mealworms are all good options. Unseasoned cooked chicken, turkey, and beef are also very healthy treats. Before feeding baby food make sure there’s no onions, garlic in it. If you feel unsure about an ingredient it doesn’t take long to do a Google search and find out if it’s okay. Only feed one or two protein treats every other day.

Your Hamster’s Hygiene

Some elderly hamsters will experience the inability to properly groom. Elderly Syrian hamsters have been known to contract Wet Tail if they cannot keep themselves clean, so you may want to assist them.

If you notice built up discharge from your hamster’s eyes, ears and/or nose get a thin, soft towel damp in lukewarm water and gently clean their face. You may have to do the same for their rear-end. If you suspect something other than the inability to clean themselves or are uncomfortable cleaning them consult your exotic veterinarian.

Keeping your hamster’s fur untangled is also very important. The best way to keep their fur clean and organized is providing a sand bath (not dust or calcium sand) and brushing their fur. The easiest way to brush your hamster’s fur is with a toothbrush, and you can get one for a few dollars at Walmart or Dollarama. It may take a few tries to get them fully combed.

Thinning Fur

Many hamsters’ fur will thin during their senior months. If your hamster isn’t losing chunks of fur and/or they don’t have completely hairless patches you don’t need to worry.

Providing extra nesting material around the cage can be nice for hamsters with thinner fur.

Weight Loss

It is also not unusual for hamsters to lose some weight when they get into their senior months. Once they reach 18 months it is a good idea to weigh your hamster weekly, just to see if they have any drastic weight gain/loss. Every hamster is a different weight, so as long as they’re staying around the same weight you shouldn’t be too concerned. Consult your exotic vet if your hamster is losing/gaining lots of weight. Use grams when weighing; they provide more precise readings.

Conclusion

Your hamster aging isn’t something you should lose sleep over. So long as you are providing the best and most comfortable conditions for your hamster’s specific needs you’re doing a great job.

If you have concerns or questions your exotic vet and/or online hamster forums are always eager to assist troubled hamster owners!

I hope this post was informative and assuring! If you’re interested in more hamster-related content be sure to like this post and follow the blog, and I’ll be back on Tuesday with more small pet care, DIYs, recipes, cage setups, stories and more, have a ham-tastic day!

Related Posts

Sources

Hamster Hideout Forum: Elderly Hamsters

Hamster Hideout Forum: Protein Foods

Design a site like this with WordPress.com
Get started